Phone Function Settings for IP-Phone-C (Automatic)
Before setting up
This page gives information to members who are using a FLET’S course on how to set up the IP-Phone-C phone function on an IP-Phone supported device provided by NTT.
Auto setup can be done anytime while you are subscribed to IP-Phone-C.
Applicable IP-Phone supported devices
The IP-Phone supported devices which are applicable of auto-setup are as follows.
If your device is not listed here, please set up manually by referring to the IP-Phone setup information.
- ADSL Modem-MV/MNV
- ADSL Modem-NV/NVII/NVIII
- ADSL Modem-SV/SVII
- Web Caster V130/V110/V100/3000MV/X400V
- VoIP Adapter
Recommended browsers
Recommended browsers are as follows.
- Internet Explorer 7 or later (Windows)
- Safari (Mac)
- Firefox 3 or later (Windows/Mac)
To show the setup page, the following settings are required in the above browsers.
If you are not sure, the default settings are recommended.
- Enable the JavaScript setting
- Disable the proxy server setting
Phone function settings
-
STEP1
Go to contact
Open a browser window.
Enter the address https://bbb.asahi-net.or.jp/bbb/apply/comcp in the address bar and press Enter.
Enter the following information in the dialog window shown and click OK.
ユーザー名
User nameAsahi Net ID which uses the IP-Phone-C
(E.g., AB4T-ASH, U1234AB567C)パスワード
PasswordPassword which corresponds to the ID 
-
STEP2
Check setting information
The link to the device auto setup page will be shown.
Click 設定画面へ (= Go to setup page).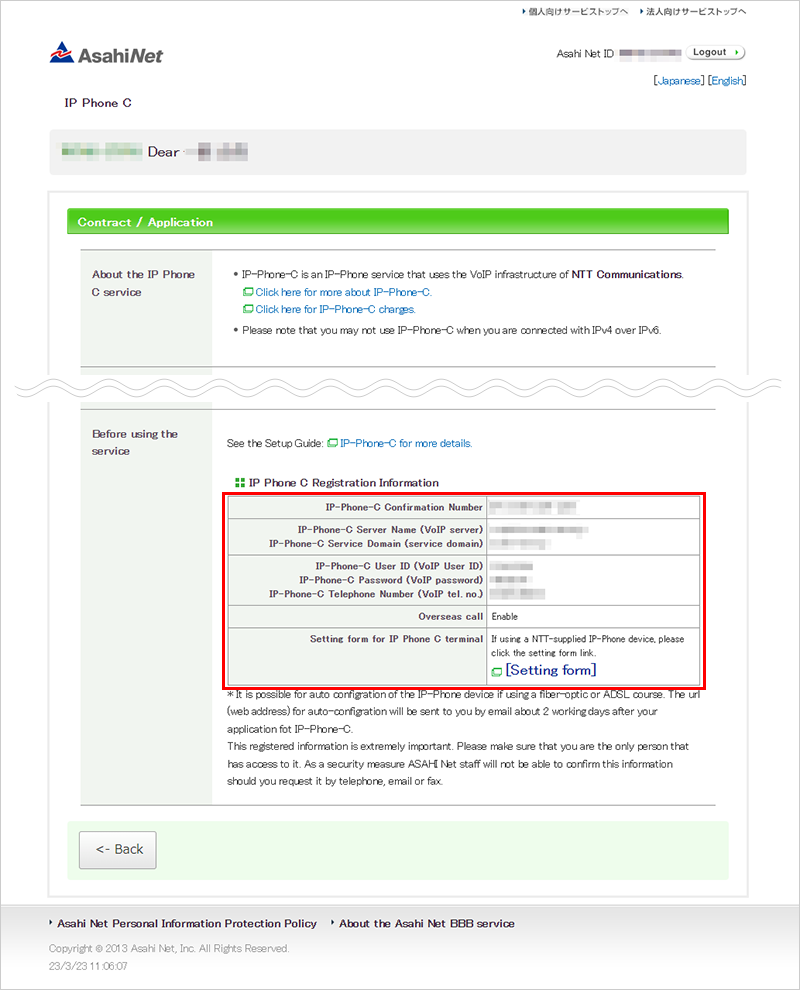
-
STEP3
Auto setup URL
The setup page will be shown.
Click IP電話機器設定 (= IP-Phone device setup).
The page for entering your device type and area code will be shown.
Click OK after entering the information.機器タイプ
Device typeChoose your device type.
If you chose the VoIPアダプタ (= VoIP adapter), enter an IP address (factory default is 192.168.100.1)市外局番
Area codeEnter the area code of your subscribed regular phone line (landline) 
Check the shown setting information and click OK.
IP電話番号
IP-Phone numberYour number starting with 050 市外局番
Area codeEnter the area code of your subscribed regular phone line (landline) 
-
STEP4
Reflect the settings
Before performing the auto setup, the following dialog window for logging into the device may be shown.
E.g., ADSL Modem-MNVユーザー名
User nameLogin user name for the IP-Phone supported device パスワード
PasswordLogin password for the IP-Phone supported device When the above dialog window is shown, enter your login account* and click OK.
- *Examples of login accounts
If you have changed your login account, enter the changed account information.
IP-Phone supported device ユーザー名
User nameパスワード
PasswordADSL Modem-MNV/NV/NVII/NVIII user Password which you set up Web Caster V130 user Password which you set up Web Caster V110 admin Password which you set up Web Caster V100 admin admin Web Caster X400V admin Password which you set up ADSL Modem-SV user user Web Caster 3000MV user user (factory default) VoIP Adapter root wakeup (factory default) - *Examples of login accounts
Check setting status
E.g., ADSL modem-MNV
Correct status
| ADSL | Green light is on |
|---|---|
| PPP | Green light is on |
| LAN | Green light is on |
| VoIP | Green light is on |
| PWR | Green light is on |
After completing the setup, check if you are ready to use the IP-Phone by checking the lamp status.*
- *When the VoIP lamp of the IP-Phone supported device is green, you are ready to use the IP-Phone.
- *If the auto setup does not end normally, try to set up manually by referring to the setup guide.