Asahi Net LTE ANSIM Settings for Android 14
About this page
This page gives you information on how to set up Asahi Net LTE ANSIM for Android 14.
Please note that the steps may differ depending on your device model and Android version.
Before setting up
- Before setting up, the SIM card of Asahi Net LTE ANSIM should be inserted into your device and recognized.
- Refer to the manual of your communication device or contact the manufacturer for how to insert the SIM.
- When setting up, please have the Asahi Net LTE Connection Setup Guide which is sent to you together with the SIM card.
New Settings
-
STEP1
Go to Settings
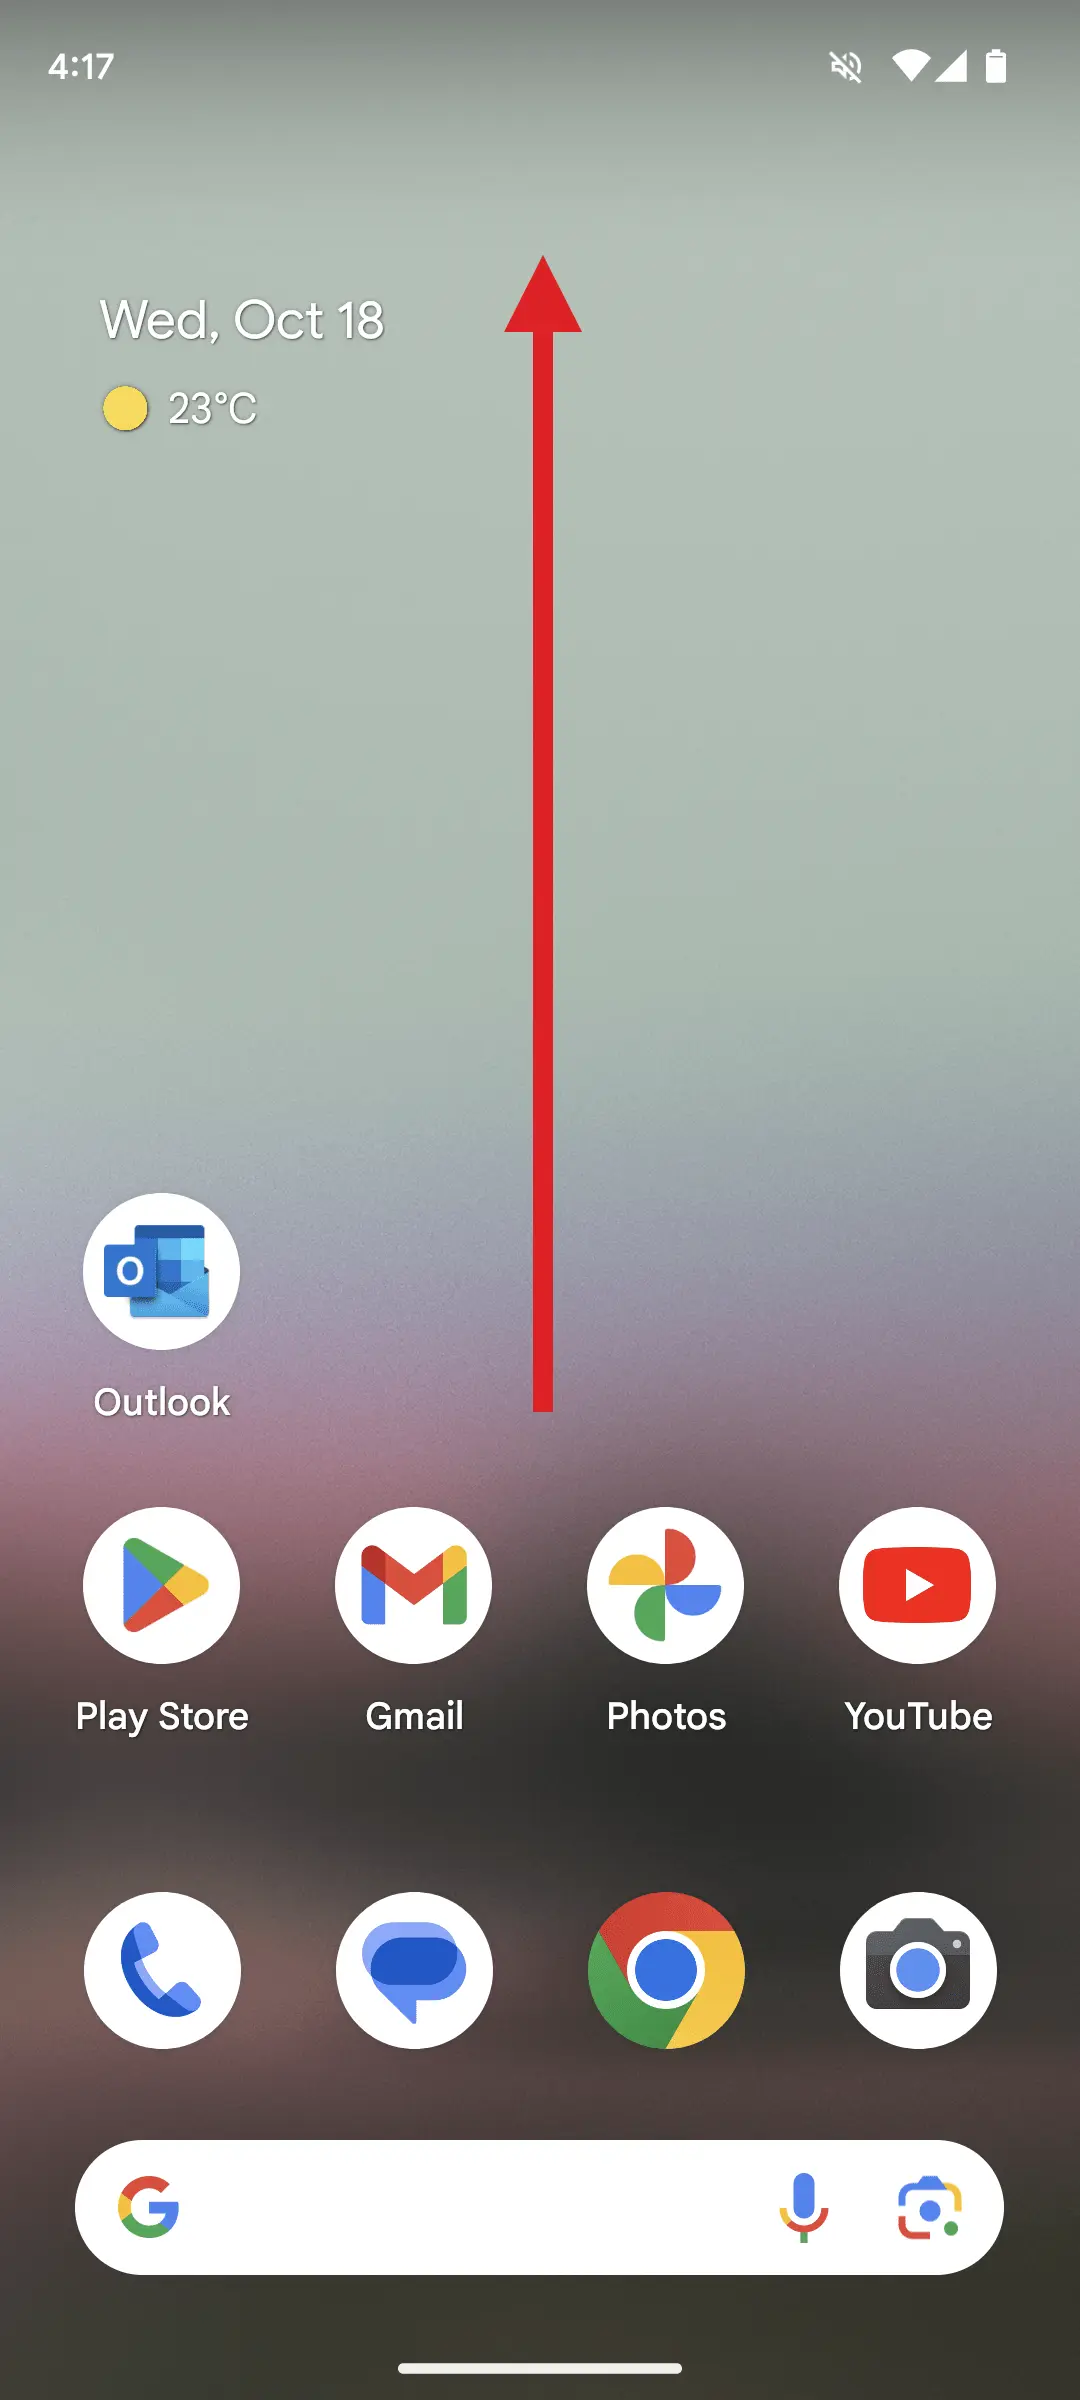
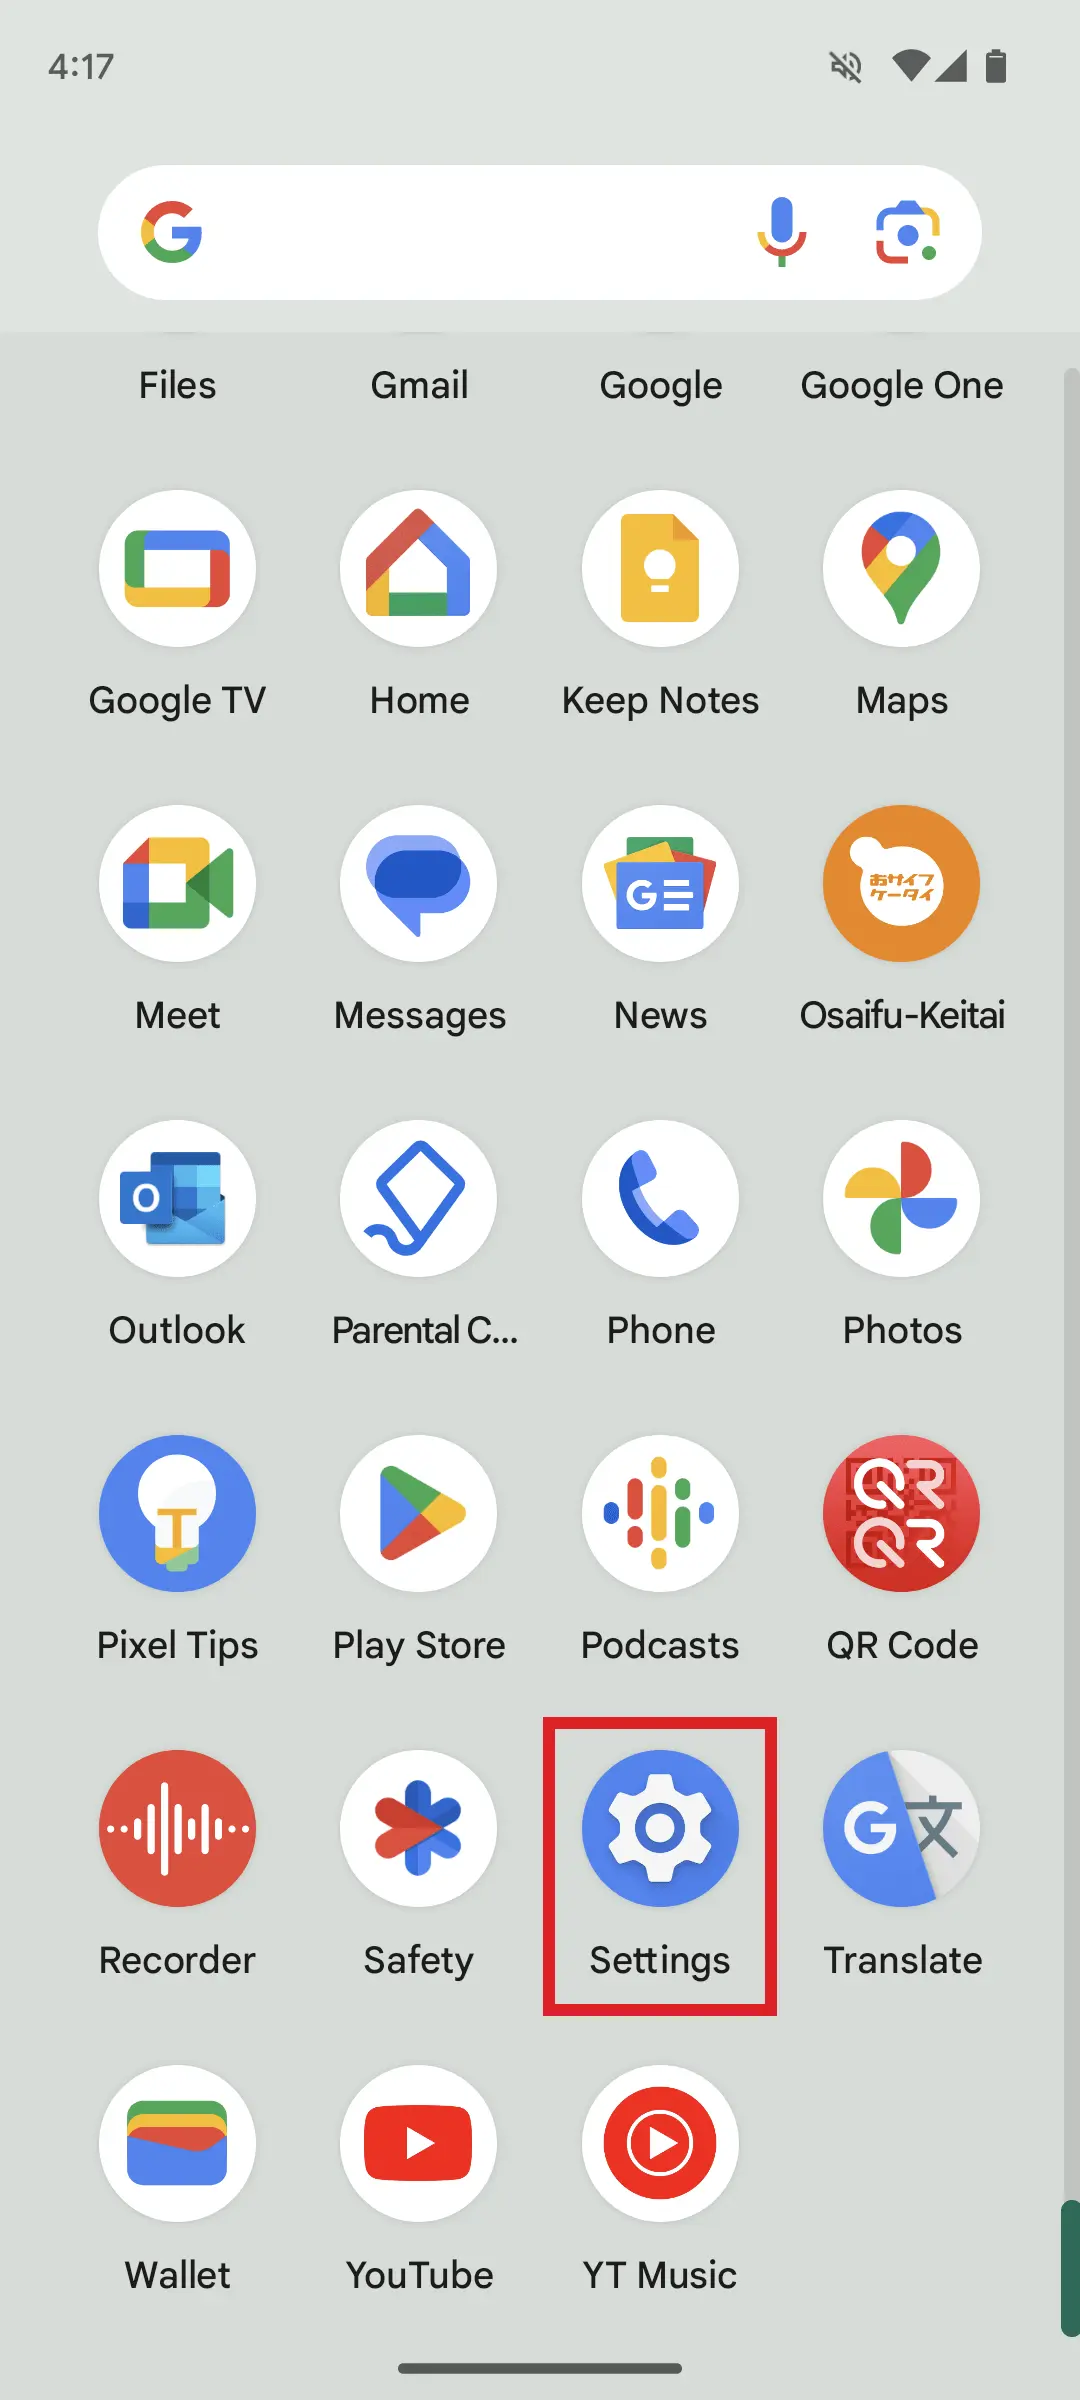
On the home screen, slide upward to show the list of apps and tap the Settings icon.
-
STEP2
Go to Mobile network
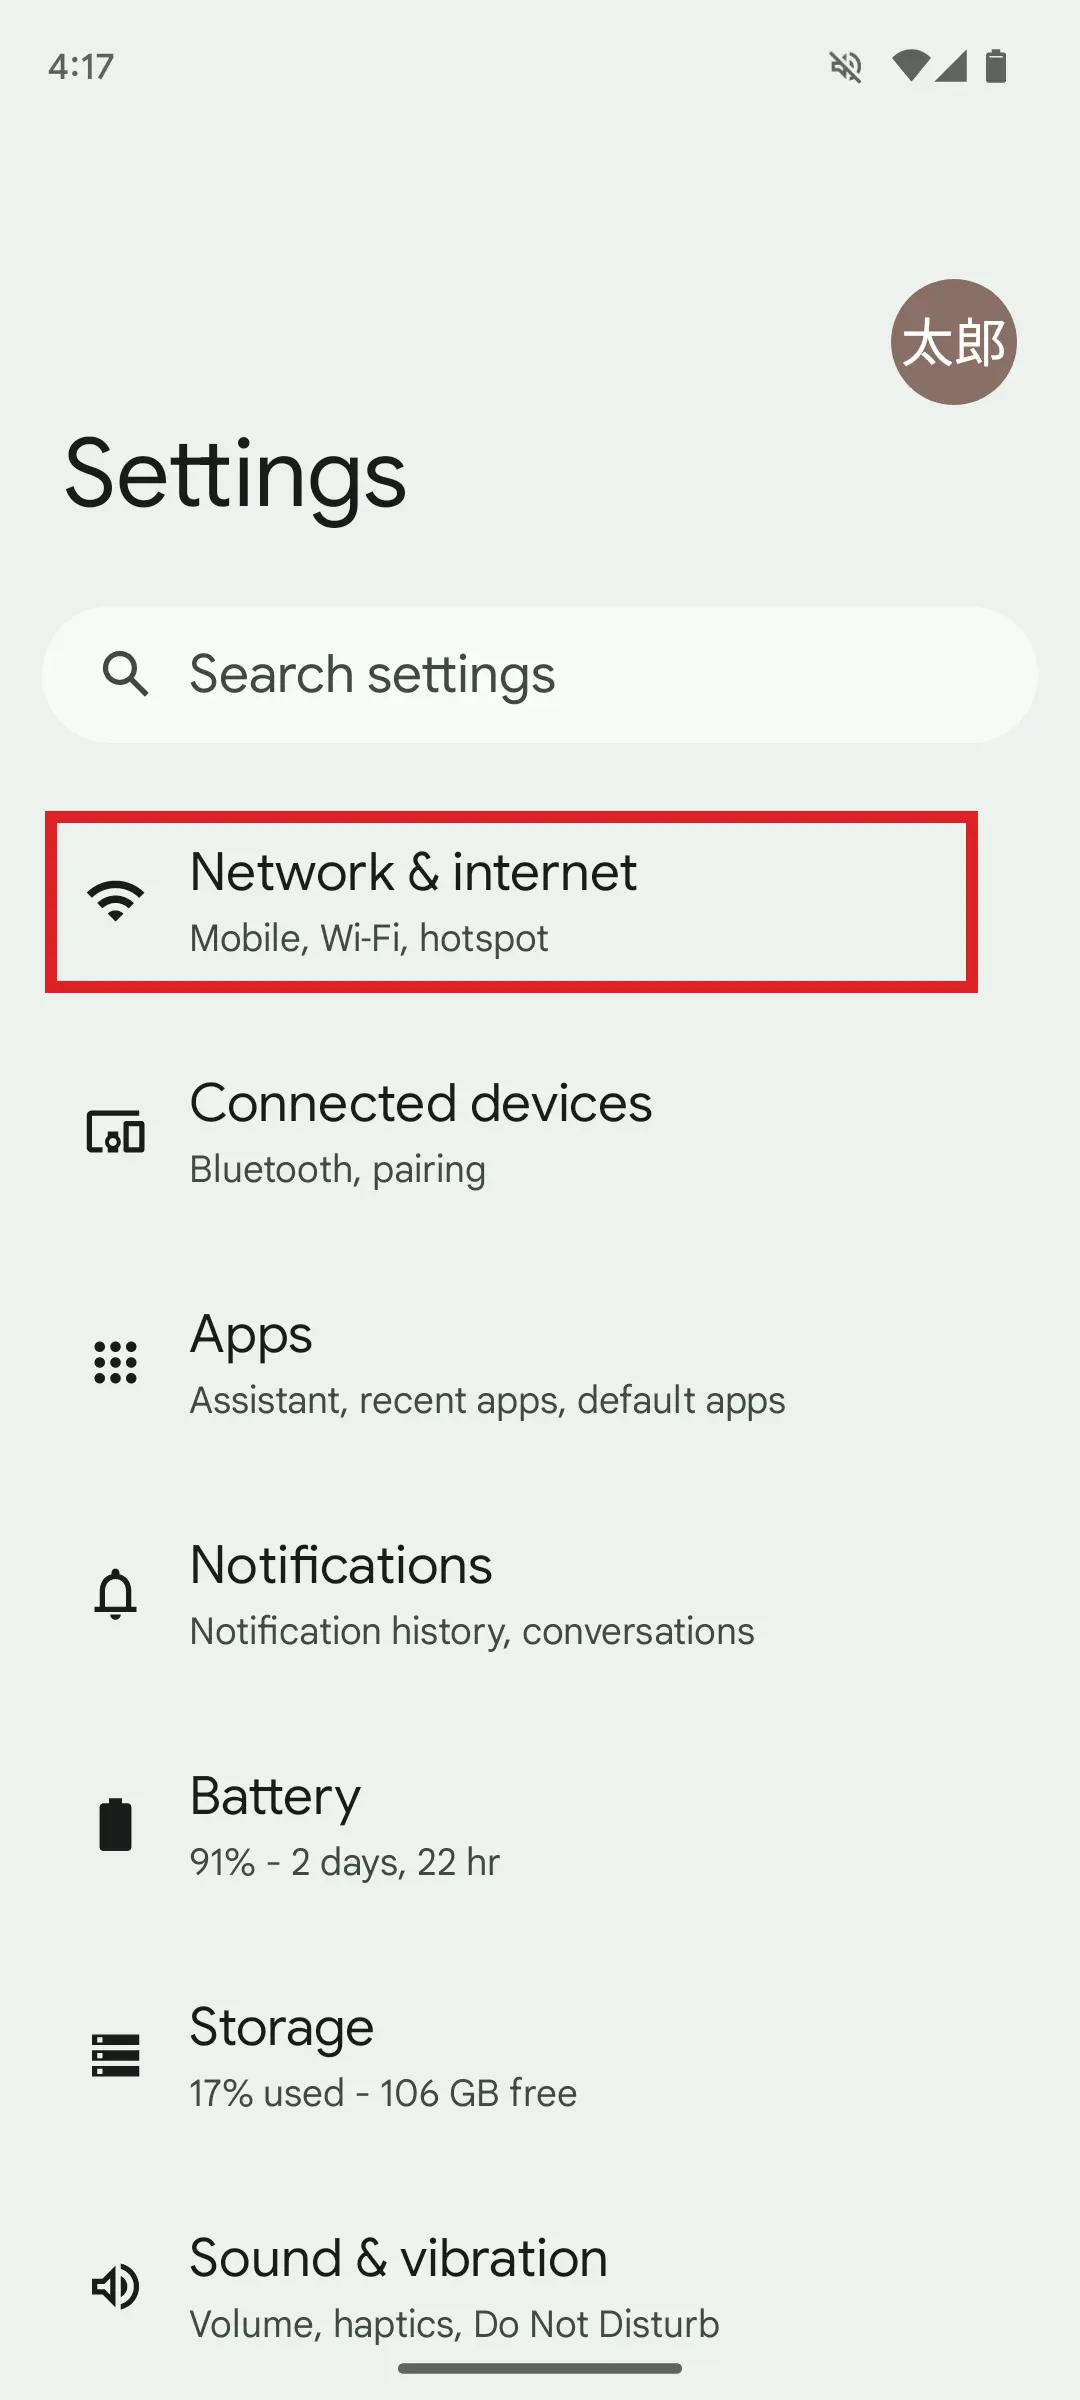
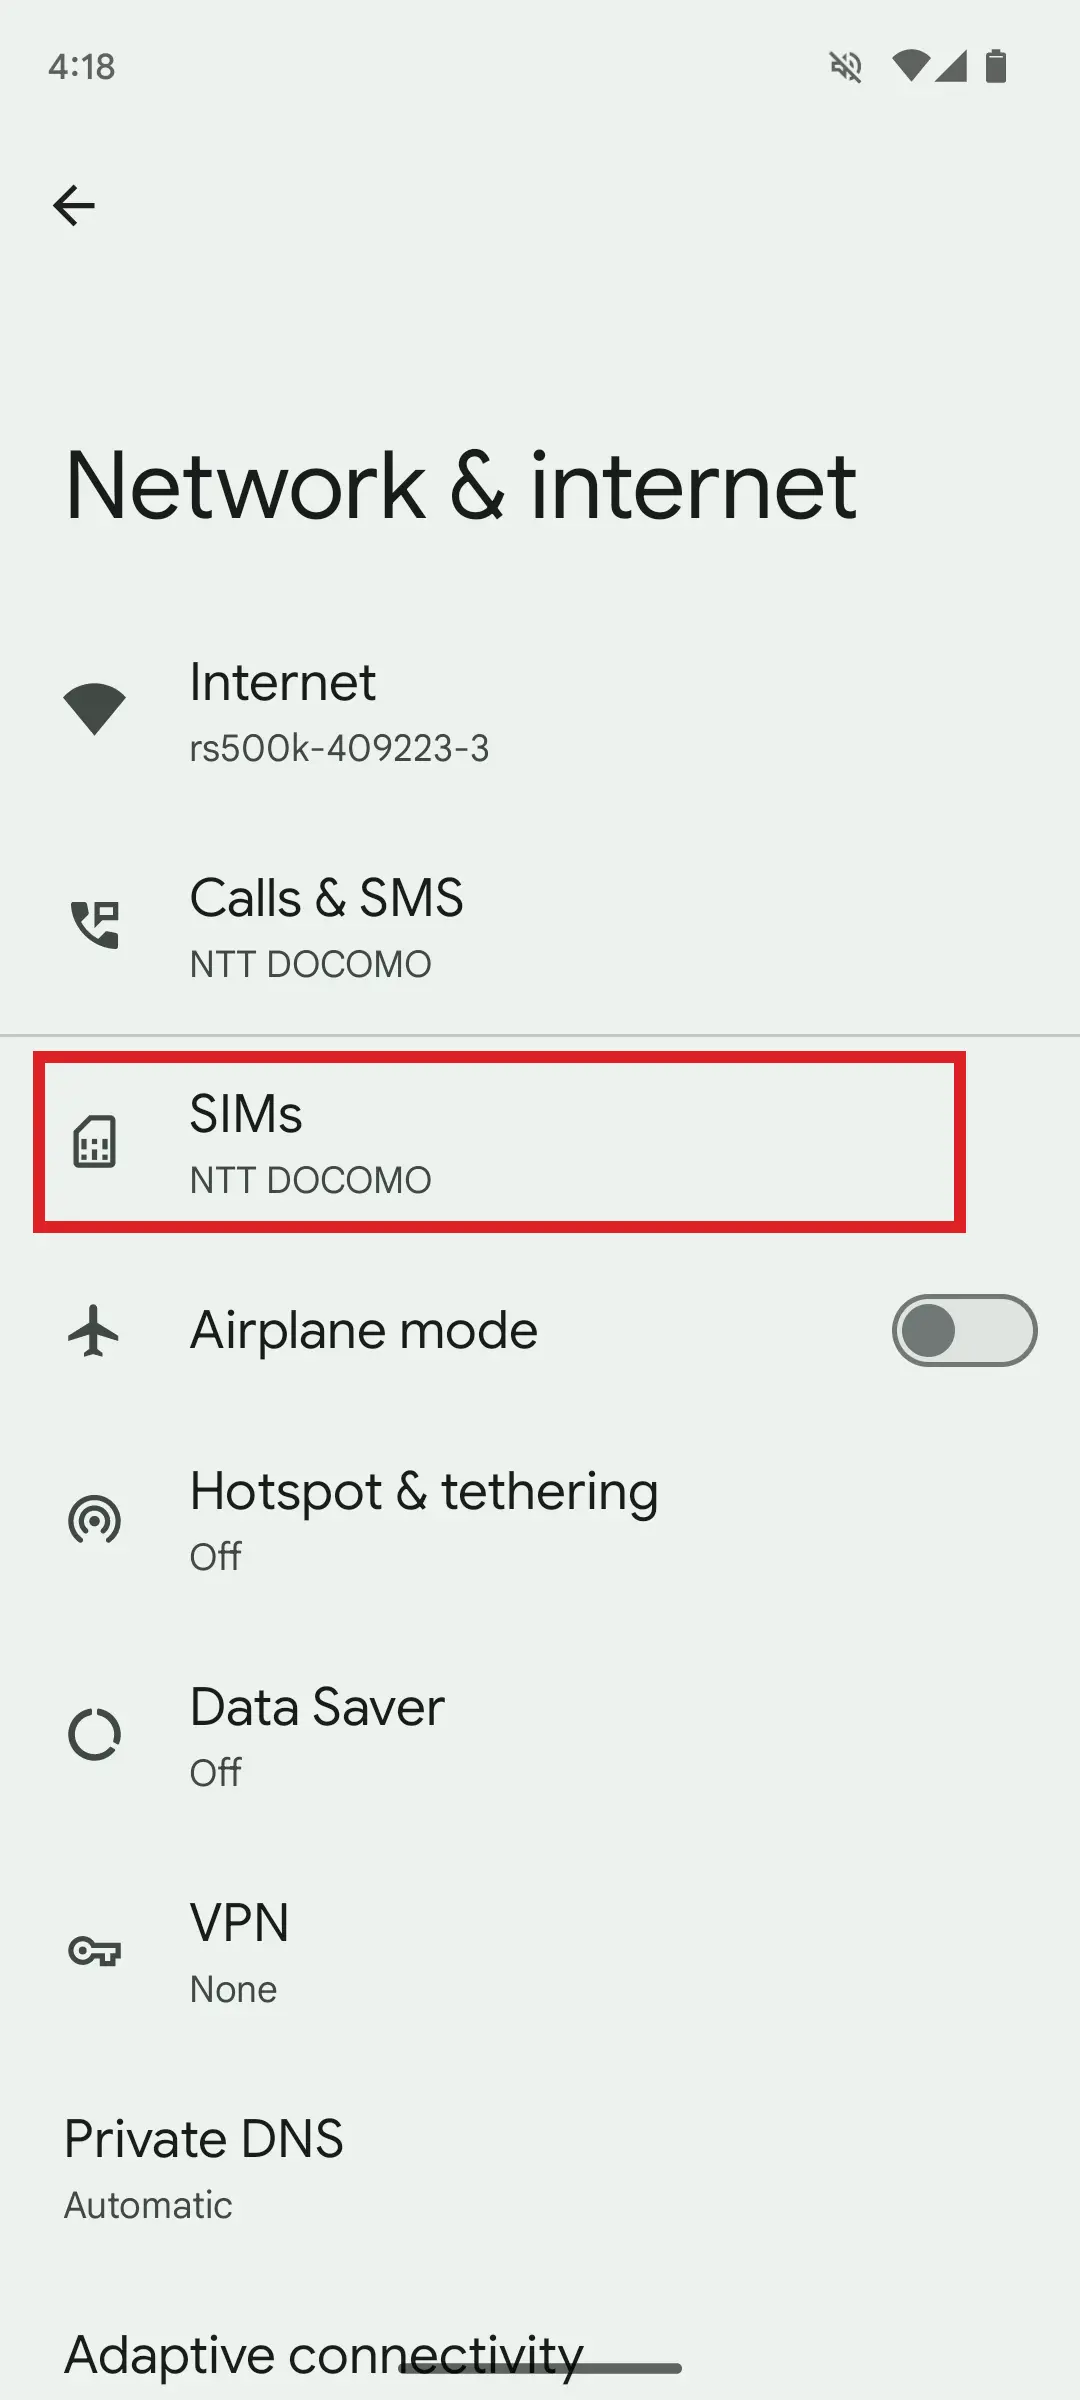
Tap Network & internet.
Tap SIMs.
- *If your device shows Mobile network, tap that icon and go to STEP 3.
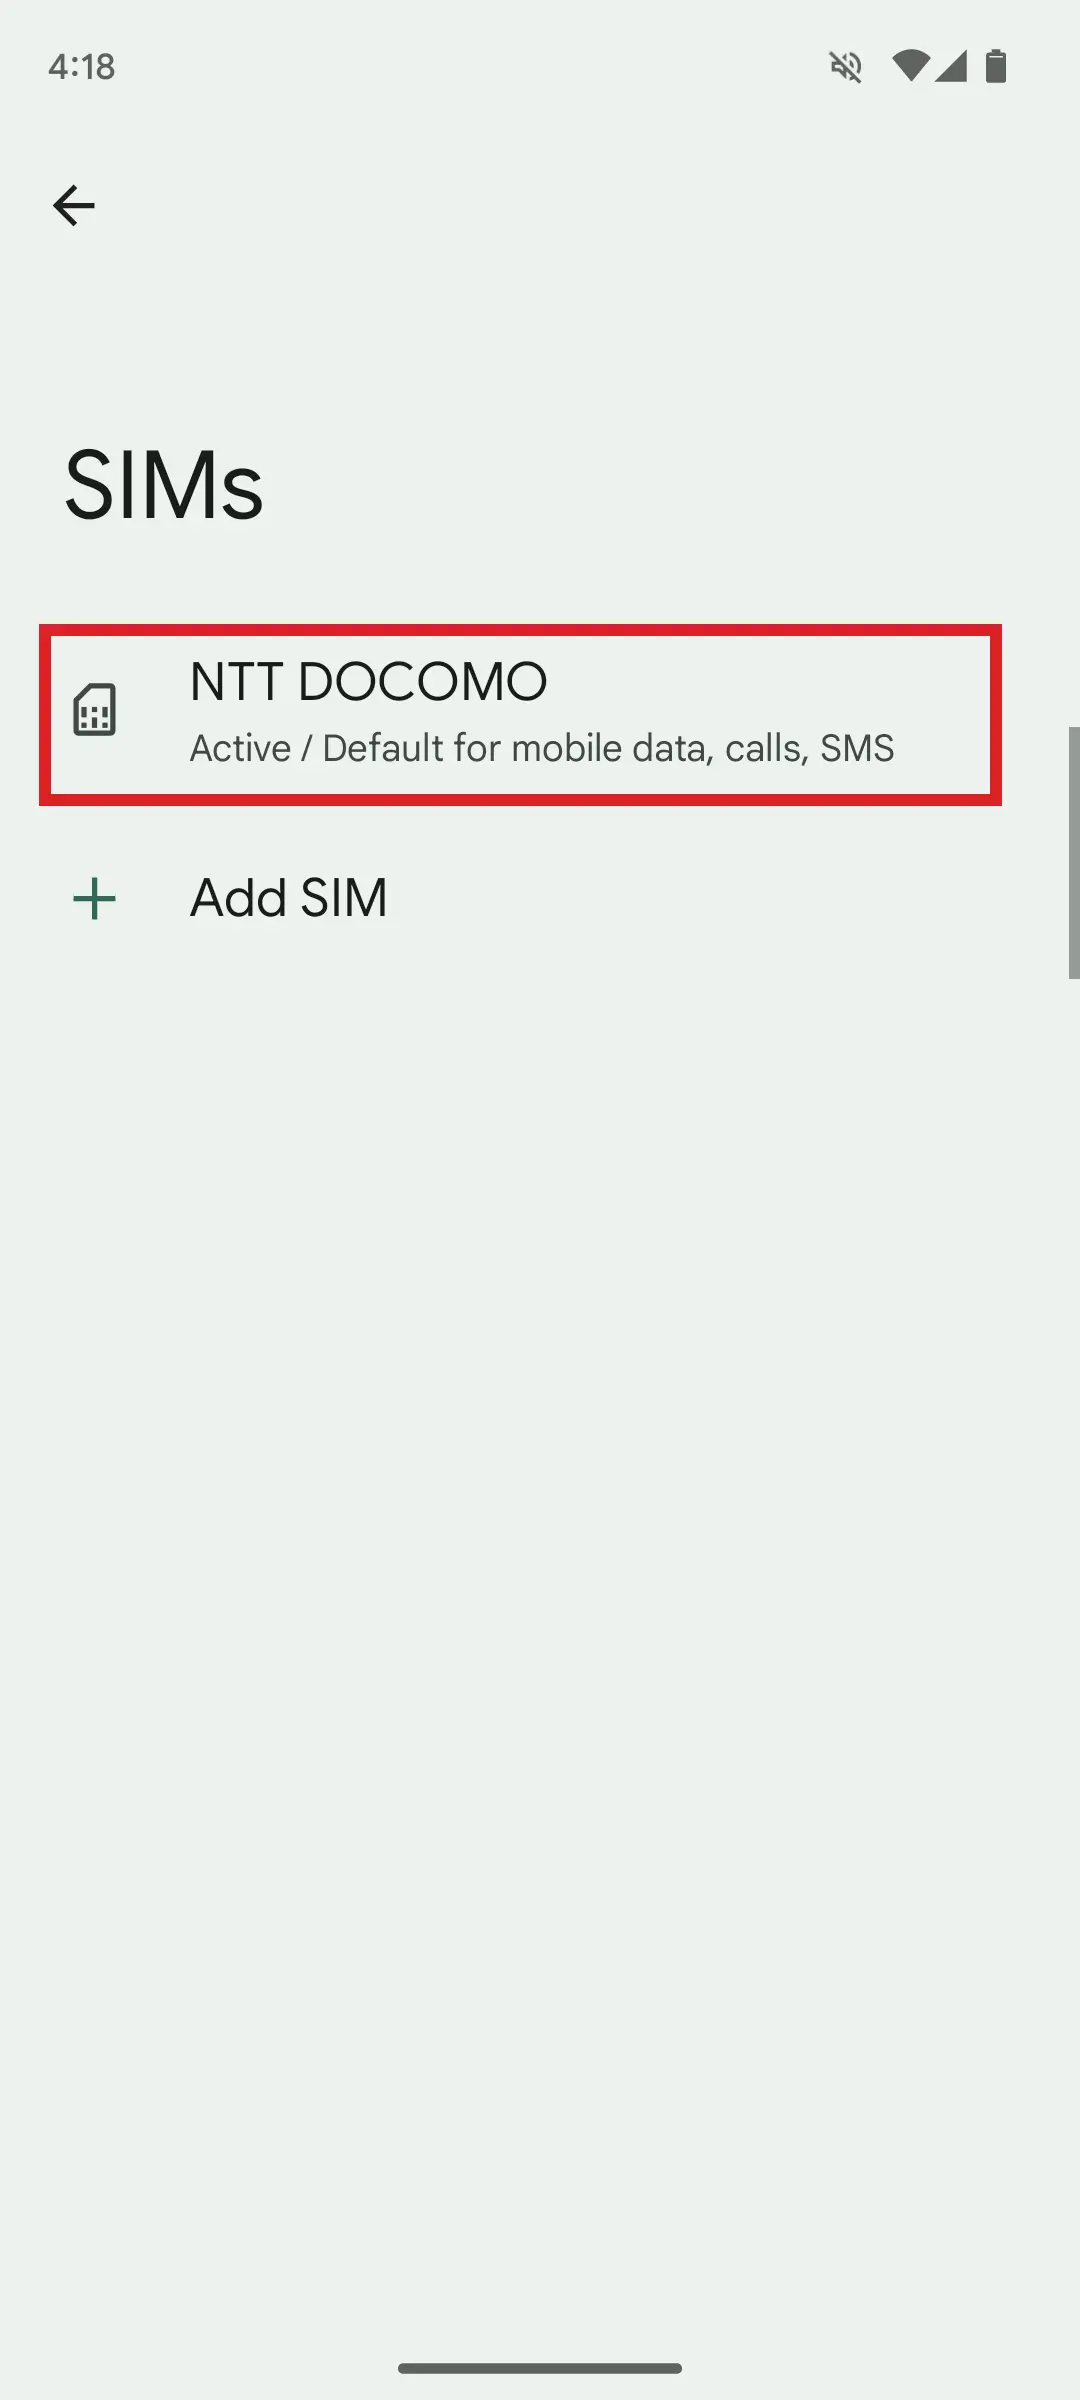
Tap NTT DOCOMO.
-
STEP3
Go to APN settings
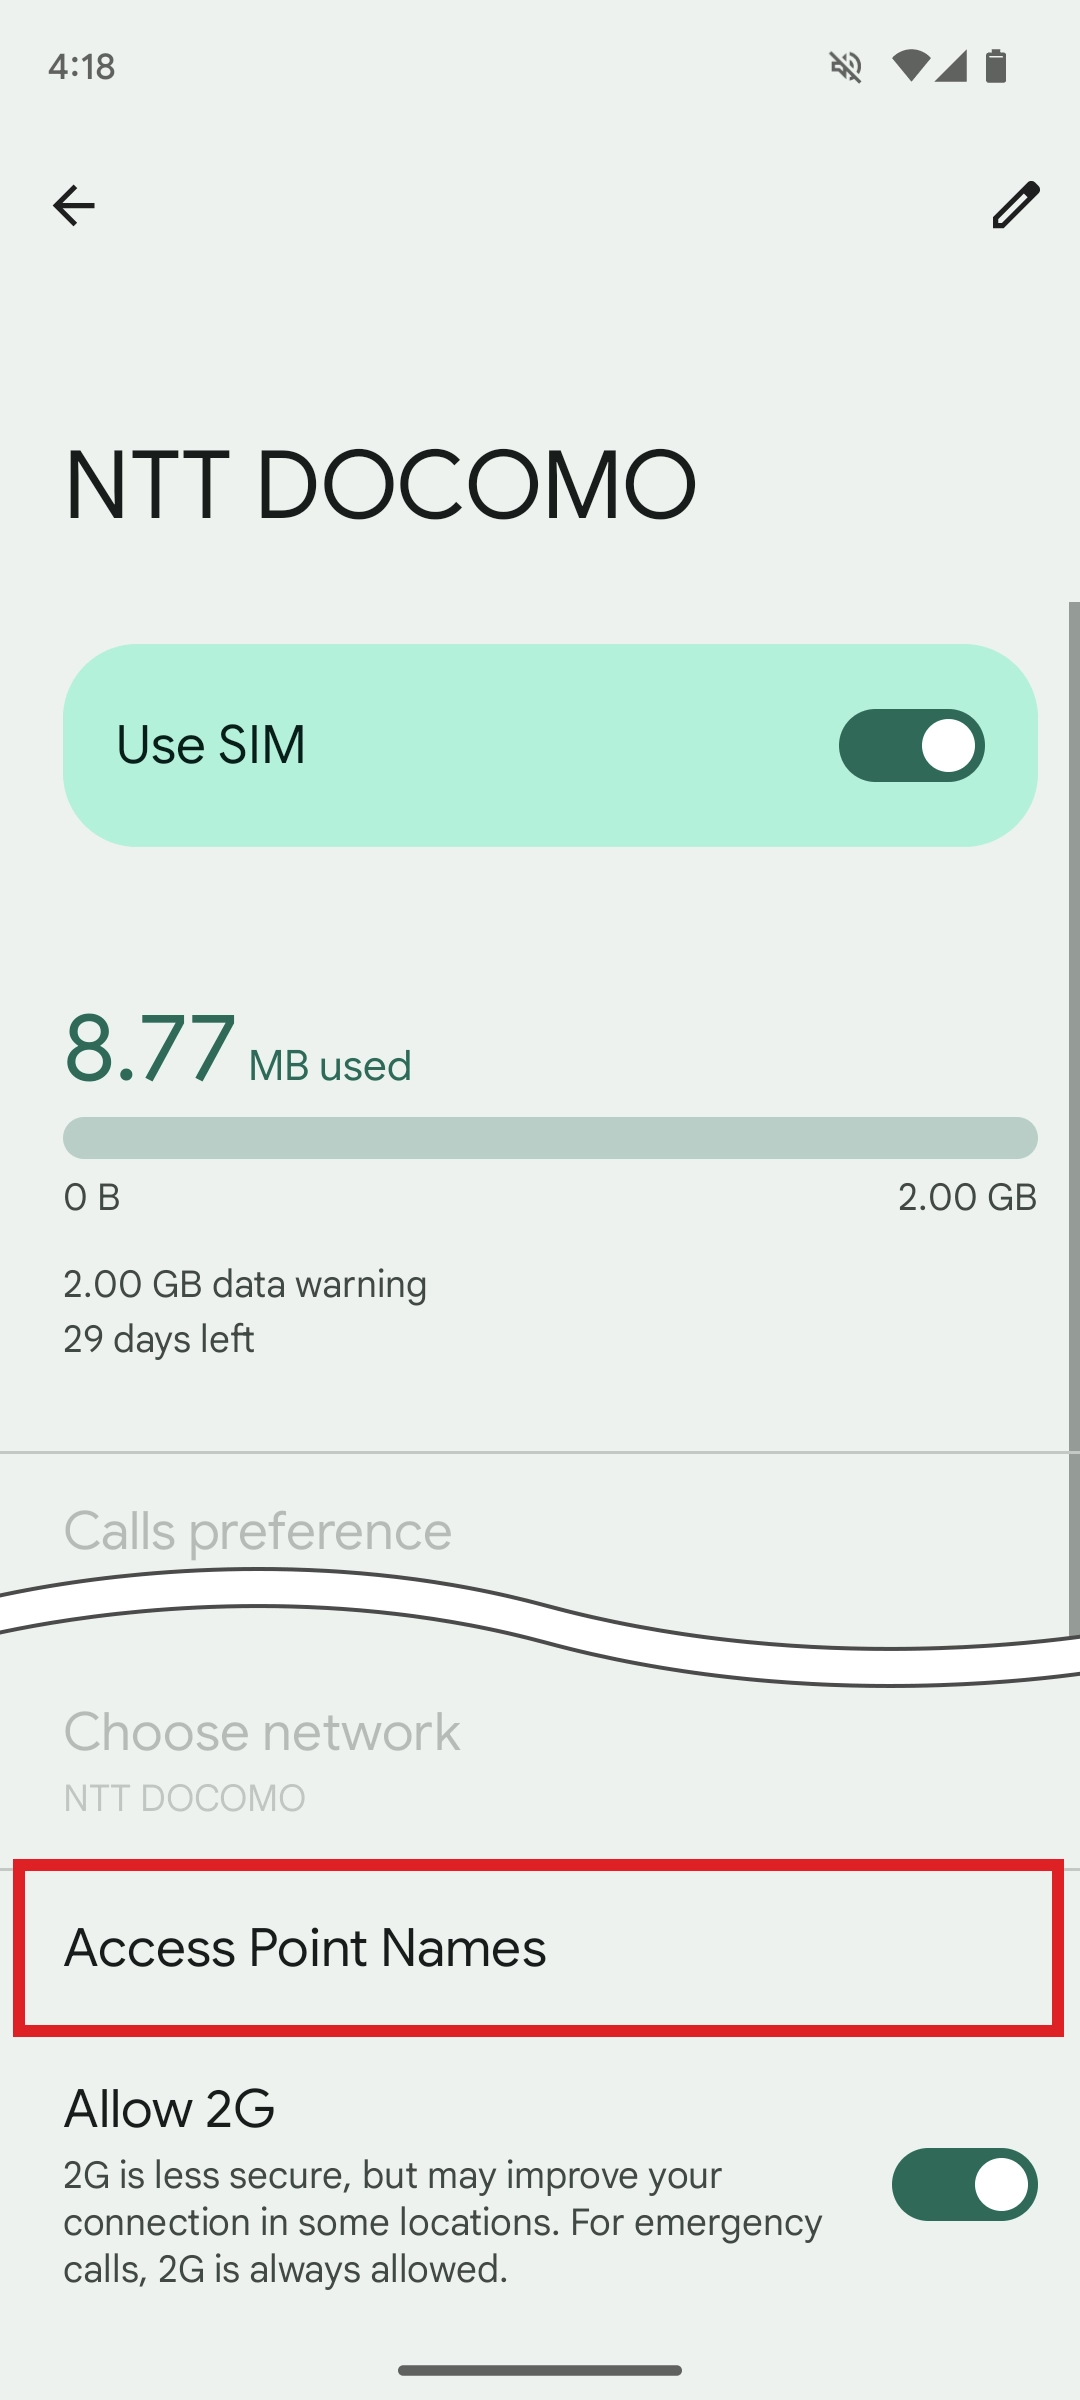
Scroll down the screen and tap Access Point Names.
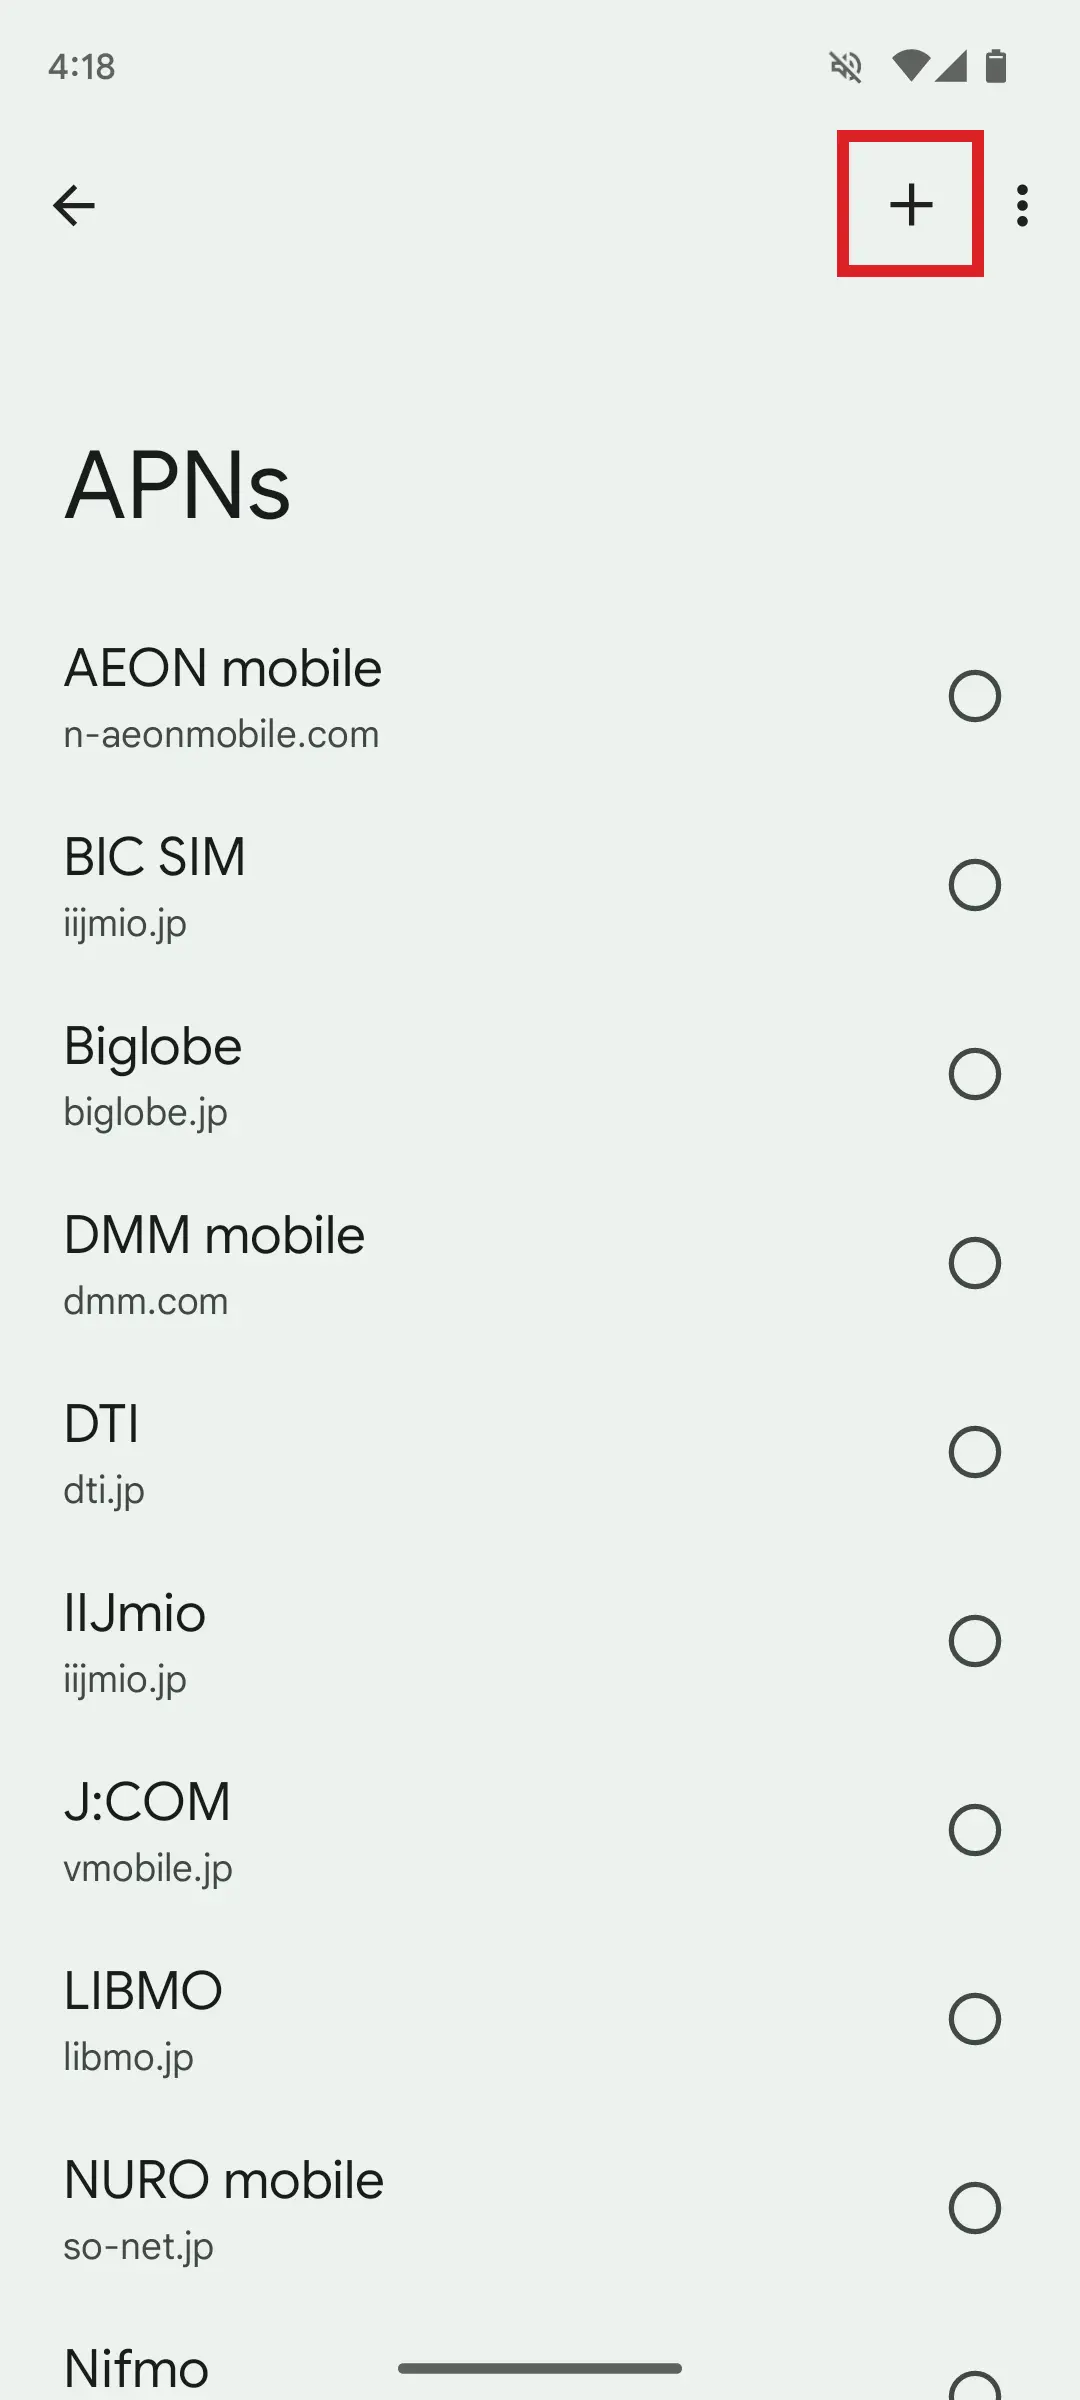
Tap + in the upper right-hand corner.
-
STEP4
Edit access point
Depending on your subscription plan, enter as follows.

If your plan is 3 Giga/7 Giga/110 MB/Day/20 Giga/50 Giga Plan
Supports LTE (XI) Supports 3G (FOMA) ①Name Asahi Net LTE - *Name (or title) could be anything.
②APN lte.mobac.net 3g.mobac.net ③Username d@w.asahinet.jp
- *If you have a fixed IP address
d@w3.asahinet.jp
- *If you have a fixed IP address
④Password 0000 (zero, zero, zero, zero) ⑤Authentication type PAP or CHAP If your plan is 128K Plan
Supports LTE (XI) Supports 3G (FOMA) ①Name Asahi Net LTE - *Name (or title) could be anything.
②APN lte.mobac.net 3g.mobac.net ③Username d@x.asahinet.jp
- *If you have a fixed IP address
d@x3.asahinet.jp
- *If you have a fixed IP address
④Password 0000 (zero, zero, zero, zero) ⑤Authentication type PAP or CHAP - *Some settings may not be shown depending on your device model or OS.
-
STEP5
Complete settings
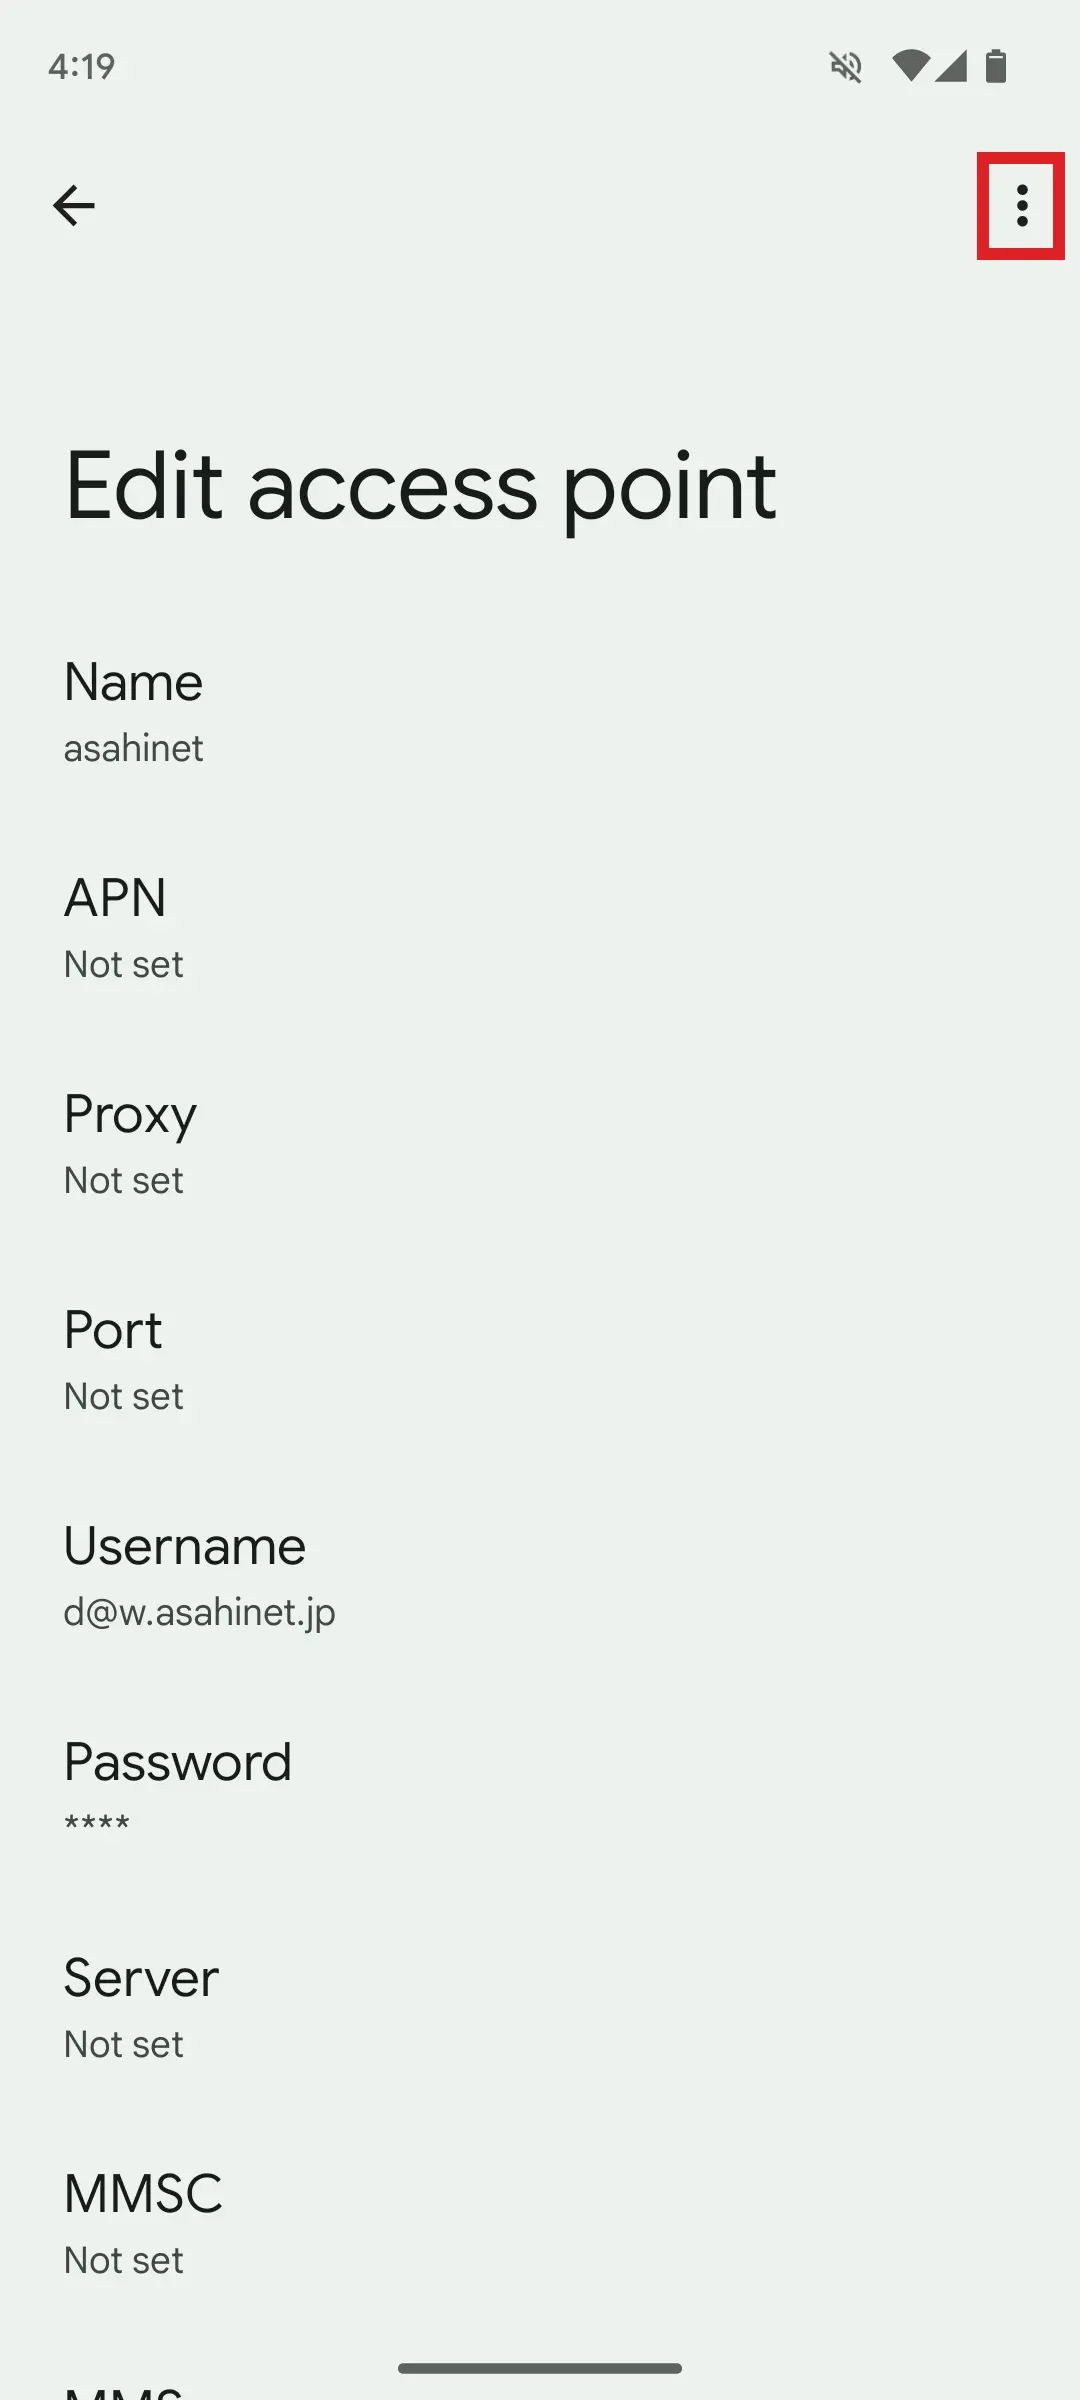
Tap the menu icon in the upper right-hand corner.
Tap Save.
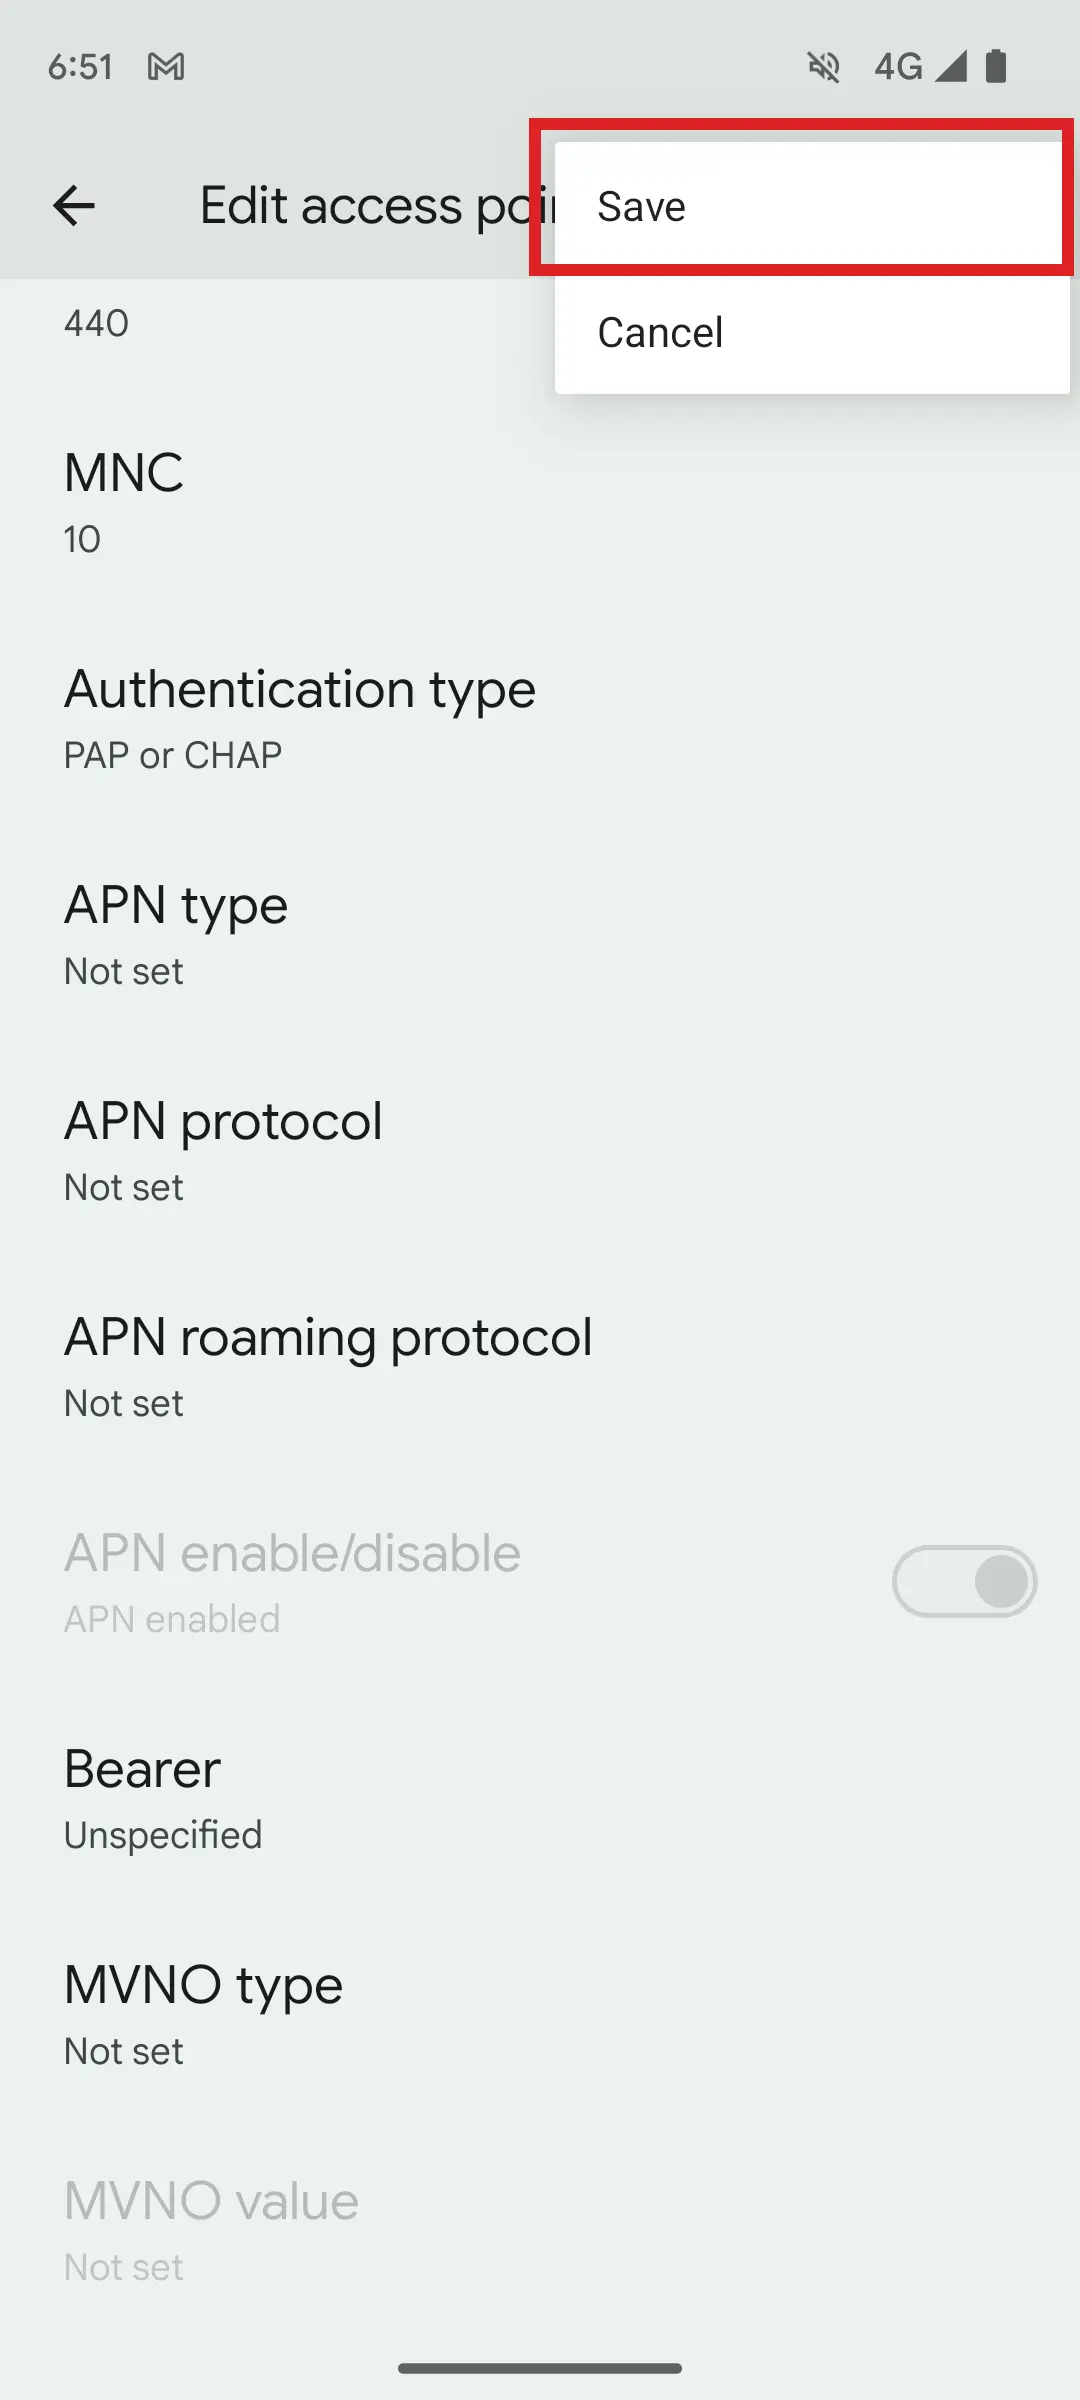
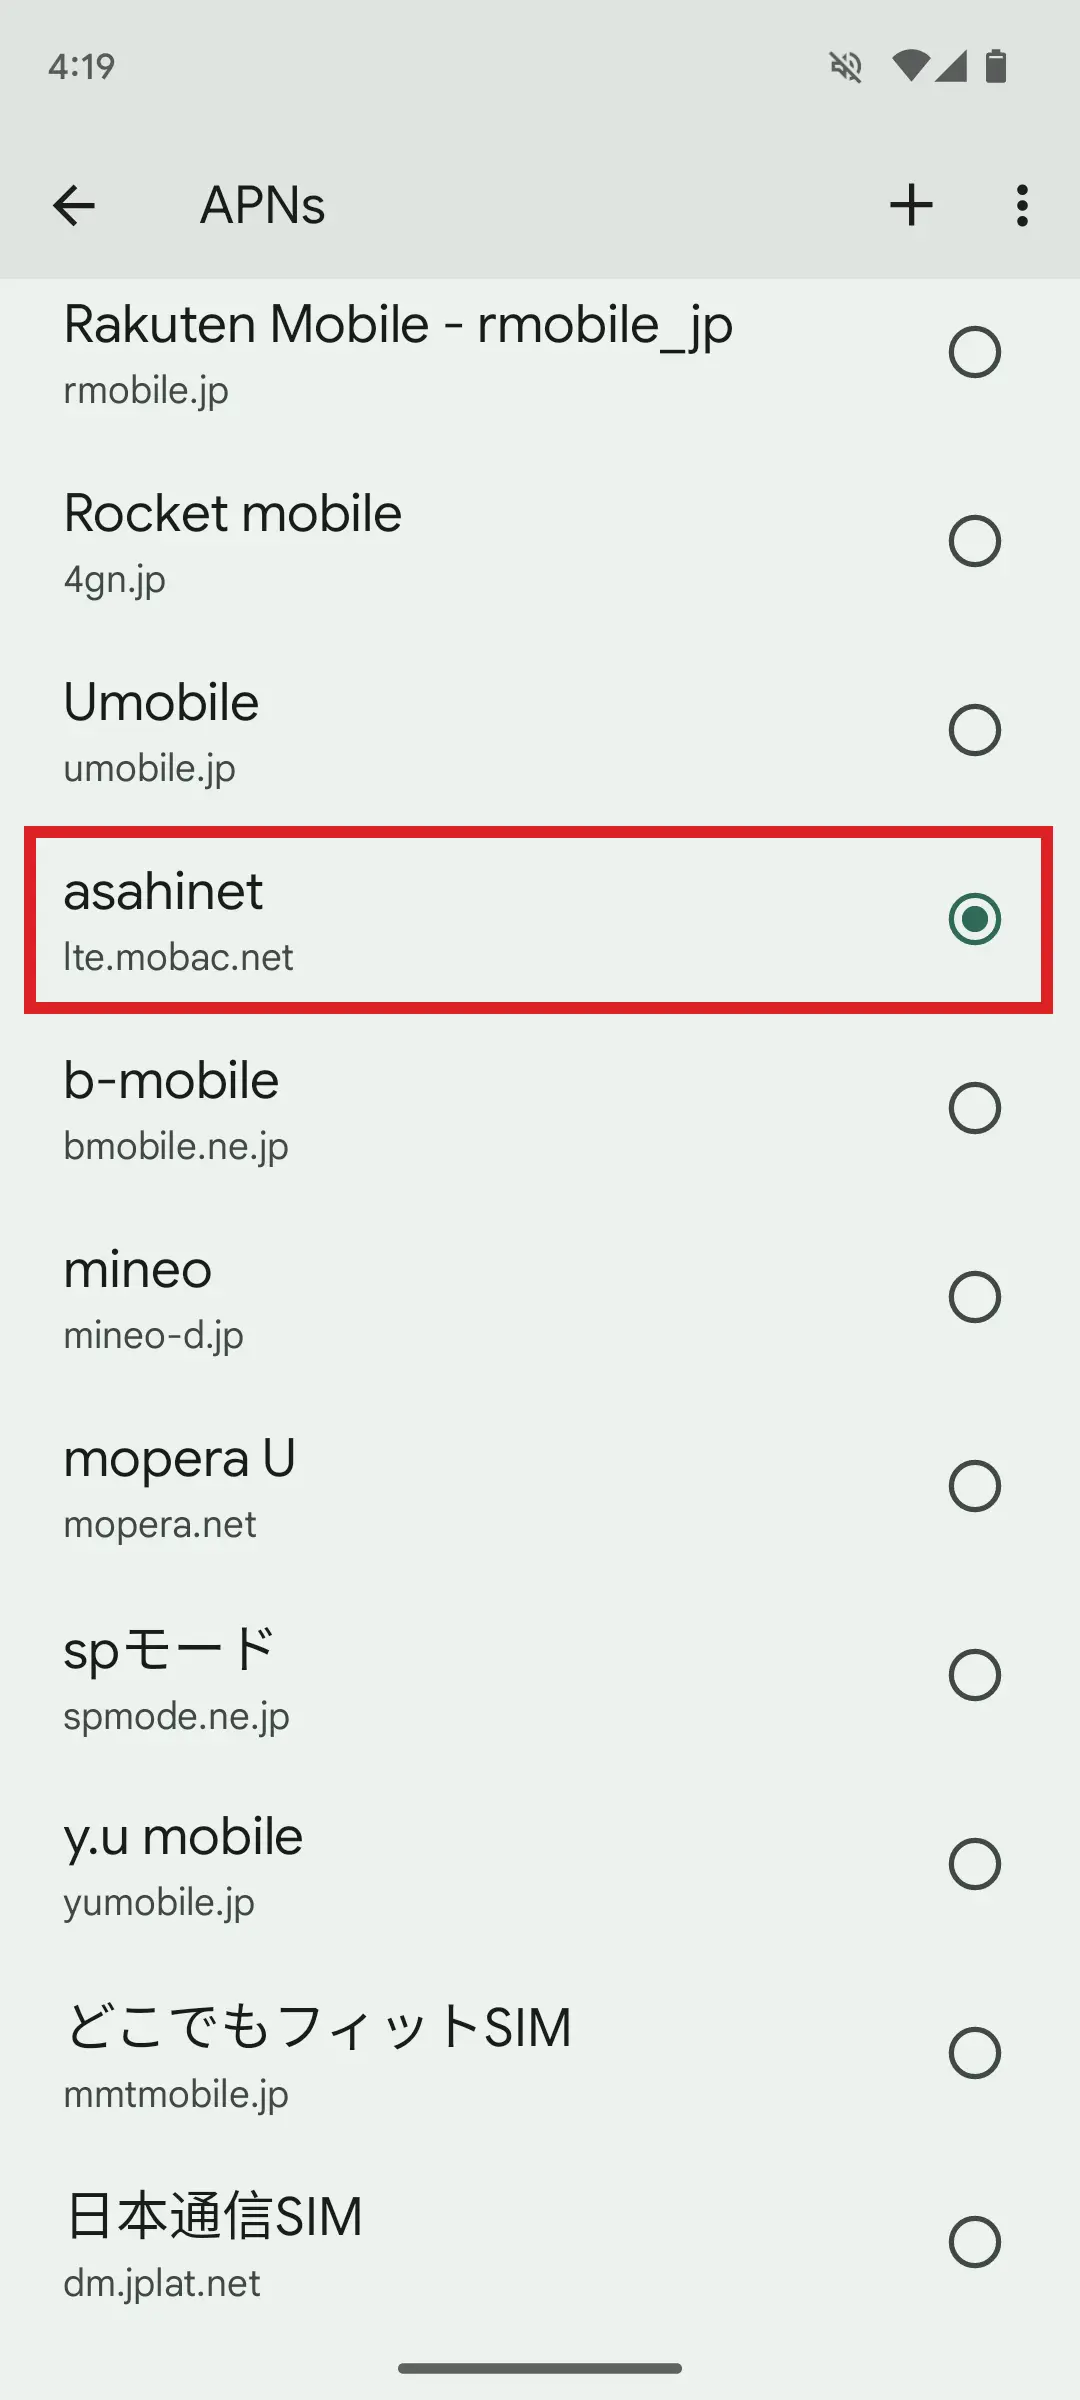
Select the saved APN name shown and setup is complete.
