New Settings for Microsoft Outlook (365/2019 or Later)
- This page explains the steps to check your settings for Windows Microsoft Outlook (Office365 version 2002/delivered February 2020).
- The items referred to with brackets (= [ ]) in this guide are unique data to each customer.
In actual settings, please replace them with your own information. - The [ASAHI Net User ID] used in this guide as an example is [ab4t-ash].
- You need to be connected to the internet in order to follow the steps below.
- Settings for IMAP function could be found in the following page.
Startup
-
STEP1
Start the software
To start Outlook, click the Outlook icon
 in the Start menu or the icon
  on the desktop.
 -
STEP2
Startup
The appearance of the window after startup differs depending on your Outlook version.
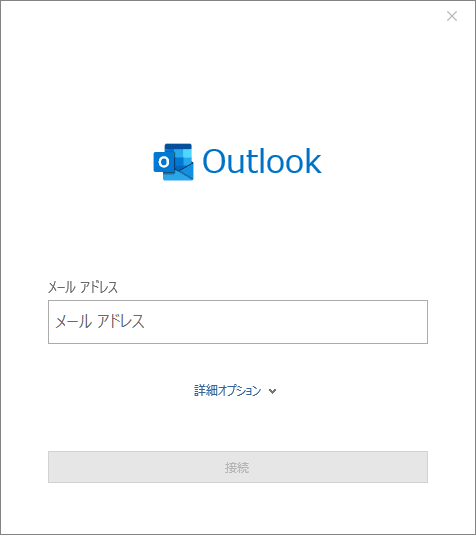
Configure your settings as indicated on the window.Launching for the first time
If the following window appears, follow the steps in Adding a new Account.
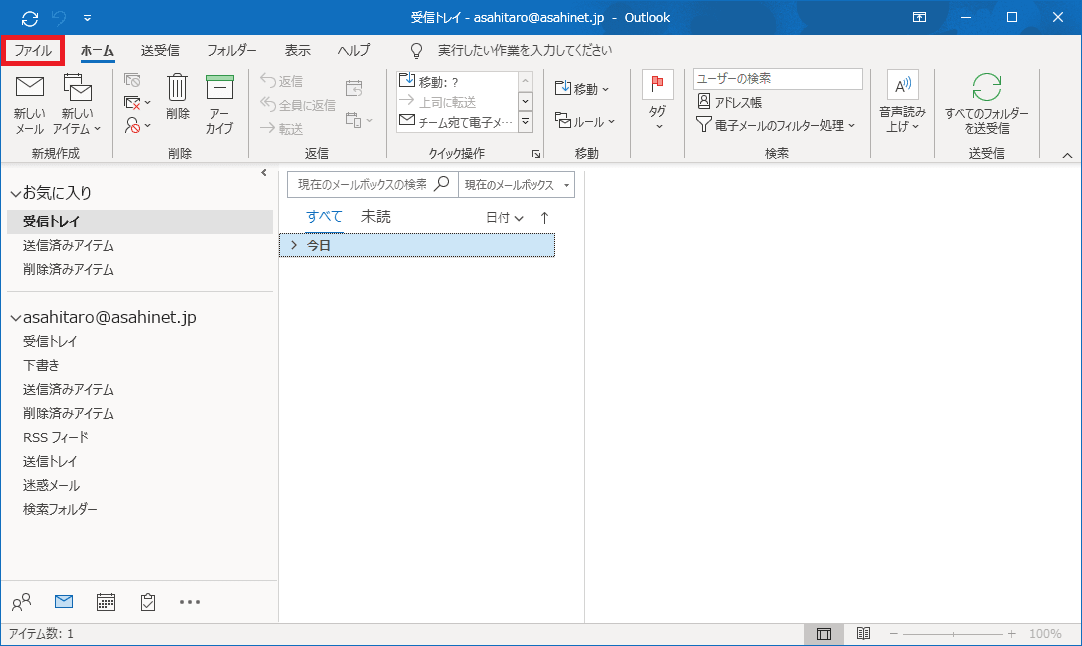
If the main window of Outlook appears
If the main window of Outlook appears, follow the steps below:
Click ファイル (= File) in the top left.
Select アカウントの追加 (= Add Account).
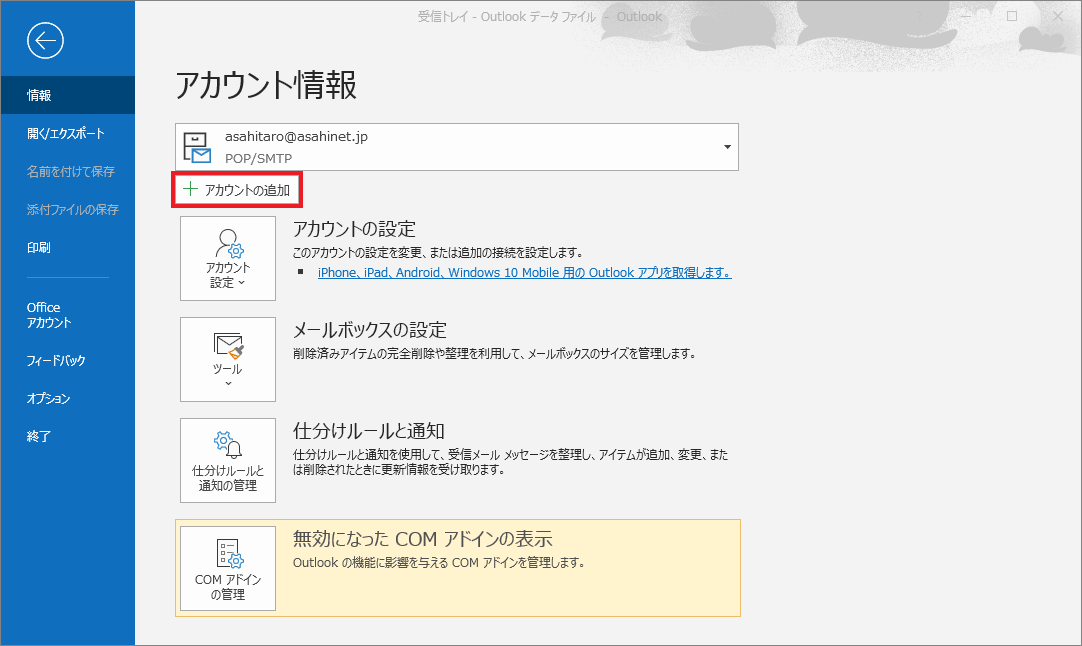
After that, follow the steps in Adding a new account.
Adding a new account
-
STEP3
Enter email address
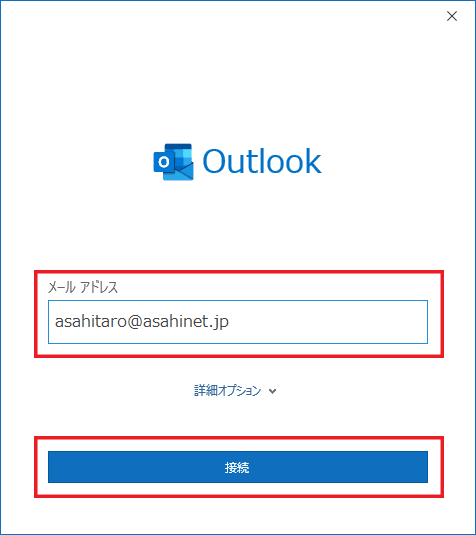
Email address [Your email address]
E.g., asahitaro@asahinet.jpRefer to the above to set up, and click 接続 (= Connect).
-
STEP4
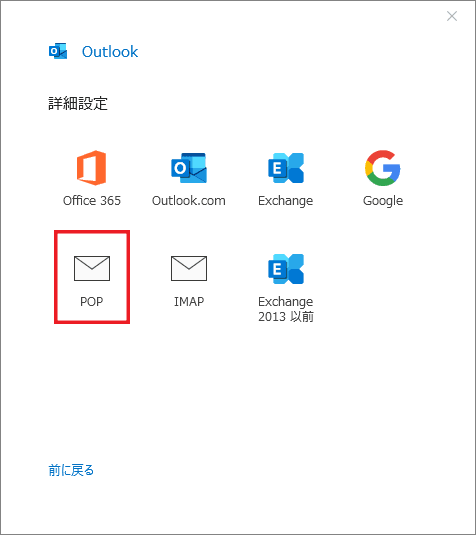
Select Account type or Advanced setup
Select POP.
-
STEP5
POP account settings
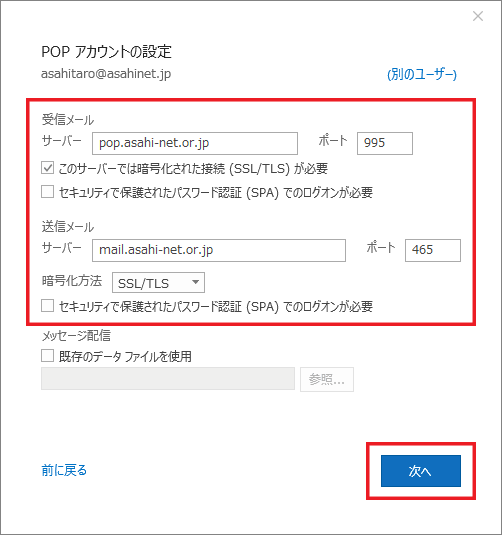
受信メール (= Incoming mail)
サーバー
Serverpop.asahi-net.or.jp ポート
Port995 このサーバーでは暗愚化された接続(SSL/TLS)が必要
This server requires an encrypted connection (SSL/TLS)Place a check mark セキュリティで保護されたパスワード認証(SPA)でのログオンが必要
Require logon using Secure Password Authentication (SPA)Do not place a check mark 送信メール (= Outgoing mail)
サーバー
Servermail.asahi-net.or.jp mails.asahi-net.or.jp - *If you are subscribed to Email Virus Check.
ポート
Port465 暗号化方式
Encryption methodSelect SSL/TLS セキュリティで保護されたパスワード認証(SPA)でのログオンが必要
Require logon using Secure Password Authentication (SPA)Do not place a check mark Refer to the above to set up, and click 次へ (= Next).
-
STEP6
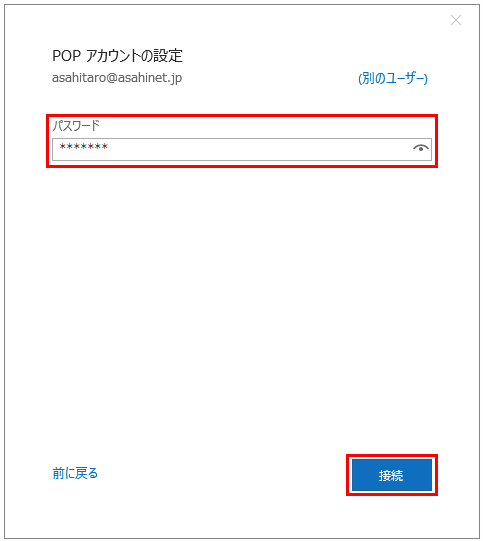
Enter password
Enter a [password which corresponds to the Asahi Net ID] and click 接続 (= Connect).
-
STEP7
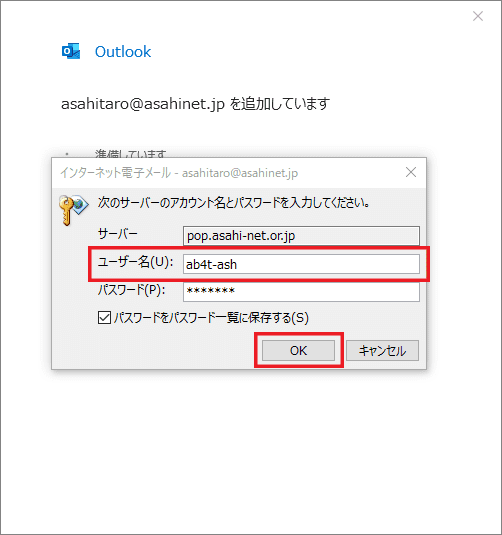
Enter user name
Change ユーザー名 (= User name) to an ID which you can use, and click OK.
-
STEP8
Complete
Click 完了 (= Done). Your account has been set up, and the Outlook window will appear.

The following steps show how to set sender name.
Setup of sender name
-
STEP9
Account information
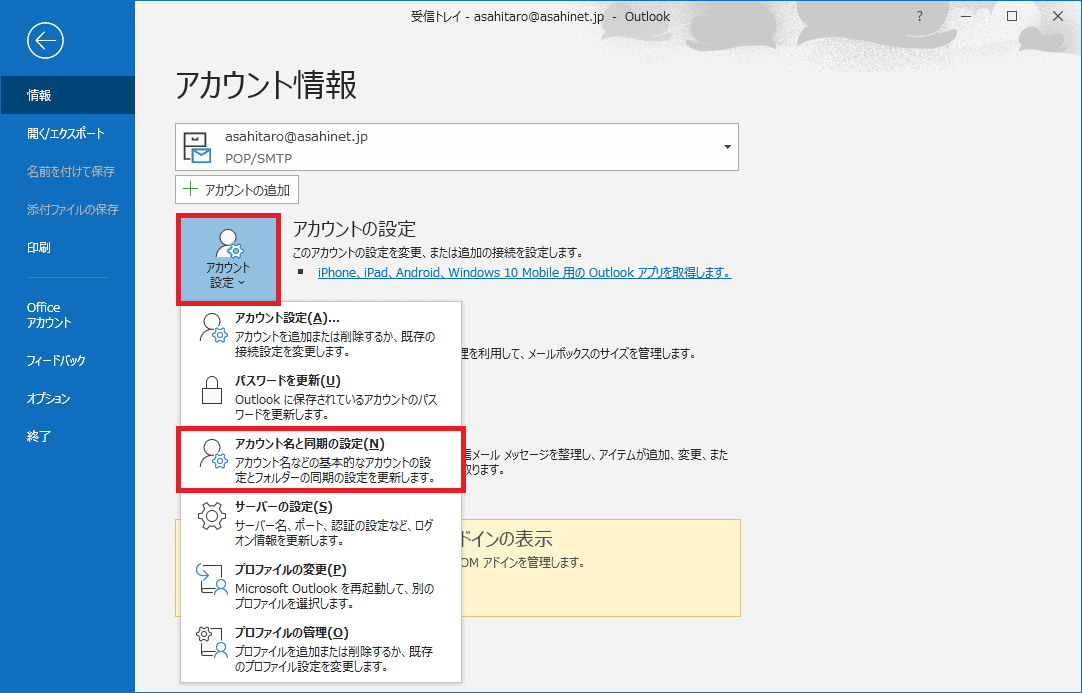
Go to アカウントの設定 (= Account Settings) and click アカウント名と同期の設定 (= Account Name and Sync Settings).
-
STEP10
POP Account Settings
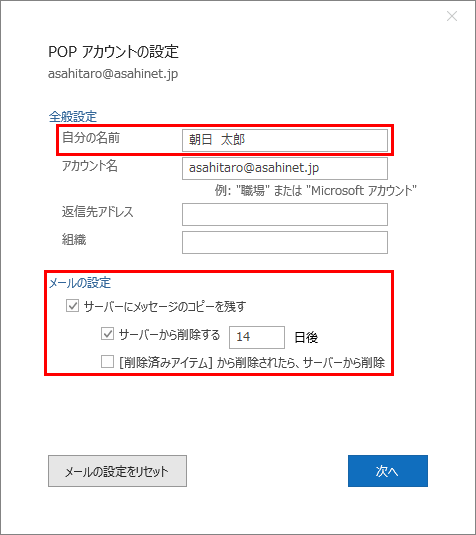
Change the 自分の名前 (= Your Name) field (to any name you want to use).
The name entered here will be the sender name.全般設定 (= General Settings)
自分の名前
Your nameUser name (as you like)
E.g., Tarou Asahiメールの設定 (= Email settings)
サーバーにメッセージのコピーを残す
Leave a copy of messages on the server(As you like) Refer to the above to set up, and click 次へ (= Next).
-
STEP11
Complete
Click 完了 (= Done).
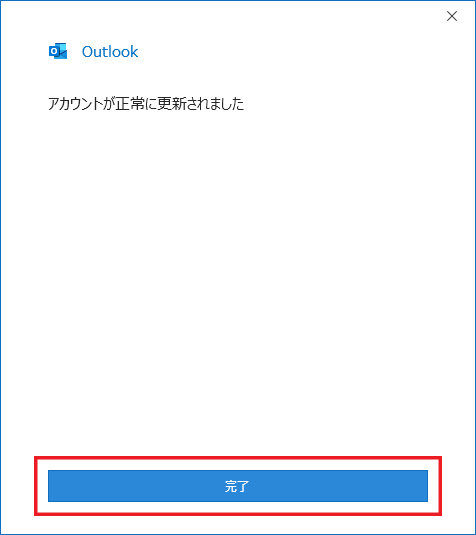
Setting up a new email account is done.
| Asahi Net ID | E.g., ab4t-ash |
|---|---|
| Family ID | Eg., ab4t-ash |
| Mail ID | E.g., m1234ab567c |
| Asahi Net ID | Eg., ab4t-ash |
|---|---|
| Family ID | Eg., ab4t-ash |
| Mail ID | E.g., m1234ab567c |