Confirm Settings for Outlook for Windows (Outlook New)
- This page explains the steps to confirm account settings for Outlook for Windows (ver. 1.2025.1209.500).
-
The items referred to with brackets (= [ ]) in this guide are unique data to each customer.
In actual settings, please replace them with your own information.
To use Outlook for Windows, please apply for the IMAP Function.
IMAP Function: Service Page
Confirm Settings
-
STEP1
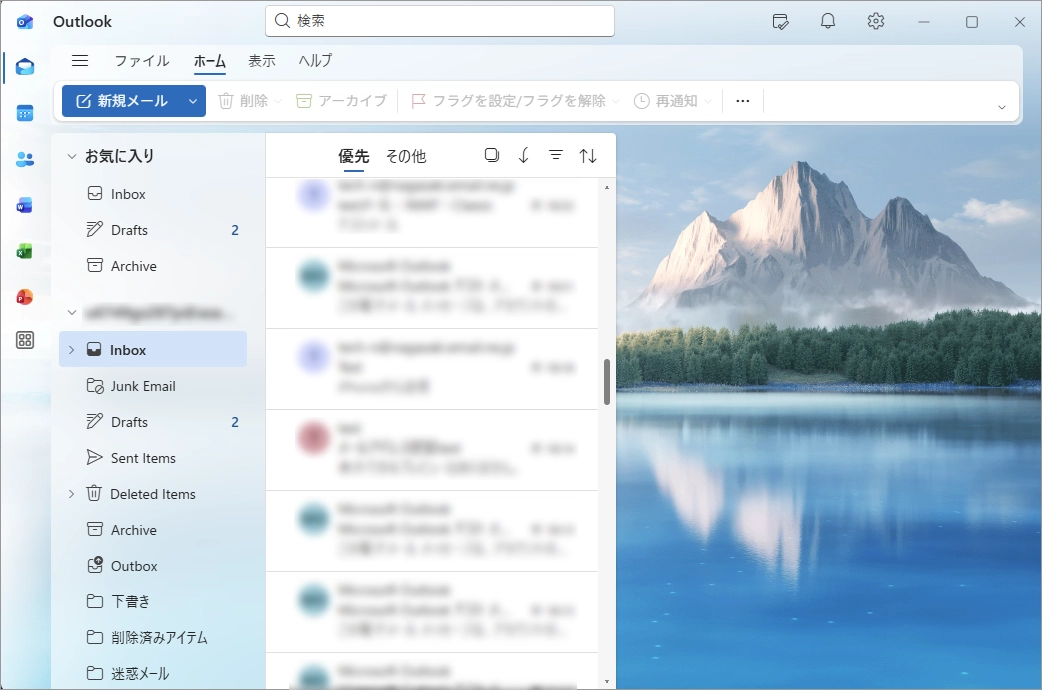
Start the software
To start Outlook for Windows, click the Outlook icon in the Start menu or the icon on the desktop.
The settings differ from Outlook Classic.
If you are using the Outlook version with either of the icons below or if the steps written in this guide differ from your screen, please refer to the following setup guide.
New Settings for Microsoft Outlook (365/2019 or Later) -
-
STEP2
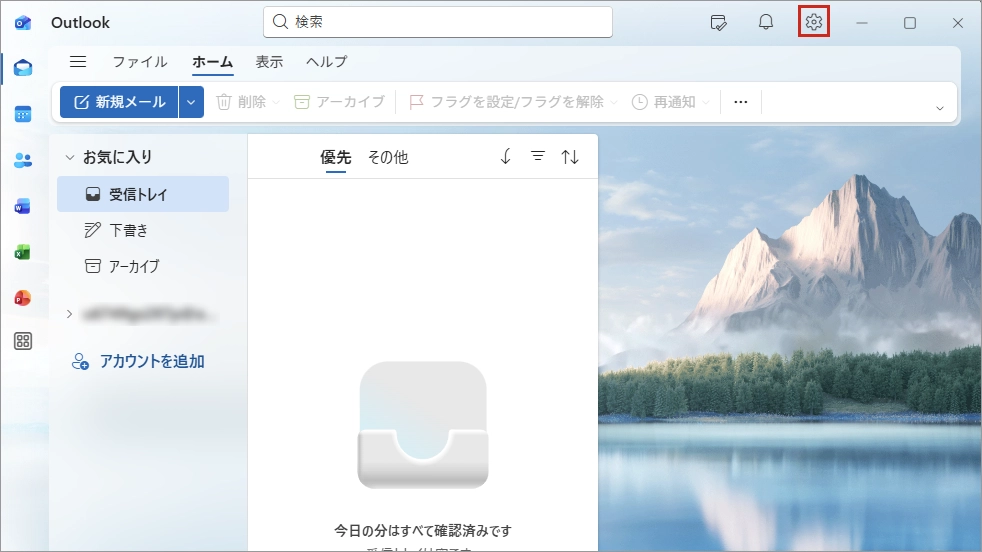
Main window
When Outlook for Windows is launched, click the gear icon in the upper right-hand side of the window.
-
STEP3
Select an account
Click 管理 (= Manage) of the email address you want to check the settings.

-
STEP4
Confirm account settings
Check the settings by referring to the following image.
If you need any correction, click 修復 (= Repair) in the bottom.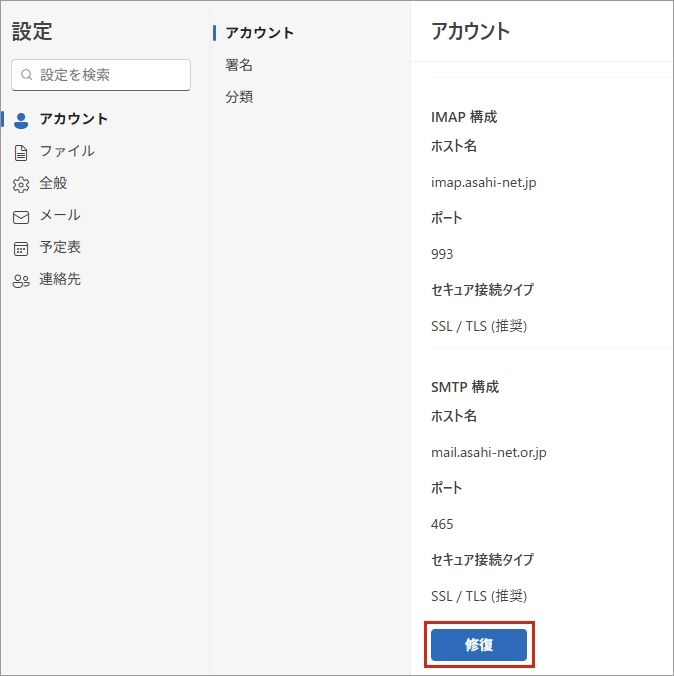
-
STEP5
Enter setup information
If you click 修復 (= Repair), the setup window will be shown. Refer to the following table to set up, and click 続行 (= Continue).
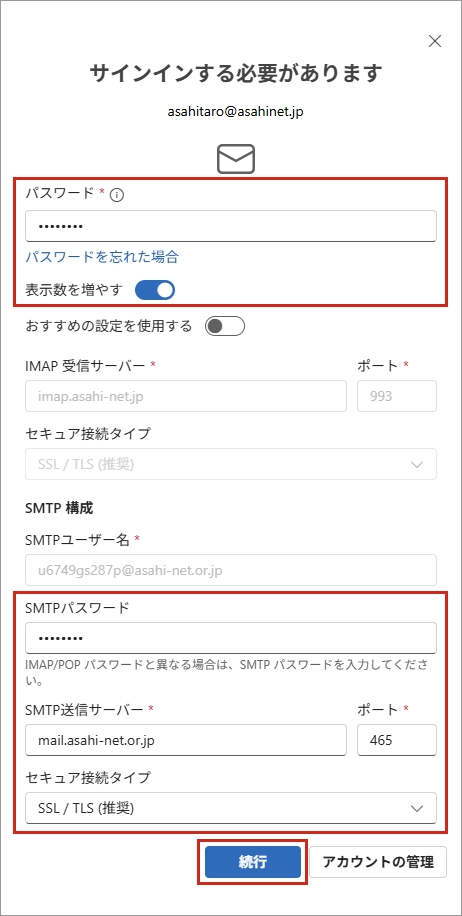
パスワード (= Password) [Password corresponds to the Asahi Net ID] - *Enter all in lowercase characters.
表示数を増やす(= Show more) Enable おすすめの設定を利用する (= Use recommended settings) Disable 受信サーバー (= IMAP Incoming server) Unchangeable ポート (= Port) Unchangeable セキュア接続タイプ (= Secure connection type) Unchangeable SMTPユーザー名 (= SMTP username) Unchangeable SMTPパスワード (= SMTP password) [Password corresponds to the Asahi Net ID] - *Enter all in lowercase characters.
SMTP 送信サーバー (= SMTP Outgoing server) mail.asahi-net.or.jp ポート (= Port) 465 セキュア接続タイプ (= Secure connection type) SSL/TLS(推奨) (= SSL/TLS [Recommended]) - *IMAP server settings and SMTP username cannot be changed.
If you wish to change them, please delete the account and create an another account.
-
STEP6
Setting Complete
Click x to close the window. If you are able to receive email your setup is complete.