How to Complete Windows 10 Dial-up Connection Settings New Settings
Before making the configuration, ensure that...
1. Your Asahi Net Course/Plan supports connection to the access point.
Be aware that the Plan you are using incorporates a base total number of dial-up hours per month; connections in excess of the base total will be charged at an excess usage rate - please refer to our Web pages for details or contact Asahi Net before making a dial-up connection.
2. You are prepared for connection.
You will need a dial-up device to make a dial-up connection. Typically this will be an internal analog modem or an external analog modem which you have connected to your computer. You will then connect your phone line to the modem and use the following configuration guide to configure your computer to make the connection.
New Settings
-
STEP1
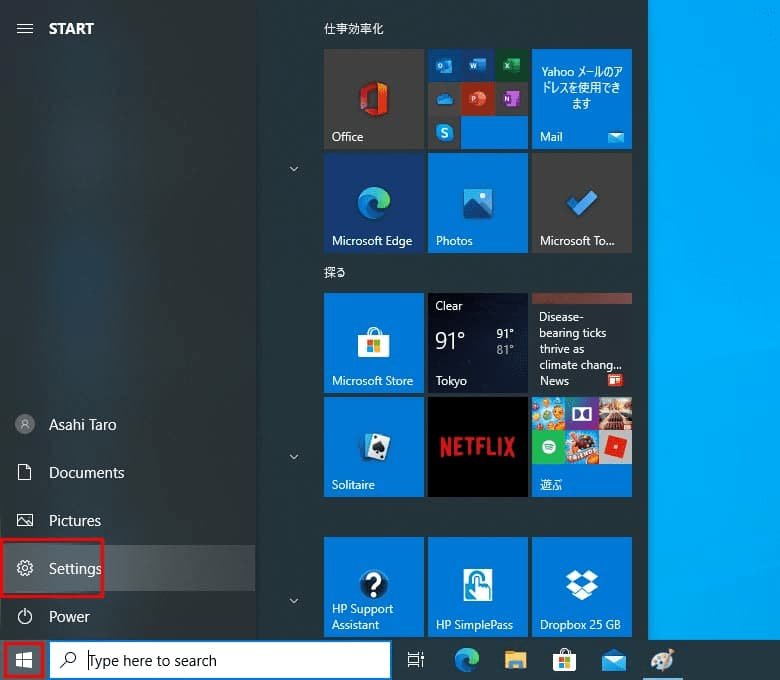
Start Menu
Click the Start button (in this case, bottom left-hand side) and select Settings.
-
STEP2
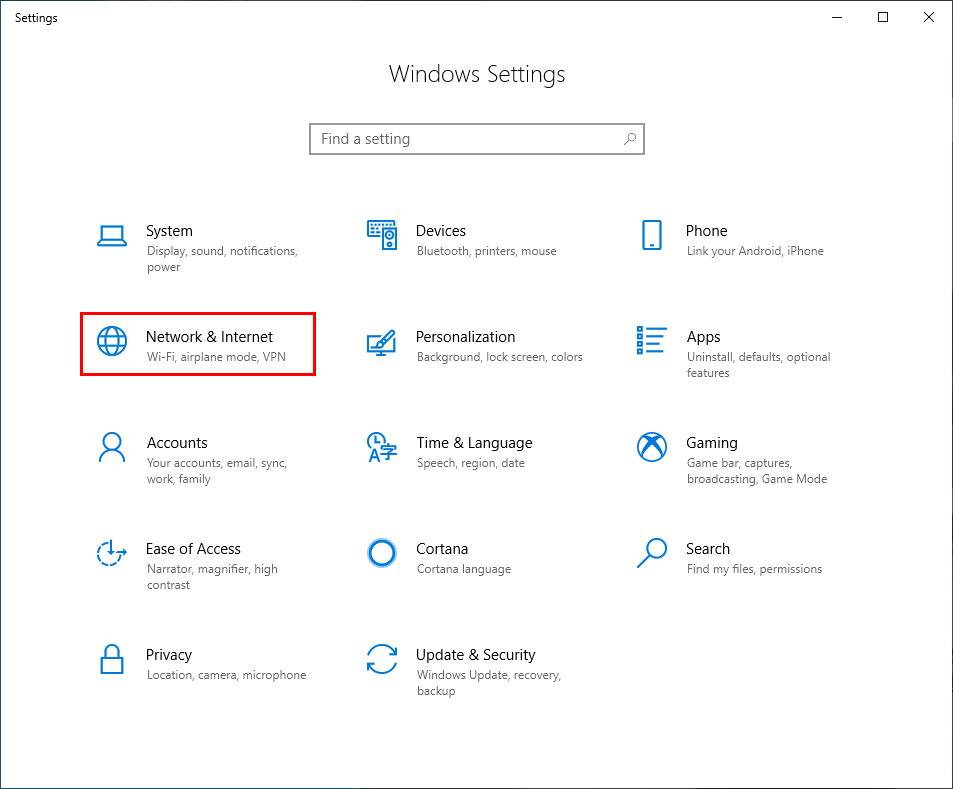
Windows Settings
Click Network & Internet.
-
STEP3
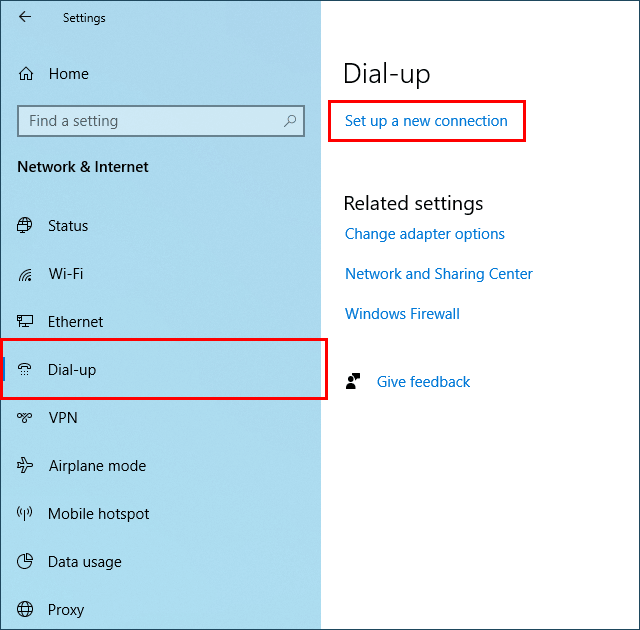
Dial-up
Select Dial-up and click Set up a new connection.
-
STEP4
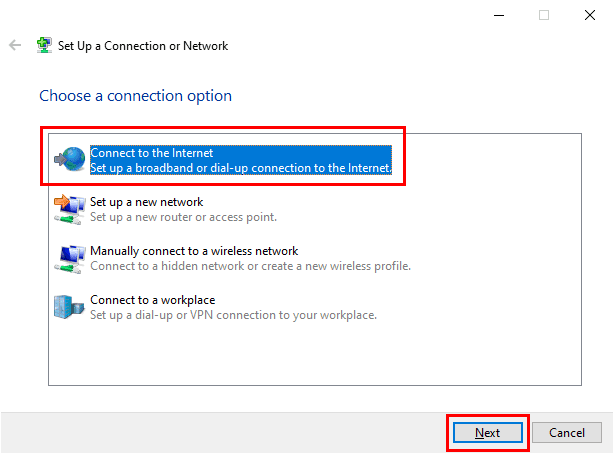
Choose a connection option
Select Connect to the Internet and click Next.
-
STEP5
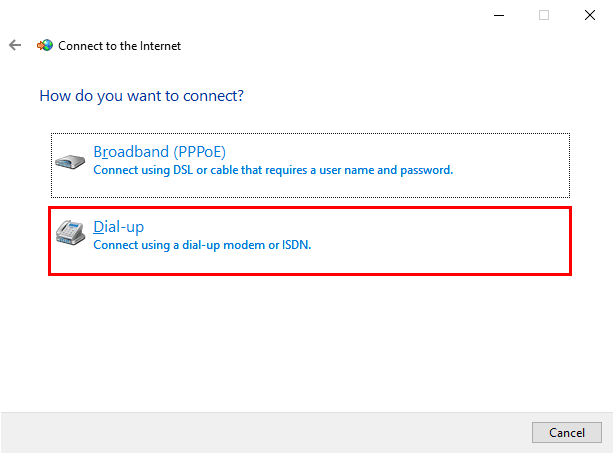
How do you want to connect?
Select Dial-up.
-
STEP6
Type the information from your Internet service provider (ISP)
Click Connect after entering the values.
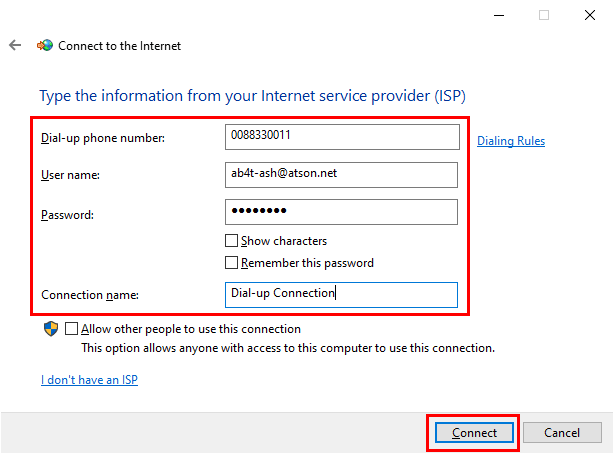
Dial-up phone number 0570-055-027 User name Asahi Net ID@atson.net
(E.g., ab4t-ash@atson.net)Password Asahi Net password corresponding to the ID
(Use lowercase characters)Connection name Any name (E.g., Dial-up connection) -
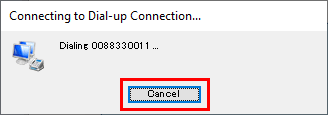
STEP7
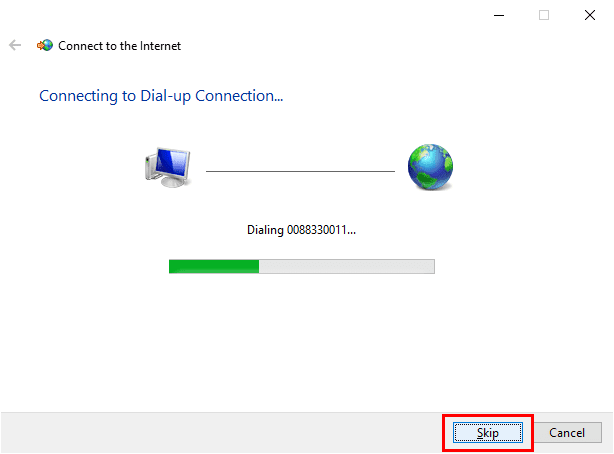
Skip
When a message Connecting to Dial-up Connection... appears, click Skip.
-
STEP8
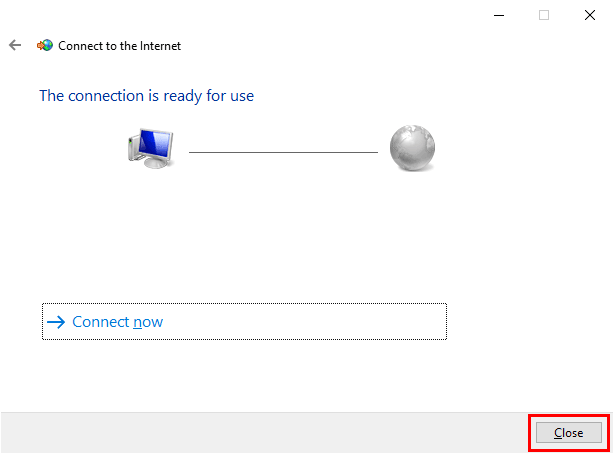
Close
When a message The connection is ready for use appears, click Close.
-
STEP9
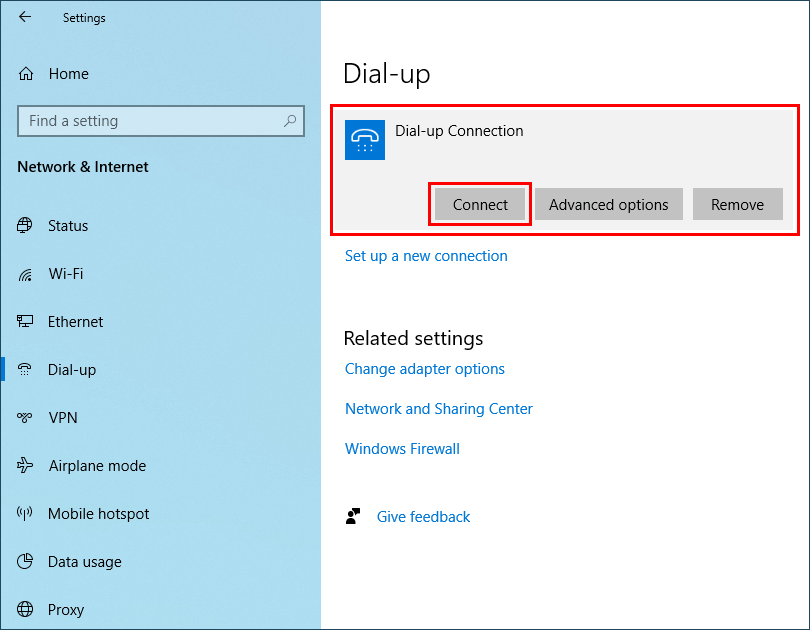
Dial-up
Click Connect for the newly set connection (Dial-up Connection, etc.)
-
STEP10
Dial-up Connection Properties
When Connection window appears, click Properties.

-
STEP11
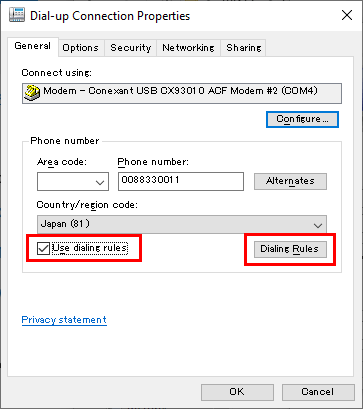
Properties - General
Put a check mark in Use dialing rules and click Dialing Rules.
-
STEP12
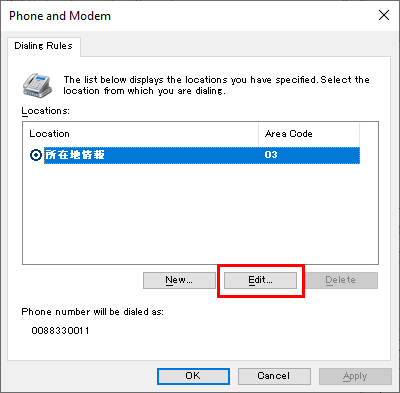
Phone and Modem
Click Edit.
-
STEP13
Edit Location
When settings are completed, click OK.
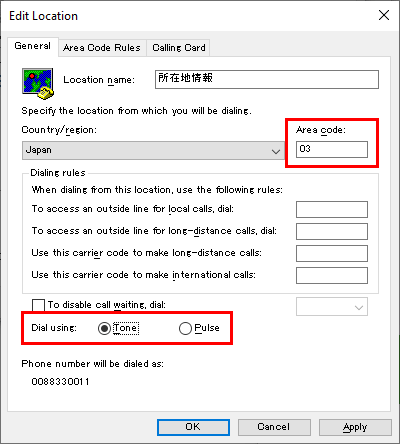
Area code Enter the local area code of the place you live. Dial using Select Tone or Pulse in accordance with the phone line you are using. -
STEP14
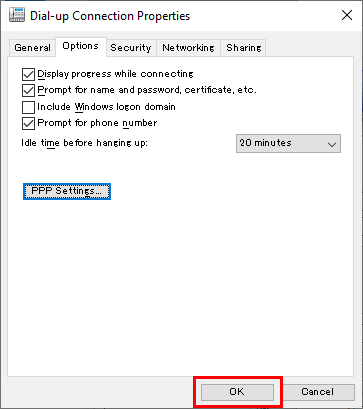
Properties - Options
Set options at your preference (the default is recommended), and then click PPP Settings...

-
STEP15
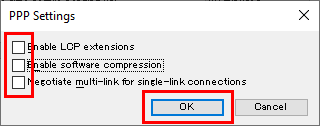
PPP Settings
Remove all check marks and click OK.
-
STEP16
Properties - OK
After returning to the Properties window, click OK.
-
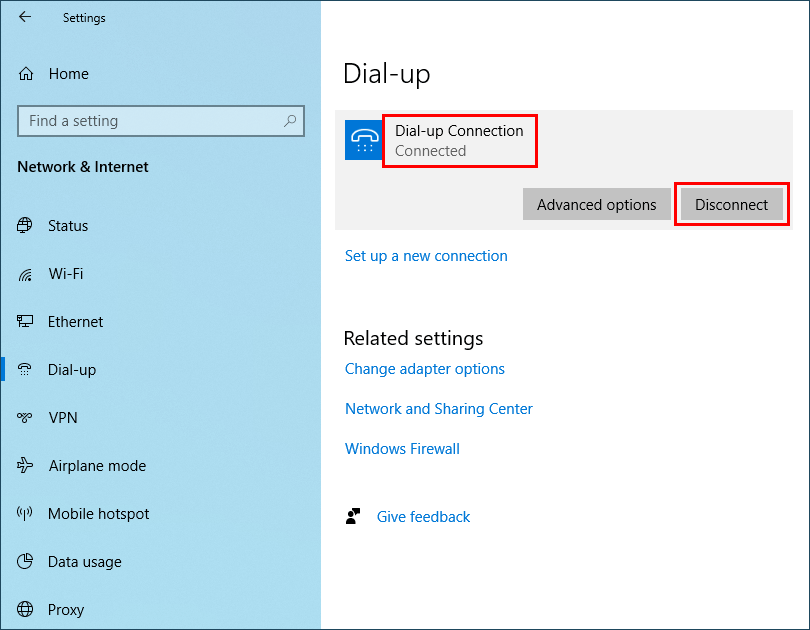
STEP17
Connection Test
Perform a connection test if there is no problem with the connection.
Click Dial.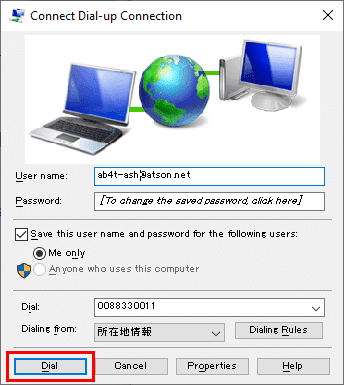
Connection starts when the above message appears.
When connection is established, Connected appears.
Click Disconnect to end the connection test.