Confirm Settings for Windows 10 Mail App
Asahi Net does not recommend the use of Windows 10 Mail App for Asahi Net email.
Unlike other mailers, Windows 10 Mail App brings the mailbox status on a server to the app. That means, email deleted from Web Mail or Asahi Net email which has passed the 180-day storage period will be deleted from the app in sequential order.
- This page explains the steps to confirm account settings for Windows 10 Mail App (ver. 17.7714.42037.0).
-
The items referred to with brackets (= [ ]) in this guide are unique data to each customer.
In actual settings, please replace them with your own information. - The [ASAHI Net User ID] used in this guide as an example is [ab4t-ash].
- Settings for IMAP function could be found in the following page.
Mailer Setup: Before Setting Up
Confirm Settings
-
STEP1
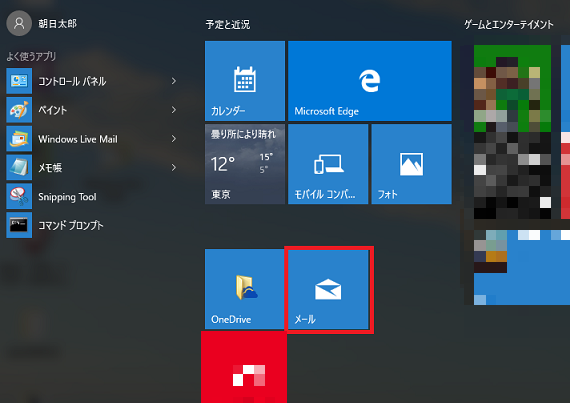
Start the app
In the Start Menu, choose メール (= Mail) to start.
-
STEP2
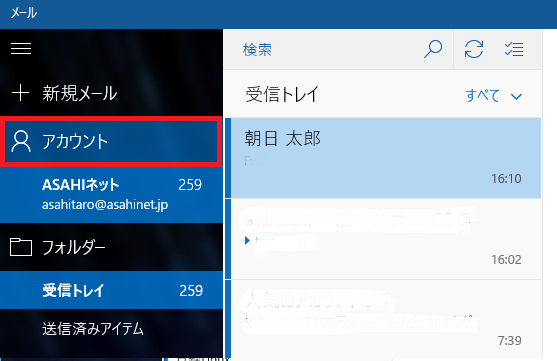
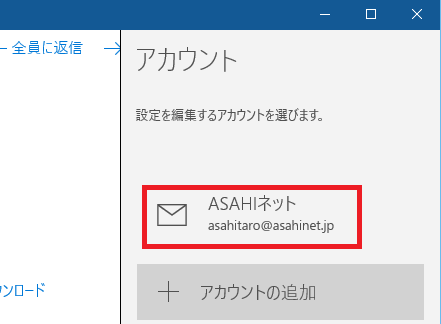
Confirm account
Click アカウント (= Accounts) in the left pane, and then click the account shown in the right pane or the account name shown in the list of アカウント管理 (= Manage Accounts).
-
STEP3
Account settings
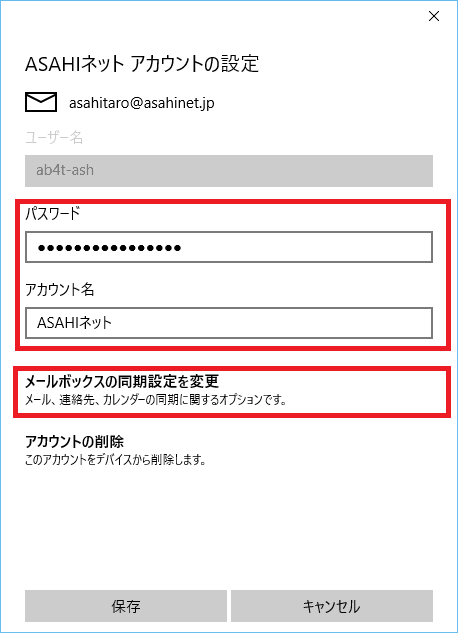
Refer to the following to set up.
アカウント名
Account nameAny name
E.g., Asahi Netパスワード
PasswordYour password - *Enter all in lowercase characters.
After setting up, click メールボックスの同期設定を変更 (= Change the mailbox sync settings).
-
STEP4
Sync settings
- *If you cannot find the setup field, try to scroll down the window.
Refer to the following to set up.
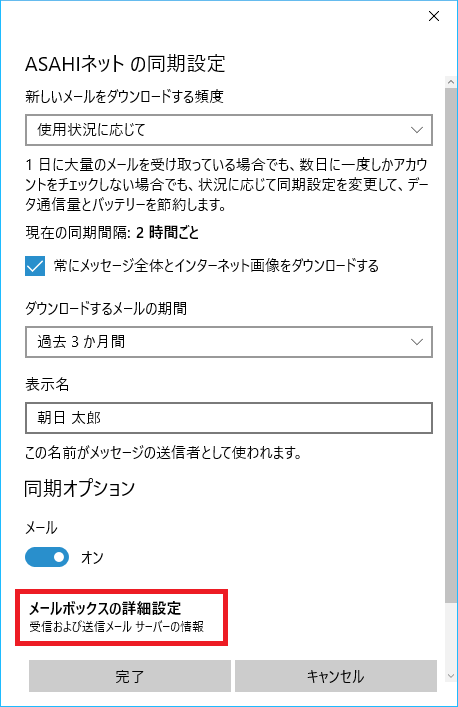
新しいメールをダウンロードする頻度
Download new contentArbitrary 常にメッセージ全体とインターネット画像をダウンロードする
Always download full message and Internet imagesArbitrary ダウンロードするメールの期間
Download email fromArbitrary 表示名
Send your messages using this nameArbitrary 同期オプションメール
Sync options Emailオン
OnAfter setting up, click メールボックスの詳細設定 (= Advanced mailbox settings).
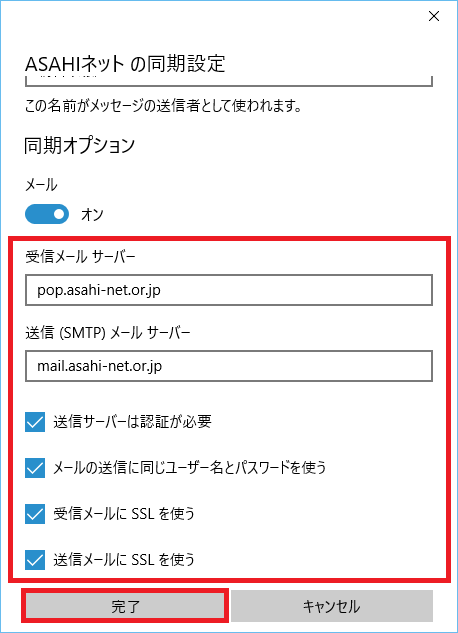
Refer to the following to set up.
送信サーバーは認証が必要
Outgoing server requires authenticationPlace a check mark メールの送信に同じユーザー名とパスワードを使う
Use the same user name and password for sending emailPlace a check mark 受信メールにSSLを使う
Require SSL for incoming emailPlace a check mark 送信サーバーにSSLを使う
Require SSL for outgoing emailPlace a check mark After setting up, click 完了 (= Done).