Confirm Settings for Thunderbird ver.141 : IMAP
- This page gives you information on how to set up the IMAP function.
- To use the IMAP function, you need make an application in prior.
- See the following page for more service details.
Mailer Setup: Before Setting Up - The items referred to with brackets (= [ ]) in this guide are unique data to each customer.
In actual settings, please replace them with your own information. - This page explains the steps to confirm your settings for Thunderbird 141.0 for Windows.
- The [ASAHI Net User ID] used in this guide as an example is [ab4t-ash].
Confirm Settings
-
STEP1
Start the software
Start Thunderbird.

-
STEP2
アカウント設定 (= Account Settings)
Click the menu icon
 in the upper right-hand side of the window.
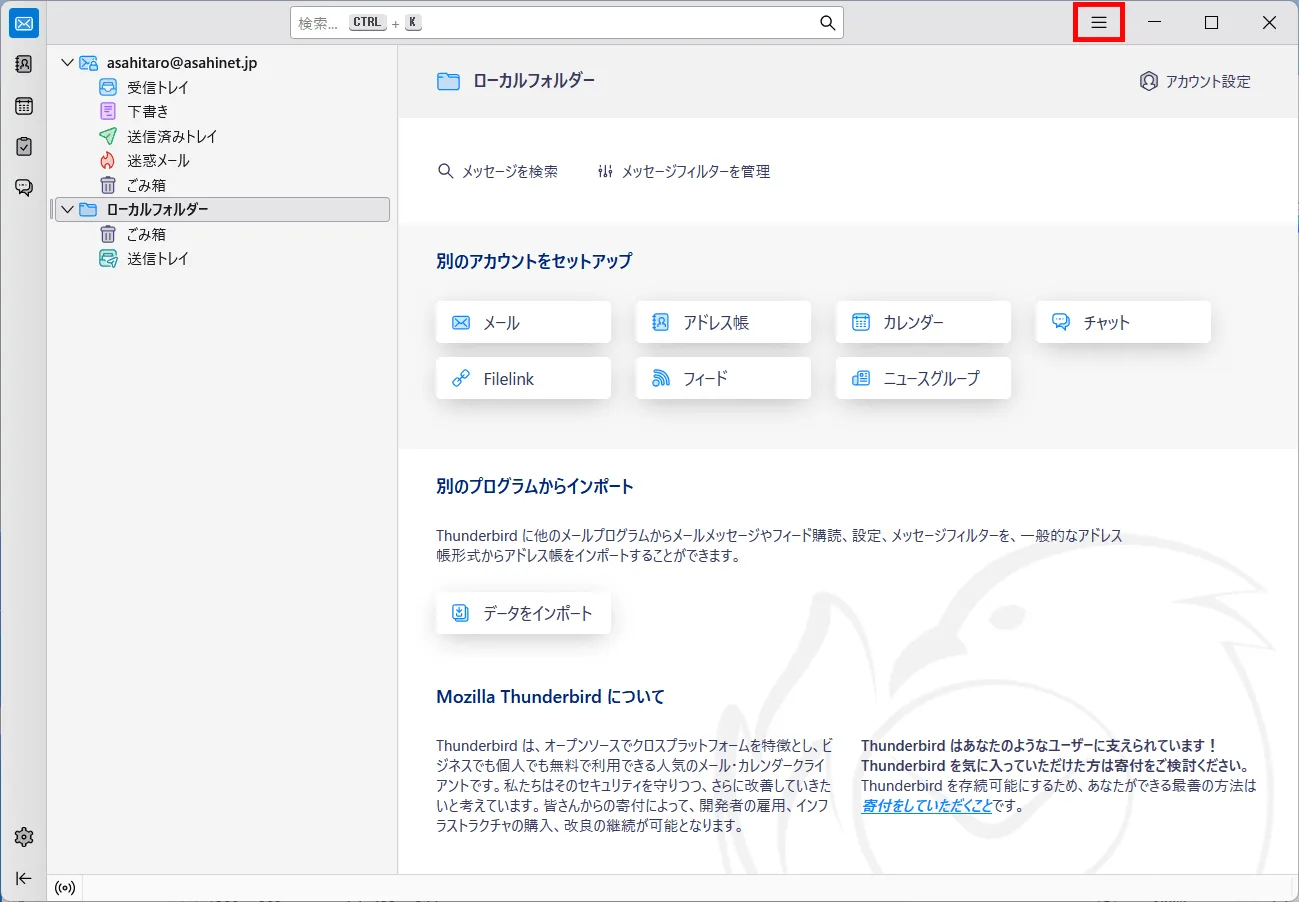
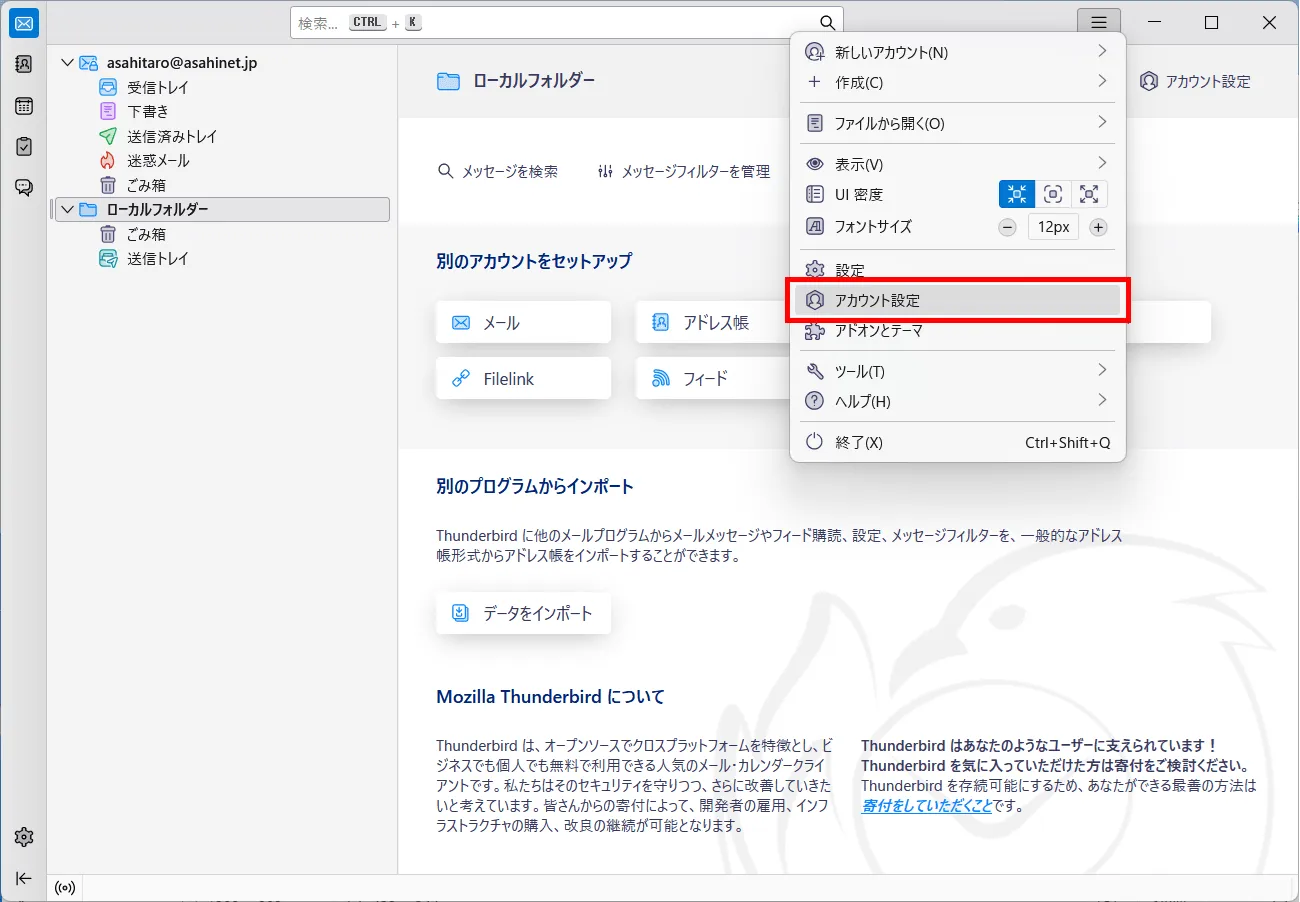
Choose アカウント設定 (= Account Settings) in the menu.
-
STEP3
差出人情報 (= Default Identity)
Choose the email address which you want to confirm in the left menu and check the setting information by referring to the following table.
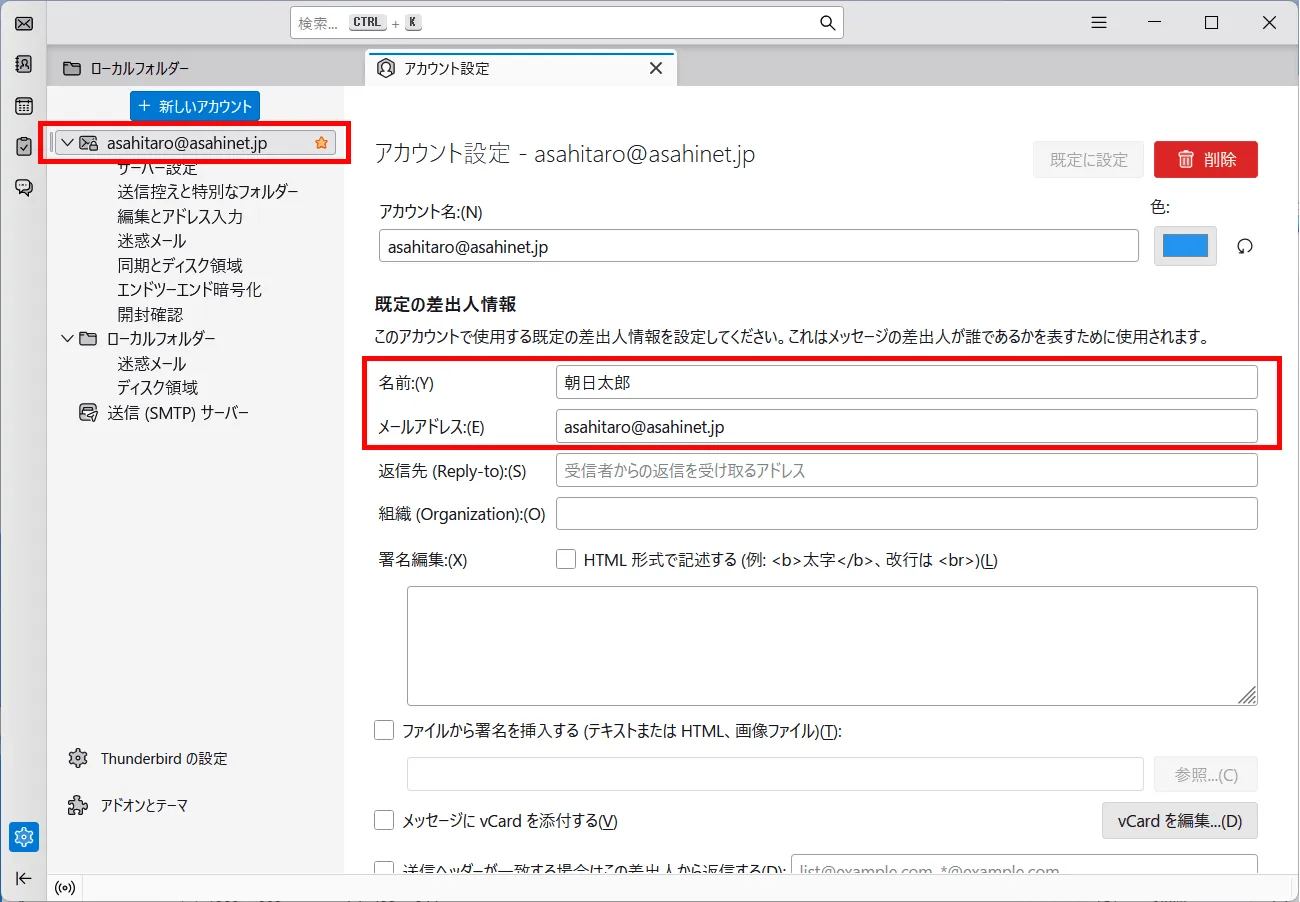
名前 (= Your Name) Your name (any name, optional)
E.g., Asahi, Taroメールアドレス (= Email Address) [Your email address]
E.g., asahitaro@asahinet.jp -
STEP4
サーバー設定 (= Server Settings)
Click サーバー設定 (= Server Settings) in the left menu and check the setting information by referring to the following table.
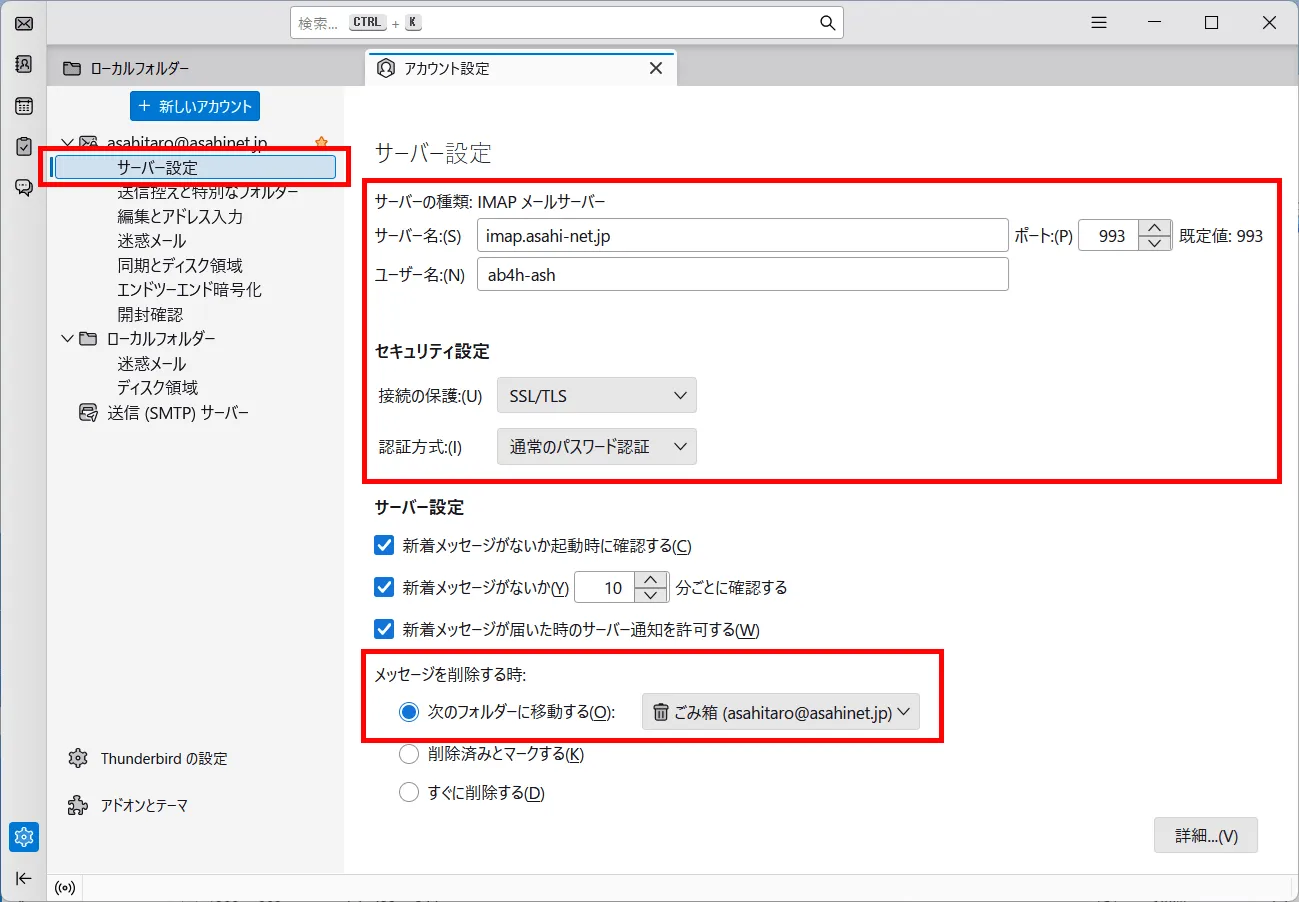
サーバー名 (= Server Name) imap.asahi-net.jp ポート (= Port) 993 ユーザー名 (= User Name) Corresponding ID
E.g., ab4t-ash, u1234ab567c, m1234ab567c接続の保護 (= Connection security) SSL/TLS 認証方式 (= Authentication method) 通常のパスワード認証 (= Normal password) メッセージを削除する時 (= When I delete a message) 次のフォルダに移動する (= Move it to this folder)
ごみ箱 (= Trash) -
STEP5
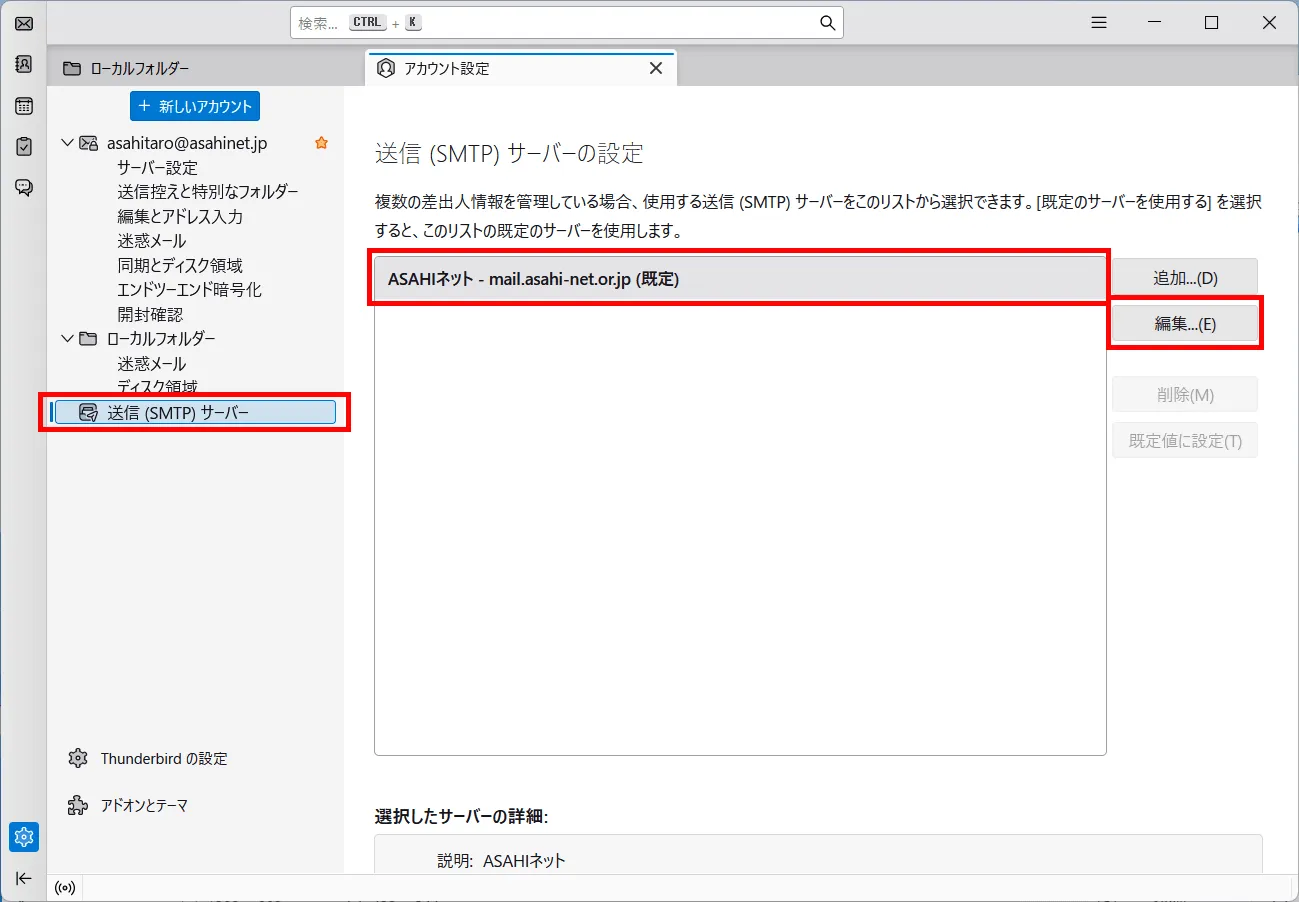
送信 (SMTP) サーバーの設定 (= Outgoing Server [SMTP] Settings)
Click 送信(SMTP)サーバー (= Outgoing Server [SMTP]) in the left menu, choose the setting you want to confirm and click 編集 (= Edit).
-
STEP6
送信(SMTP)サーバー (= SMTP Server)
Refer to the following table to set up, and click OK.

説明 (= Description) (Optional) サーバー名 (= Server Name) mail.asahi-net.or.jp ポート (= Port) 465 接続の保護 (= Connection security) SSL/TLS 認証方式 (= Authentication method) 暗号化されたパスワード認証 (= Encrypted password) ユーザー名 (= User Name) Corresponding ID
E.g., ab4t-ash, u1234ab567c, m1234ab567c -
STEP7
Complete checking
Click x on the アカウント設定 (= Account Settings) tab.
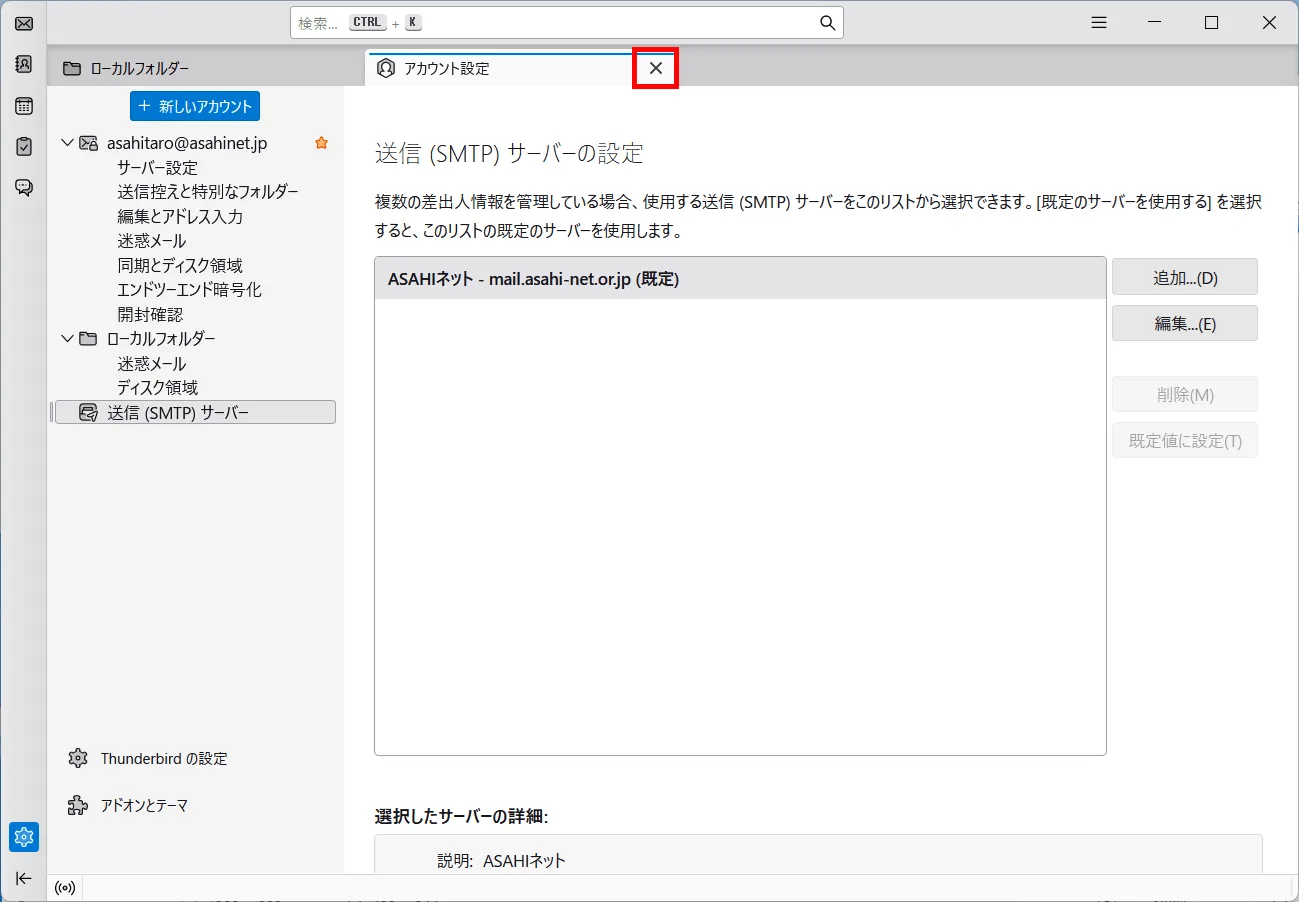
Checking the settings is complete.