New Settings for Thunderbird ver.141 : IMAP
- This page gives you information on how to set up the IMAP function.
- To use the IMAP function, you need make an application in prior.
- See the following page for more service details.
Mailer Setup: Before Setting Up - The items referred to with brackets (= [ ]) in this guide are unique data to each customer.
In actual settings, please replace them with your own information. - This page explains the steps to set up a new account for Thunderbird 141.0 for Windows.
- The [ASAHI Net User ID] used in this guide as an example is [ab4t-ash].
- You need to be connected to the internet in order to follow the steps below.
New Settings
-
STEP1
Start the software
Start Thunderbird.

-
STEP2
Startup
The appearance of the window after startup differs depending on your Thunderbird version.
Configure your settings as written on the window.Launching for the first time
If the window below appears, go to「STEP B-1」 既存のメールアドレスのセットアップ (= Set Up Your Existing Email Address).
-
STEPA-1
If the main window of Thunderbird appears
Click the menu icon
 in the upper right-hand side of the window.
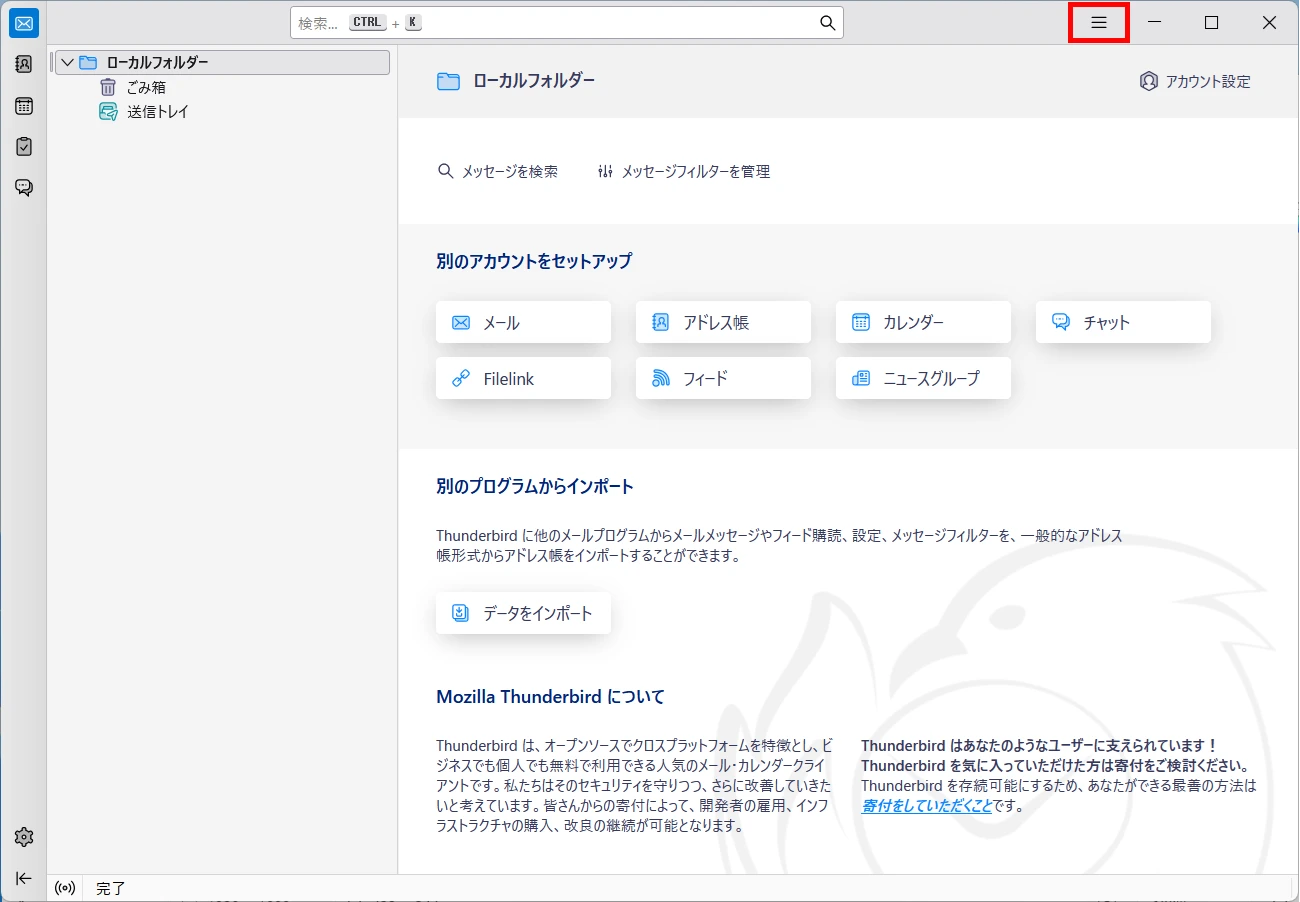
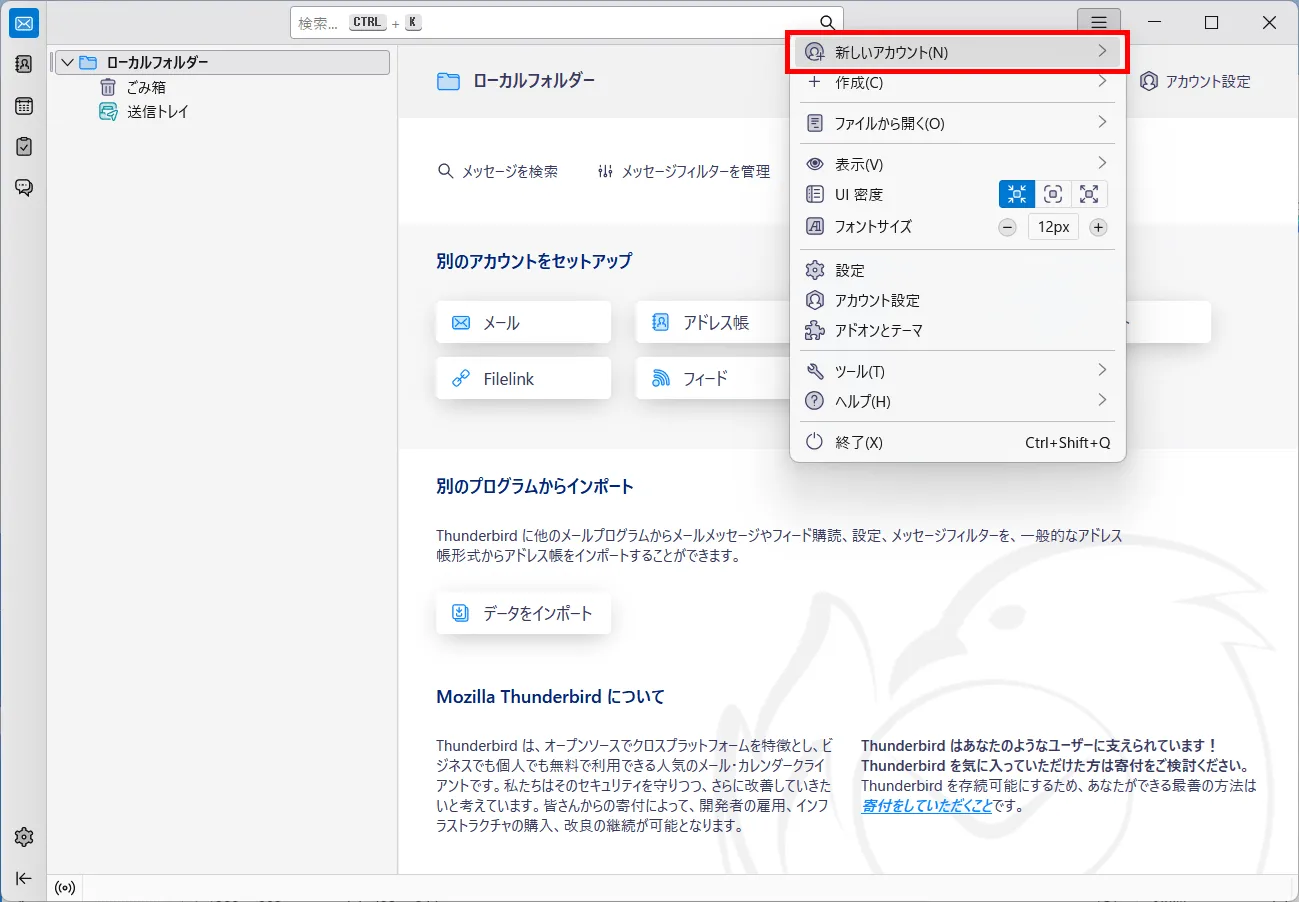
Choose 新しいアカウント設定 (= New Account) in the menu.
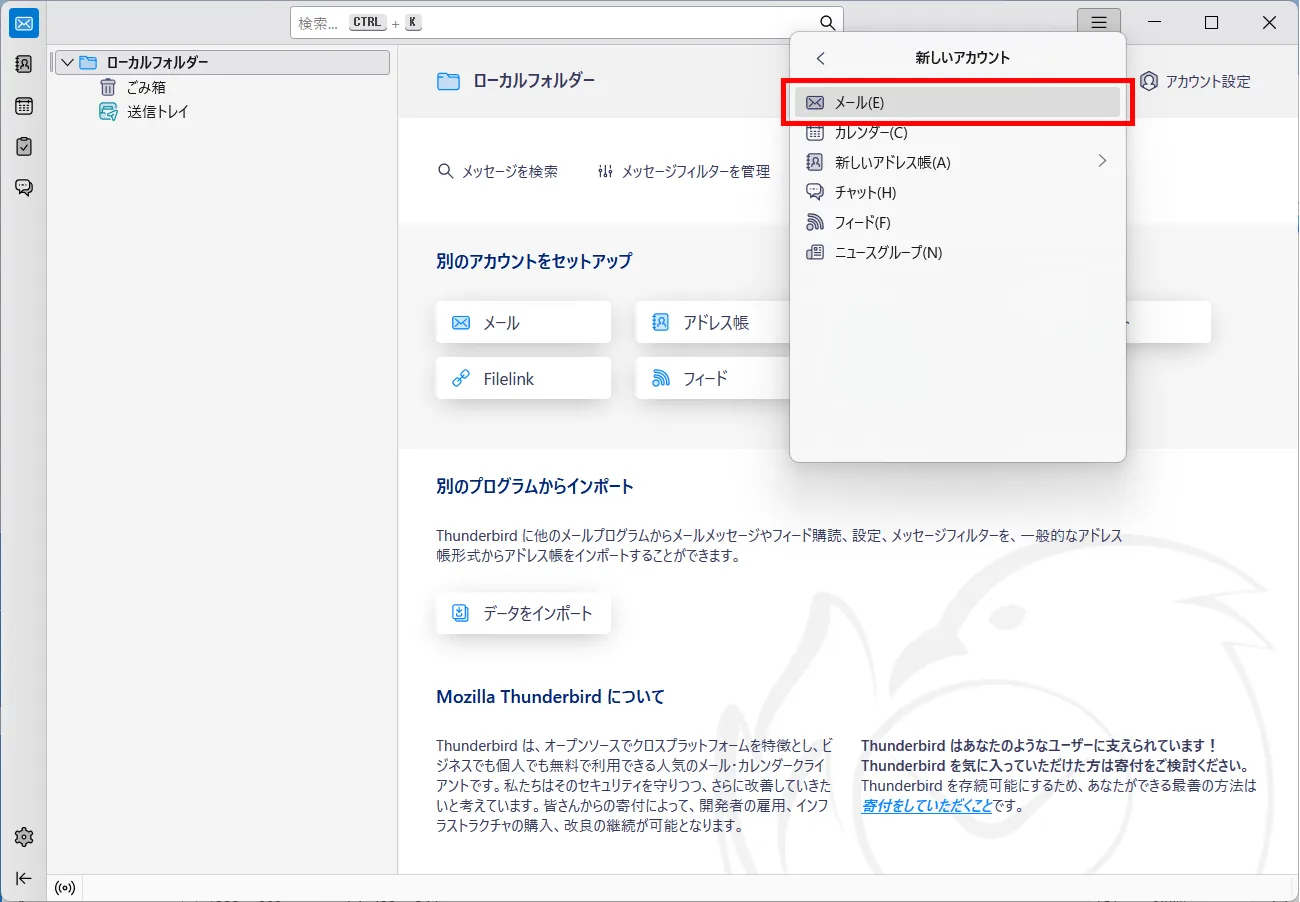
Choose メール (= Email) in the menu.
-
STEPA-2
Refer to the following table to set up, and click 続ける (= Continue).
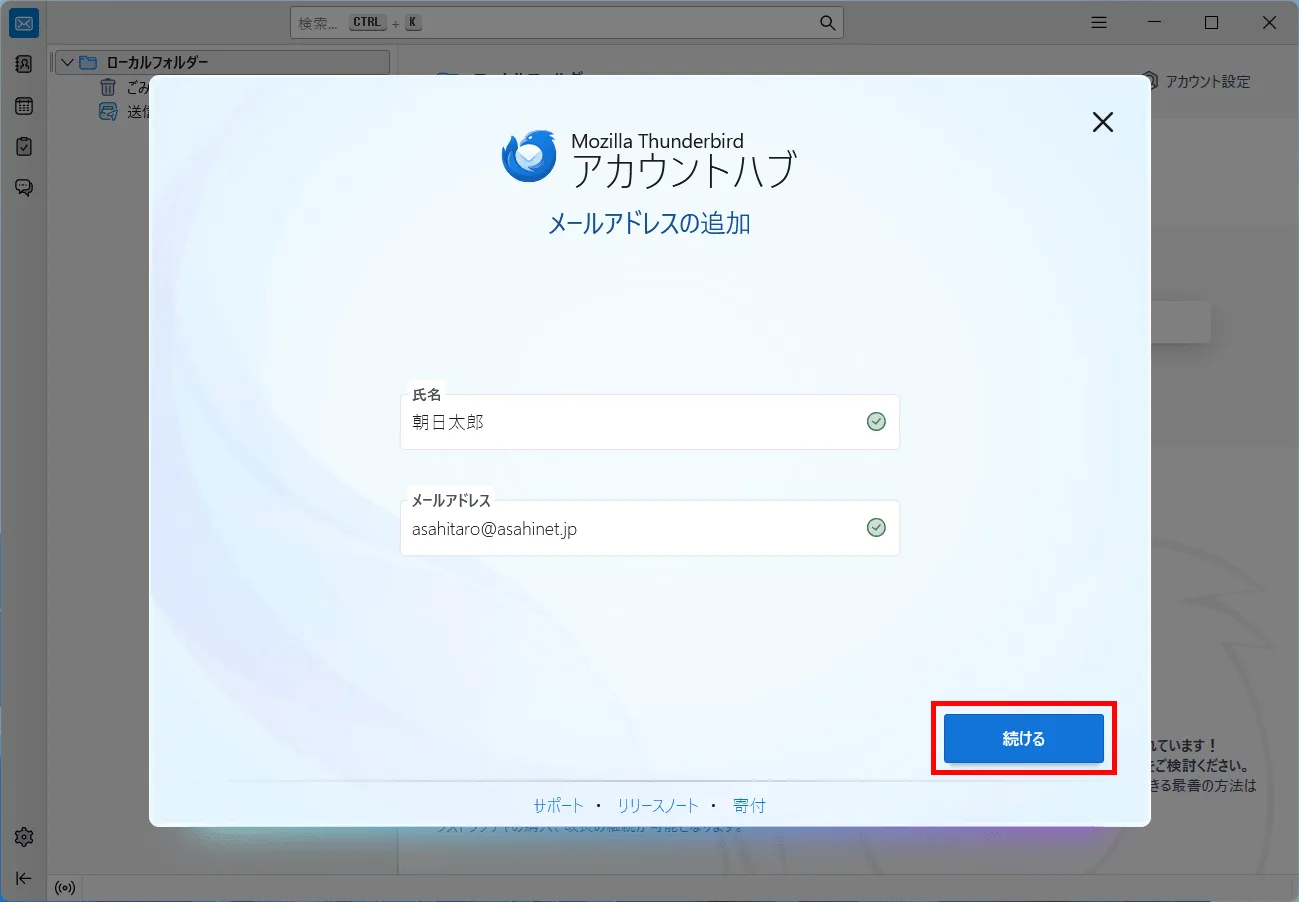
メールアドレスの追加 (= Add your email address)
氏名 (= Full Name) Your name (any name, optional)
E.g., Asahi, Taroメールアドレス (= Email address) [Your email address]
E.g., asahitaro@asahinet.jp -
STEPA-3
If the error message, “Thunderbirdが メールアカウントの設定を見つけられませんでした。(= Thunderbird failed to find the settings for your email account.)” appears, enter the following information manually and click 続ける (= Continue).
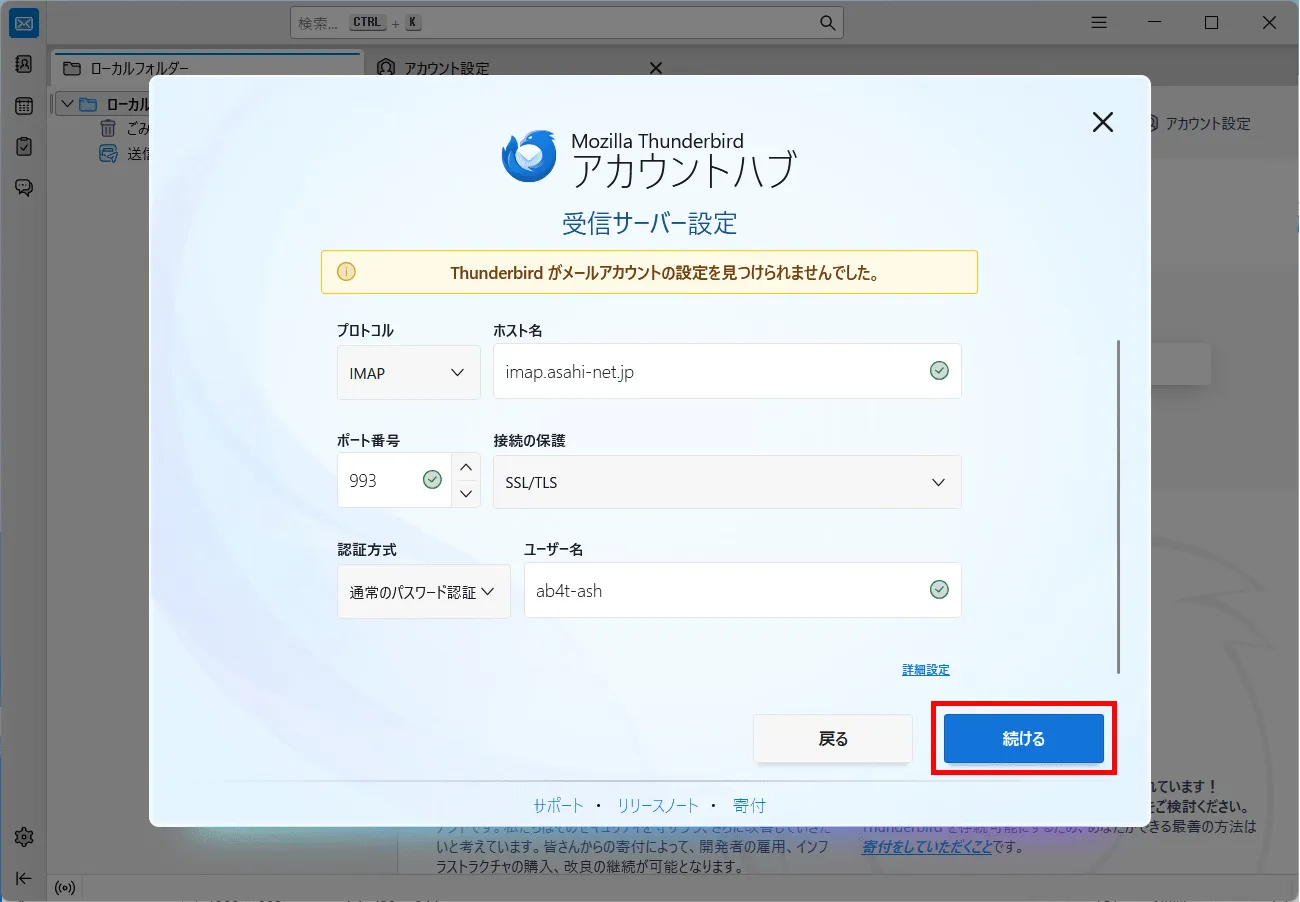
受信サーバー設定 (= Incoming server settings)
プロトコル (= Protocol) IMAP ホスト名 (= Hostname) imap.asahi-net.jp ポート (= Port) 993 接続の保護 (= Connection security) SSL/TLS 認証方式 (= Authentication method) 通常のパスワード認証 (= Normal password) ユーザー名 (= Username) Corresponding ID
E.g., ab4t-ash, u1234ab567c, m1234ab567c -
STEPA-4
Refer to the following table to set up, and click テスト (= Test).
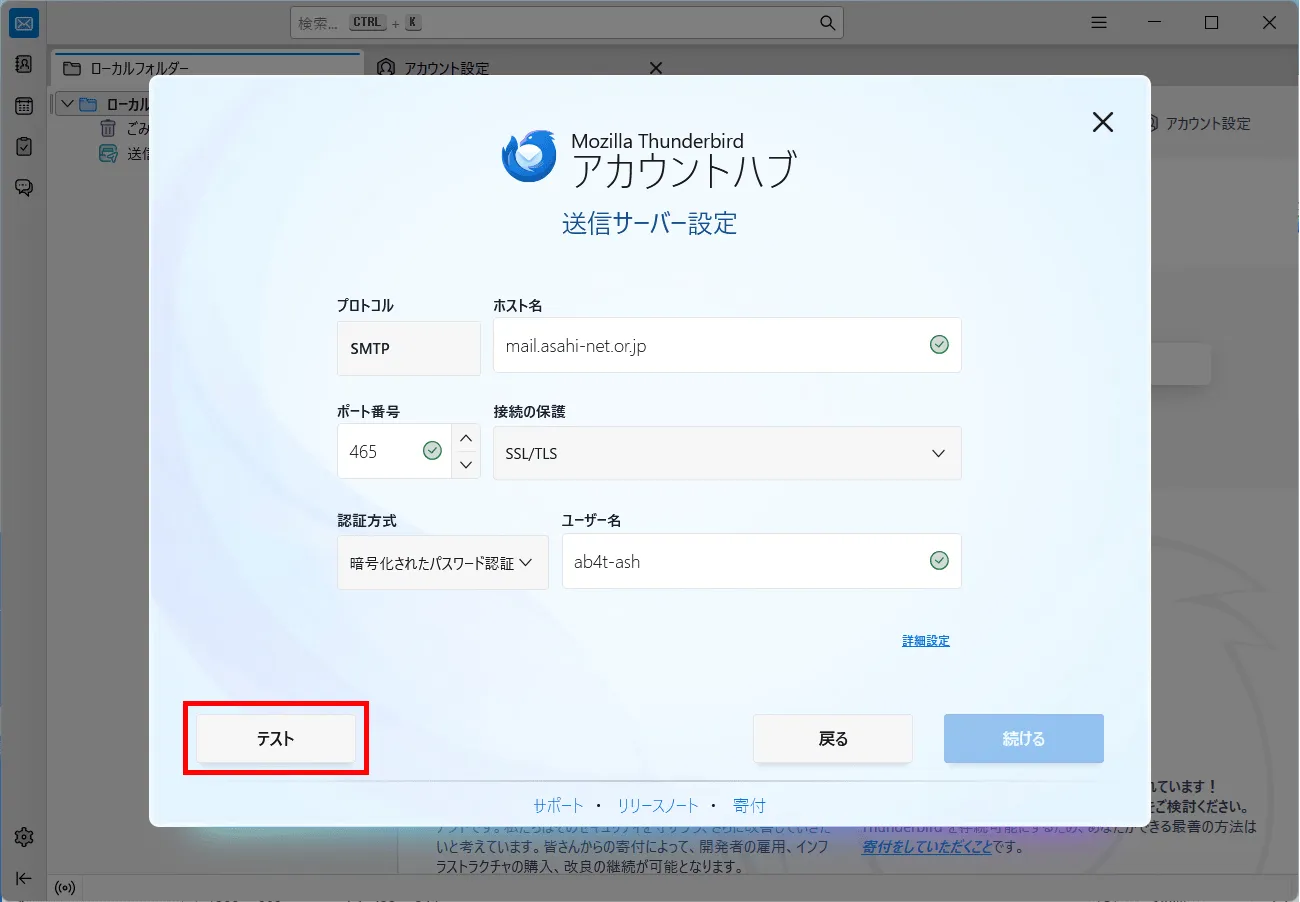
送信サーバー設定 (= Outgoing server settings)
ホスト名 (= Hostname) mail.asahi-net.or.jp ポート (= Port) 465 接続の保護 (= Connection security) SSL/TLS 認証方式 (= Authentication method) 暗号化されたパスワード認証 (= Encrypted password) ユーザー名 (= Username) Corresponding ID
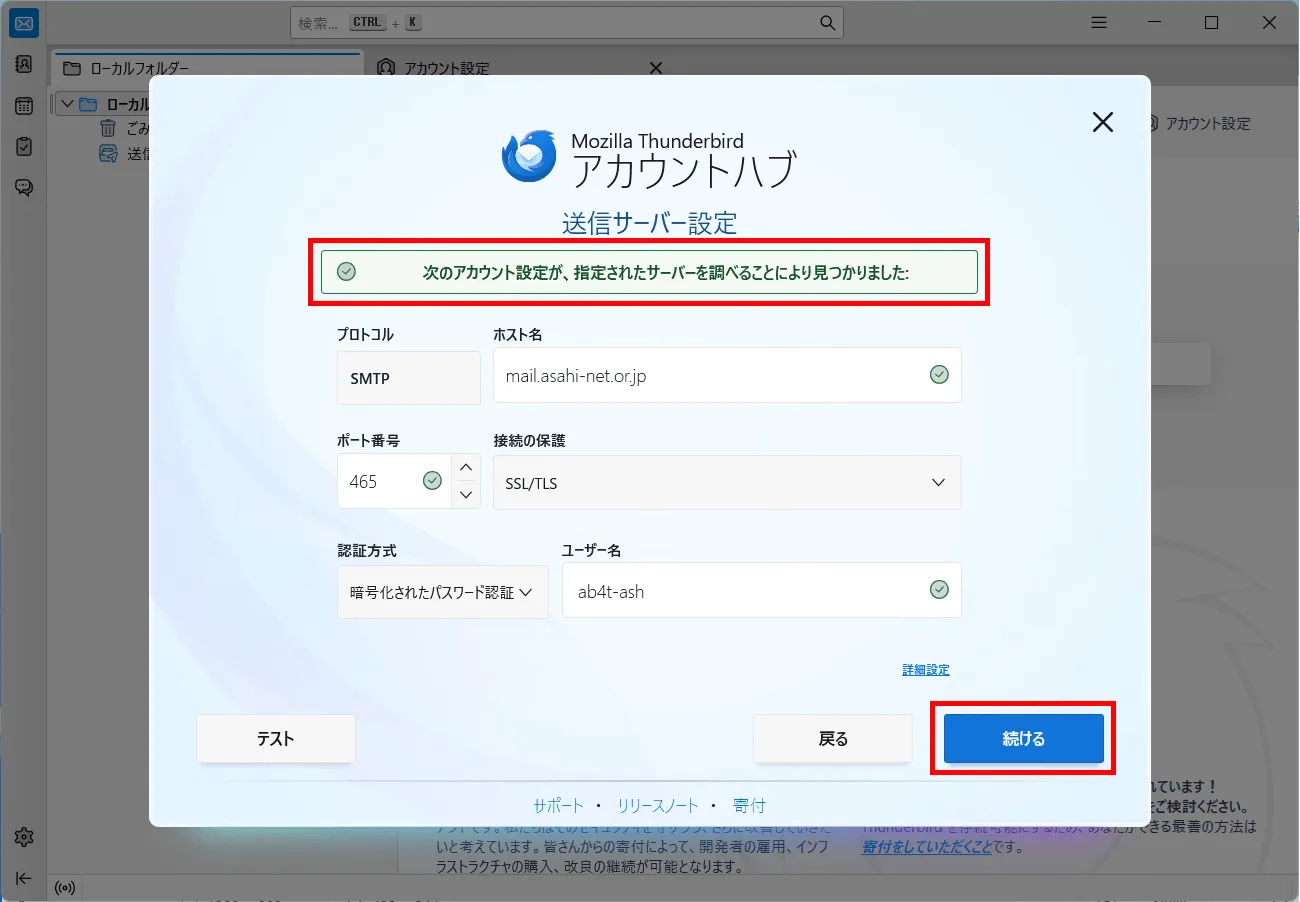
E.g., ab4t-ash, u1234ab567c, m1234ab567cIf the message 次のアカウント設定が、指定されたサーバーを調べることにより見つかりました (= The following settings were found by probing the given server) appears, click 続ける (= Continue).
-
STEPA-5
Refer to the following table to set up, and click 続ける (= Continue).
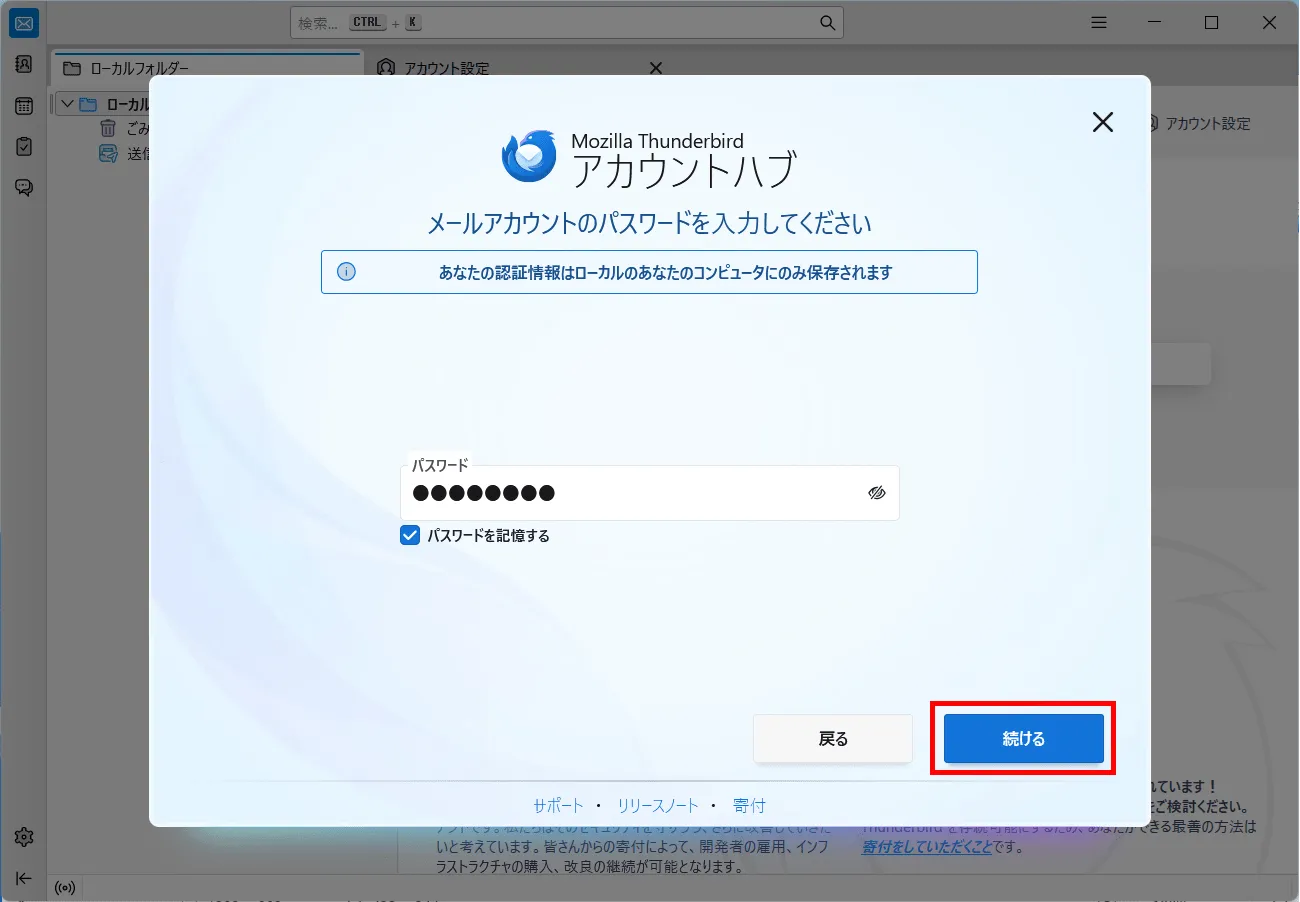
メールアカウントのパスワードを入力してください (= Enter your email account password)
パスワード (= Password) [Password corresponds to the Asahi Net ID] - *Enter all characters in lowercase.
パスワードを記録する (= Remember password) Place a check mark (recommended) -
STEPA-6
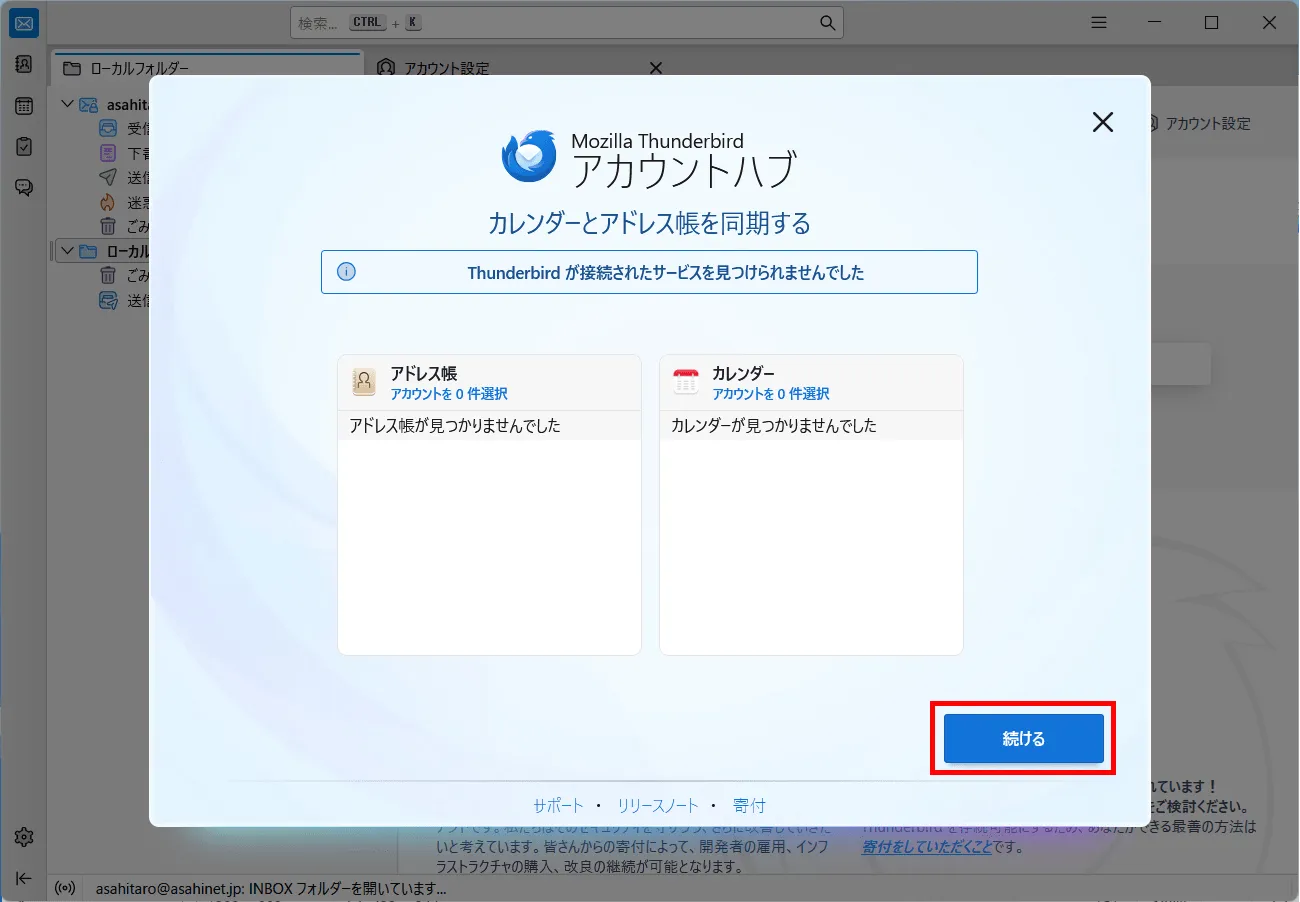
Click 続ける (= Continue).
When the message メールアカウントの接続が完了しました (= Email account connected successfully) appears, click 完了 (= Finish).
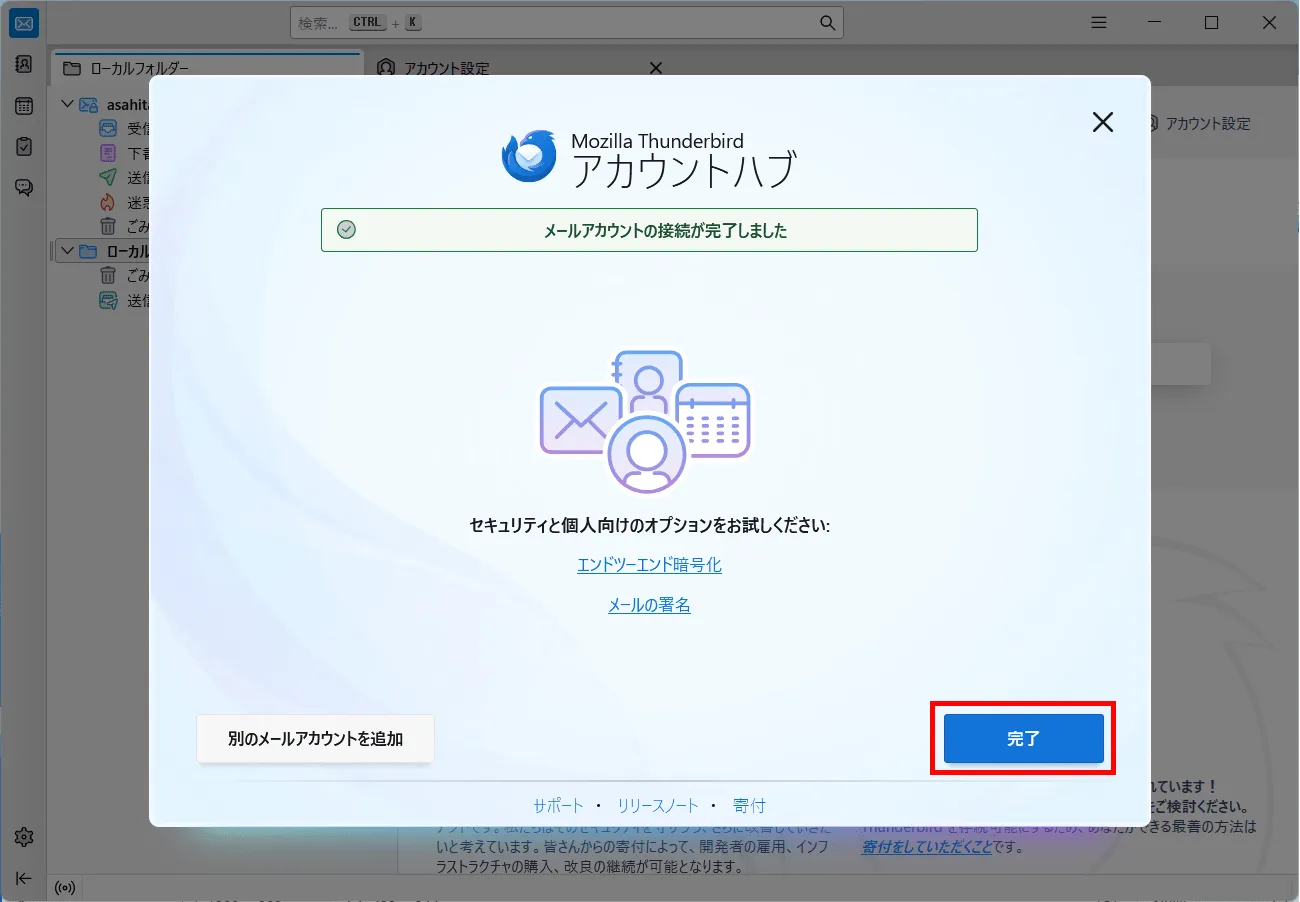
Setting up a new email account is done.
-
STEPB-1
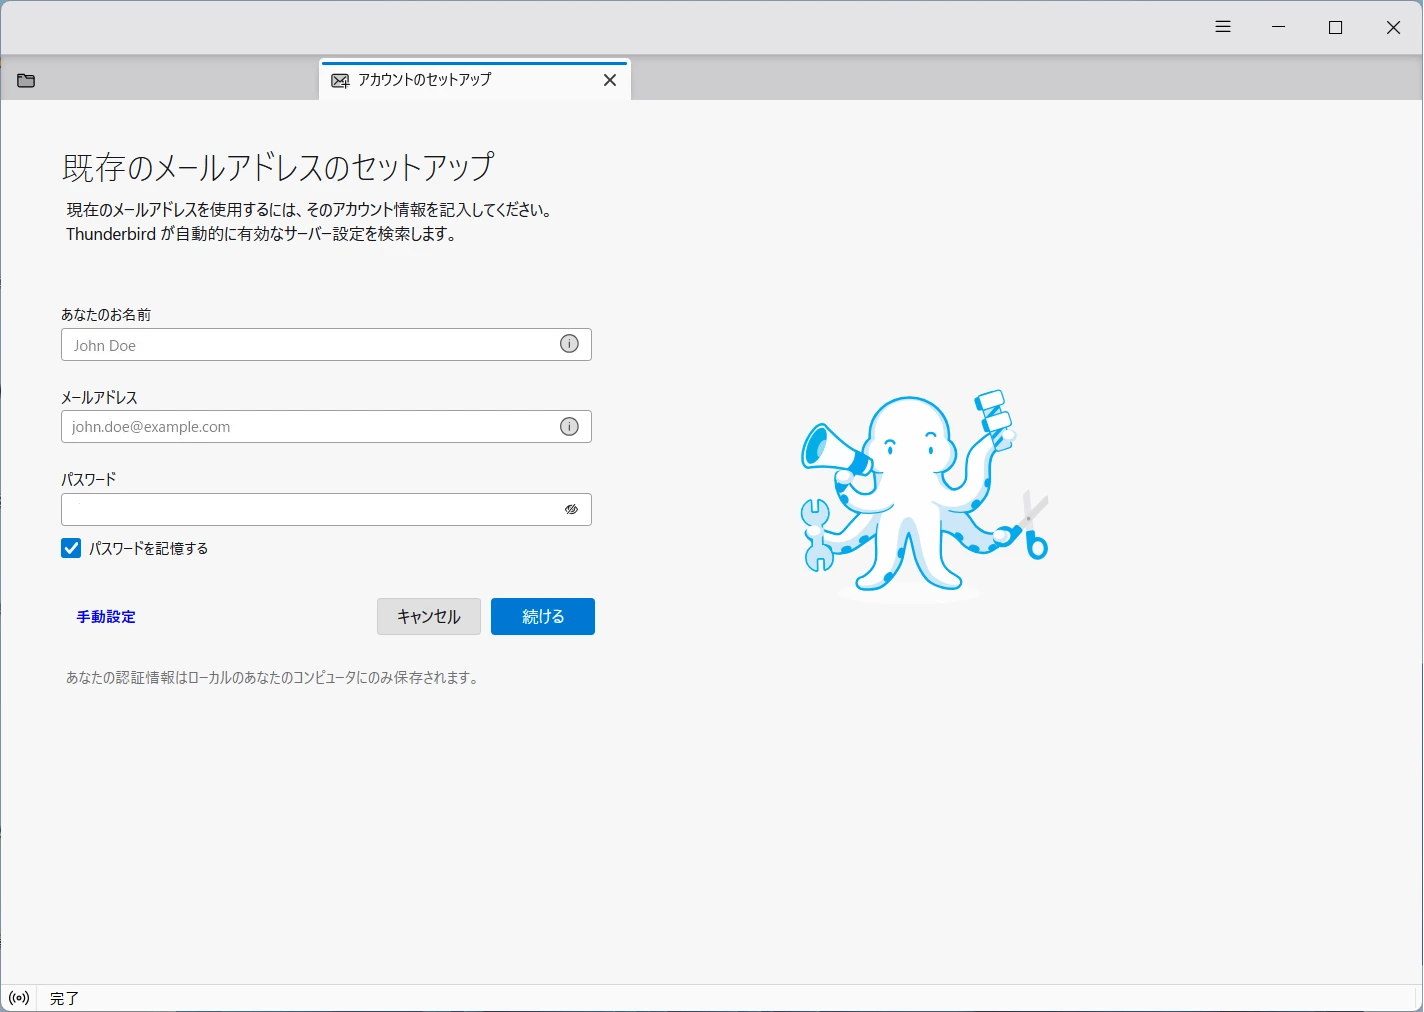
既存のメールアドレスのセットアップ (= Set Up Your Existing Email Address)
- *If you completed up to STEP A-6, the following steps are not required.
Refer to the following table to set up, and click 手動設定 (= Configure manually).
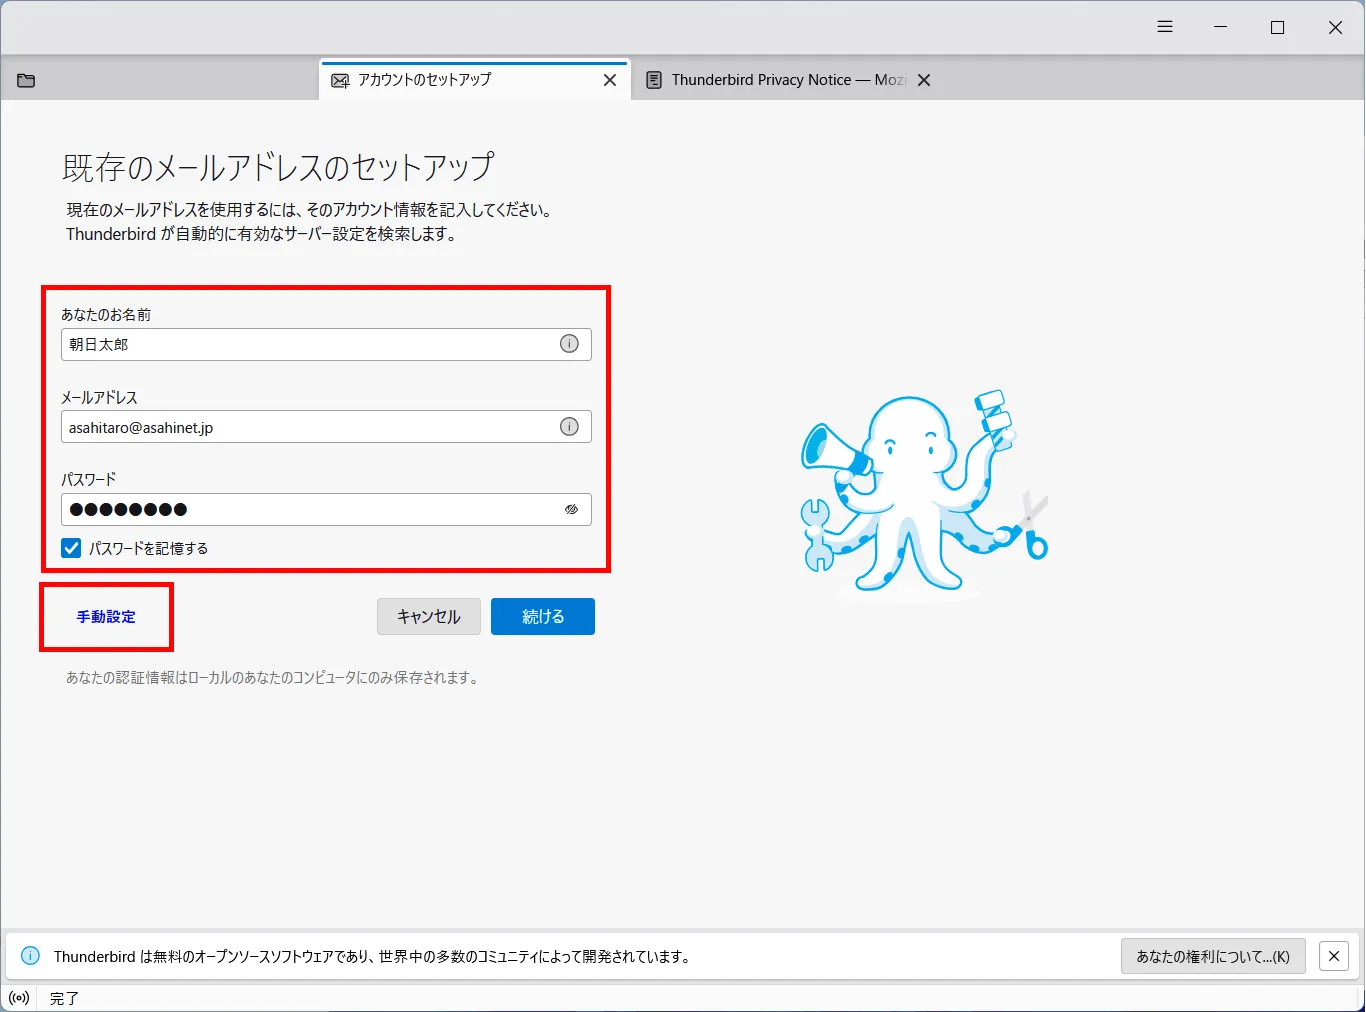
あなたのお名前 (= Your full name) Your name (any name, optional)
E.g., Asahi, Taroメールアドレス (= Email address) [Your email address]
E.g., asahitaro@asahinet.jpパスワード (= Password) [Password corresponds to the Asahi Net ID] - *Enter all characters in lowercase.
パスワードを記録する (= Remember password) Place a check mark (recommended) -
STEPB-2
手動設定 (= Manual configuration)
After setting up as follows, click 完了 (= Done).
- *If you cannot click the grayed-out 完了 (= Done), click 再テスト (= Retest) and then click 完了 (= Done).
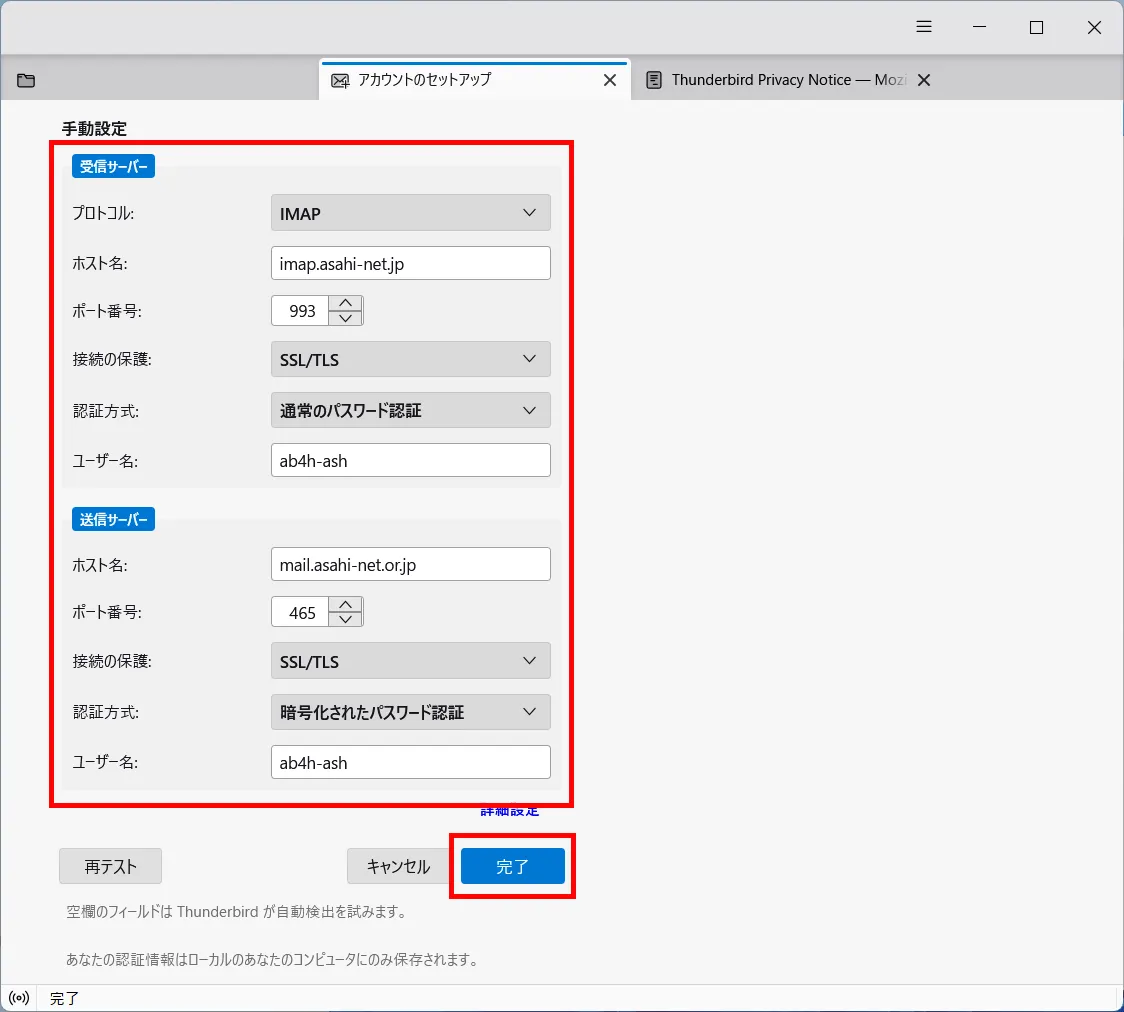
受信サーバー (= INCOMING SERVER)
プロトコル (= Protocol) IMAP ホスト名 (= Hostname) imap.asahi-net.or.jp ポート (= Port) 993 接続の保護 (= Connection security) SSL/TLS 認証方式 (= Authentication method) 通常のパスワード認証 (= Normal password) ユーザー名 (= Username) Corresponding ID
E.g., ab4t-ash, u1234ab567c, m1234ab567c送信サーバー (= OUTGOING SERVER)
ホスト名 (= Hostname) mail.asahi-net.or.jp ポート (= Port) 465 接続の保護 (= Connection security) SSL/TLS 認証方式 (= Authentication method) 暗号化されたパスワード認証 (= Encrypted password) ユーザー名 (= Username) Corresponding ID
E.g., ab4t-ash, u1234ab567c, m1234ab567c -
STEPB-3
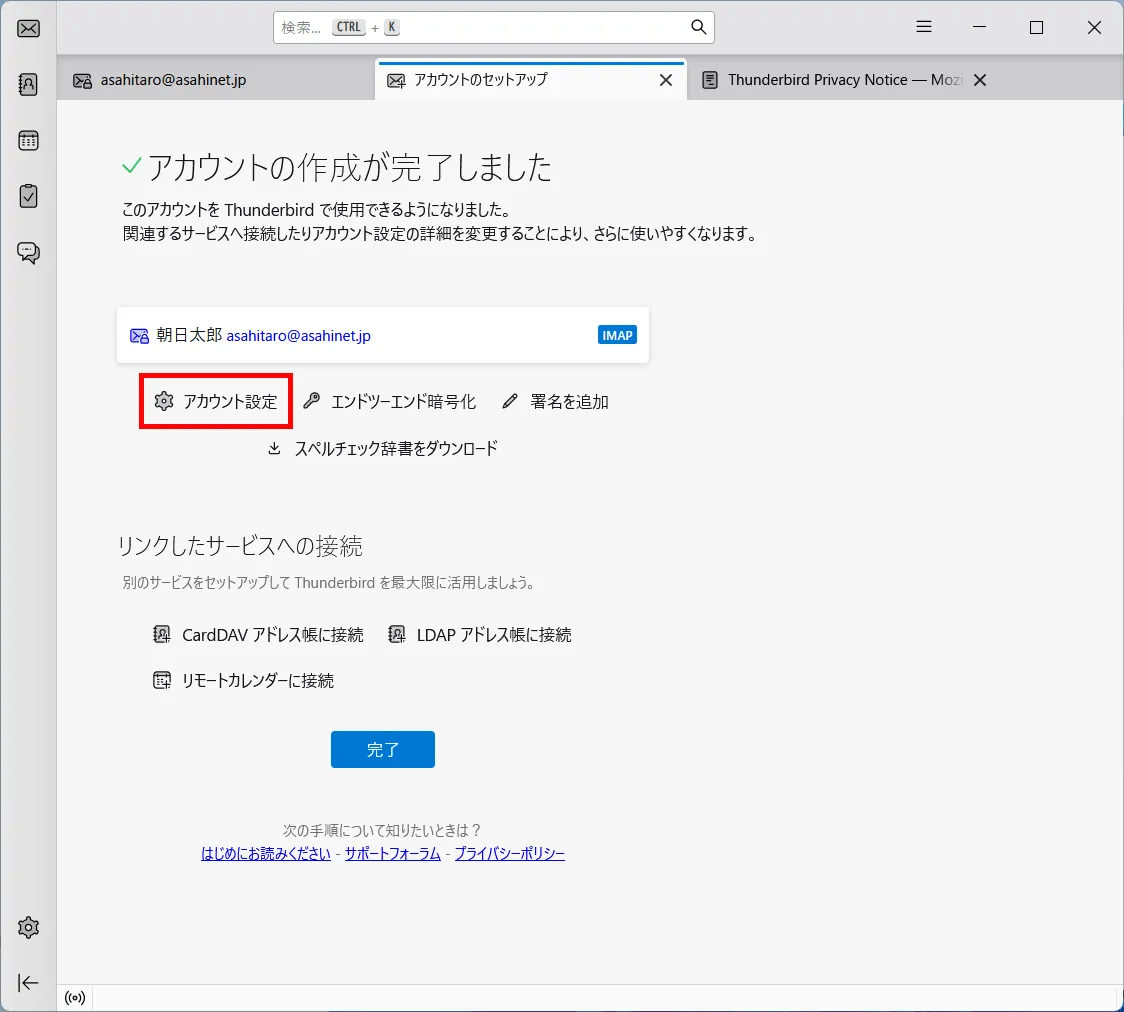
Confirm Account Settings
When the message “アカウントの作成が完了しました (= Account successfully created)” appears, click アカウント設定 (= Account settings).
-
STEPB-4
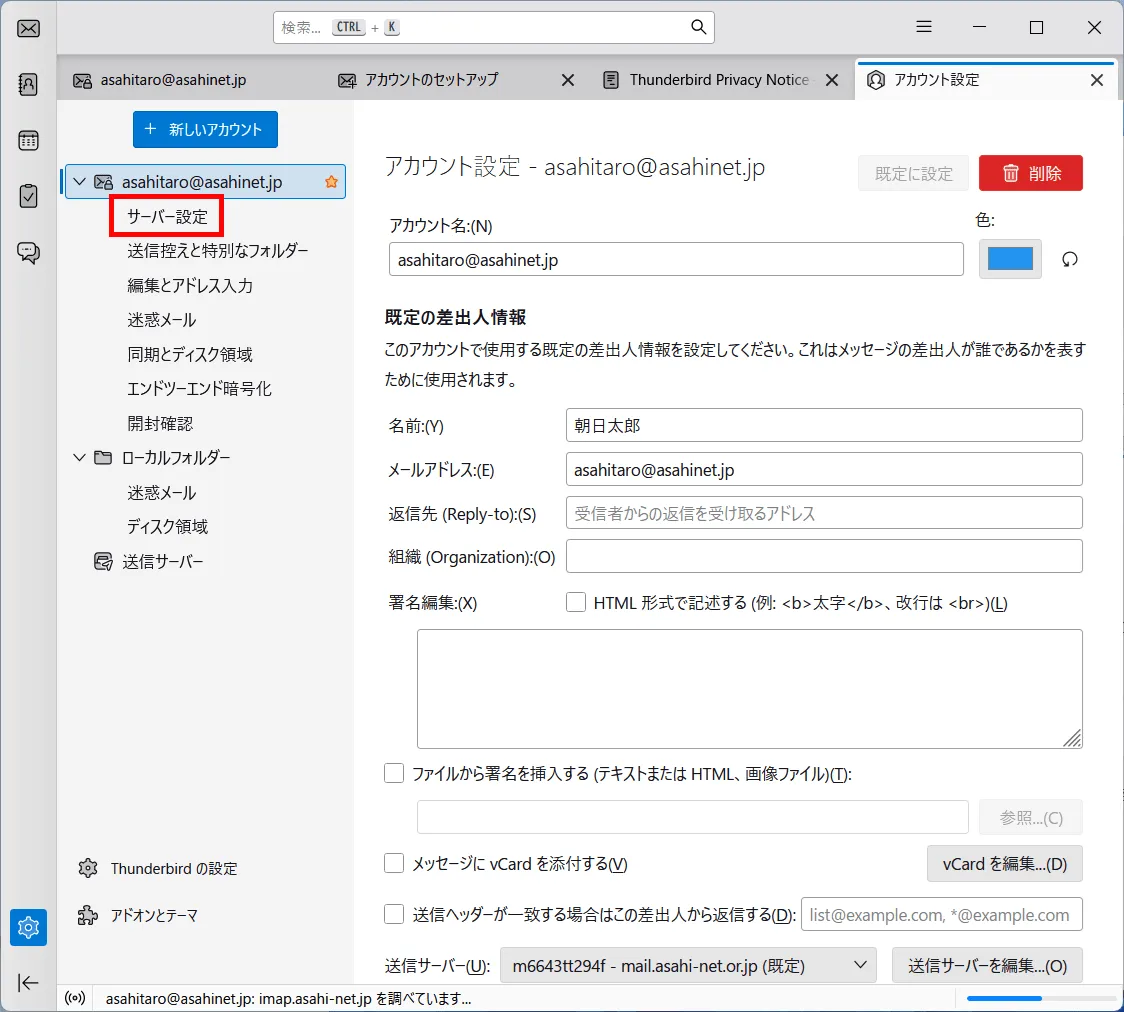
アカウント設定 (= Account Settings)
When the アカウント設定 (= Account Settings) window appears, click サーバー設定 (= Server Settings) under the account which you just created in the menu in the left-hand side of the window.
-
STEPB-5
サーバー設定 (= Server Settings)
Refer to the following table to set up, and click x on the アカウント設定 (= Account Settings) tab.
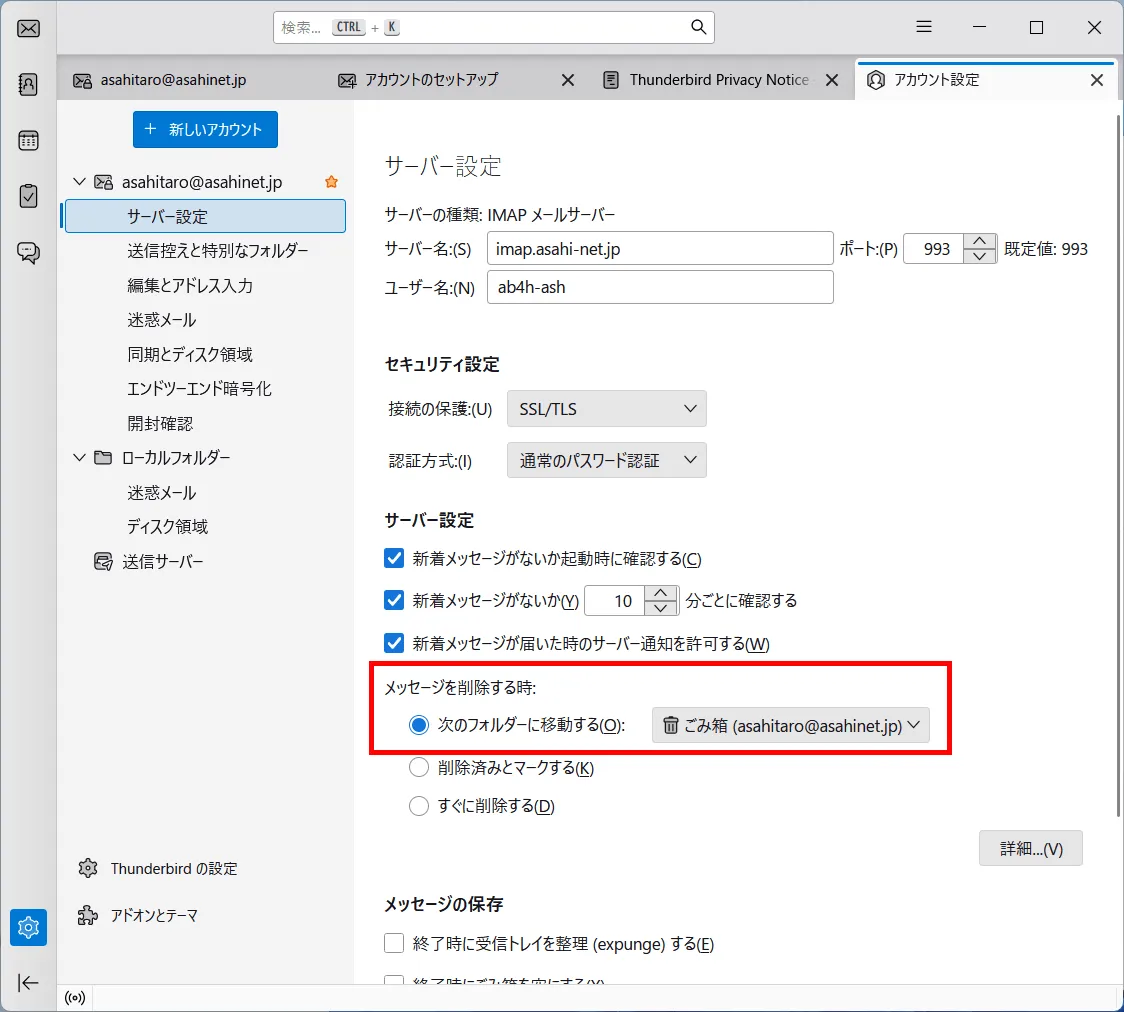
メッセージを削除する時 (= When I delete a message) 次のフォルダに移動する (= Move it to this folder)
: ごみ箱 (= Trash) -
STEPB-6
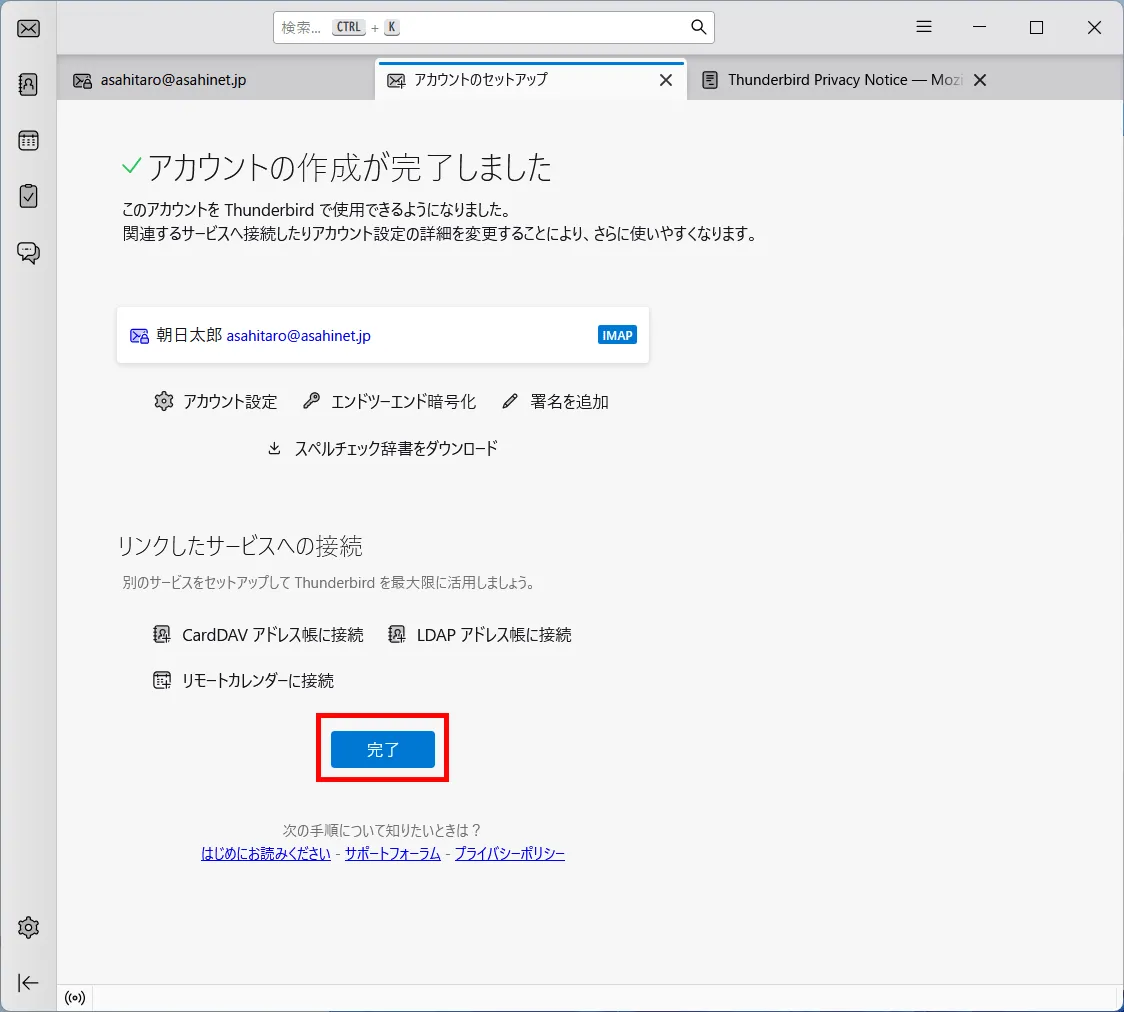
Account Created
When the message “アカウントの作成が完了しました (= Account successfully created)” shows again, click 完了 (= Finish).
- システム統合 (= System Integration)
-
If the window below appears, set this option according to your preference.
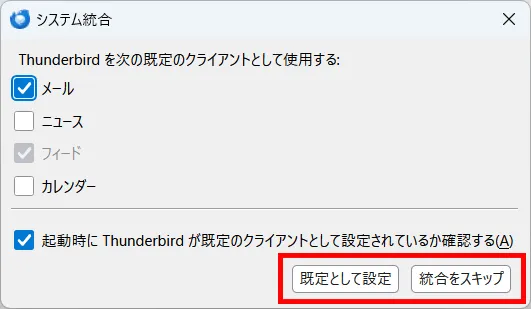
Setting up a new email account is done.