Confirm Settings for Outlook 2016
- The settings on this page show how to confirm your settings on Microsoft Outlook 2016 for Windows.
- The items referred to with [ ] marks in this guide are unique to each customer.
In actual settings, please replace them with your own information. - The [ASAHI Net User ID] used in this guide as an example is [ab4t-ash].
- Settings for IMAP function could be found in the following page.
Mailer Setup: Before Setting Up
Confirming Your Account
-
STEP1
Launching the software
From the Start screen
 or Desktop
  , launch Outlook 2016.
 -
STEP2
Main window
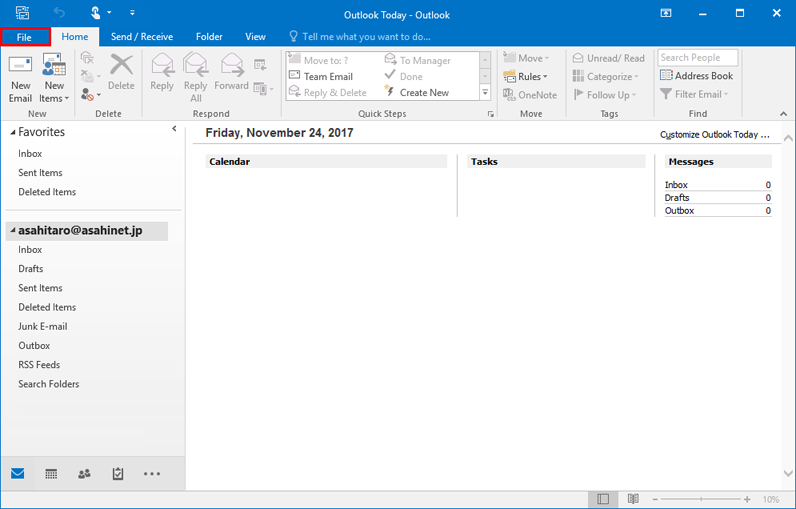
After Outlook 2016 is launched, click File in the top left.
-
STEP3
Account Information
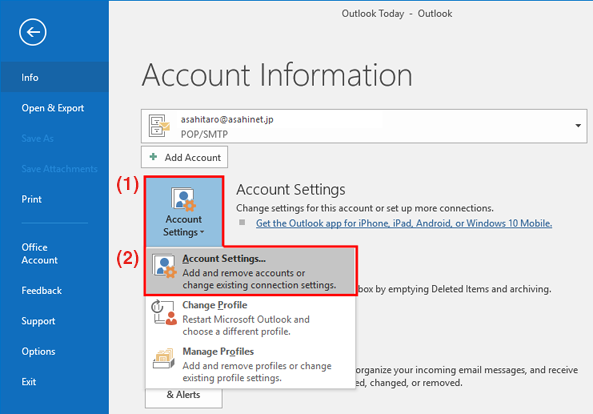
Under the (1) Account Settings icon, (2) select Account Settings.
-
STEP4
Select an account
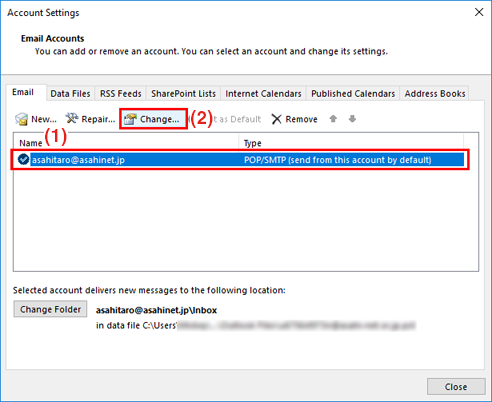
(1) Select the account whose settings you want to confirm, and then (2) click Change.
-
STEP5
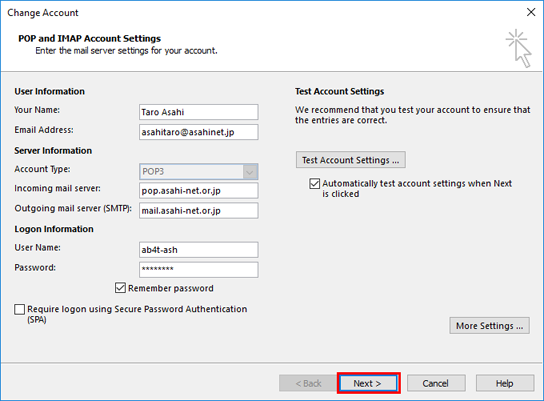
POP and IMAP Account Settings
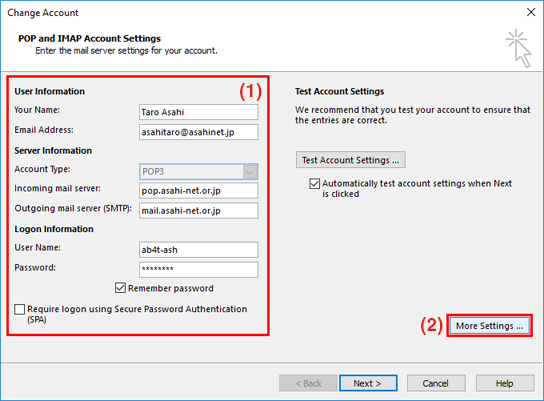
Your Name Your name (optional)
e.g., Taro AsahiEmail Address [your email address]
e.g., asahitaro@asahinet.jpAccount Type POP3 Incoming mail server (POP3) pop.asahi-net.or.jp Outgoing mail server (SMTP) mail.asahi-net.or.jp mails.asahi-net.or.jp - *If your service includes Email Virus Check
User Name [your Asahi Net User ID]
e.g., ab4t-ashPassword [the Asahi Net password assigned to your Asahi Net User ID] - *Enter in lowercase (small) characters.
Remember password (optional) Require logon using Secure Password Authentication (SPA) Leave unchecked. (1) Set as shown above, and then (2) click More Settings.
- *Settings for IMAP function could be found in the following page.
Mailer Setup: Before Setting Up
-
STEP6
Outgoing Server tab
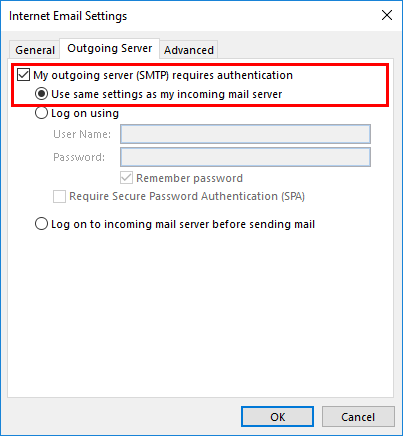
Set the items in the General tab to your choice.
Switch to the Outgoing Server tab.My outgoing server (SMTP) requires authentication Check the box. - *SMTP Authentication
Use same settings as my incoming mail server Click to enable. Set as shown above, and then switch to the Advanced tab.
-
STEP7
Advanced tab
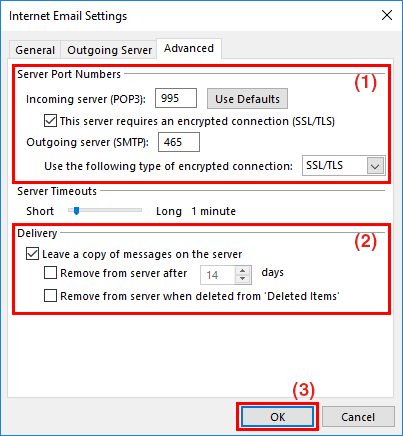
(1) Server Port Numbers
Incoming server 995 This server requires an encrypted connection (SSL/TLS)
This server requires an encrypted connection (SSL)Check the box. - *POP over SSL/TLS
Outgoing server 465 Use the following type of encrypted connection Select SSL/TLS (for Office 365).
Select SSL (for Office 2016).- *SMTP over SSL/TLS
(2) Delivery
Leave a copy of messages on the server (optional) (1) - (2) Set as shown above.
After your settings are complete, (3) click OK. -
STEP8
POP and IMAP Account Settings
When returned to the settings screen, click Next.
-
STEP9
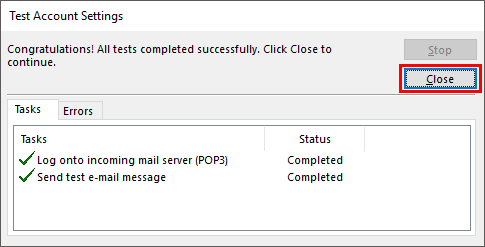
Test Account Settings
The account testing begins. Once completed, click Close.
-
STEP10
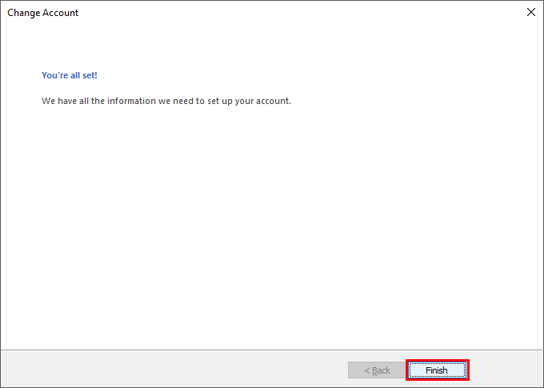
Settings completed
Click Finish.