How to Set Up Mac OS X v10.8/10.9
Before setting up
You can connect to the internet with FLET’S lines using the PPPoE function in Mac OS X 10.8/10.9. In order to connect with FLET’S line, the line has to be installed, and you have to subscribe to the respective course (course change, new application).
New setup/Change settings
-
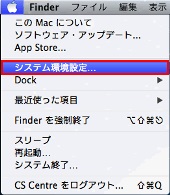
STEP1
Network setup
Go to Apple menu and select System Preferences.
-
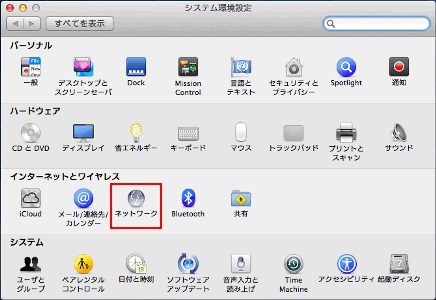
STEP2
System Preferences
In System Preferences, click the Network icon.
-
STEP3
Network
When the Network window is shown, click the “+” sign in the bottom left-hand side of the panel.

-
STEP4
Interface
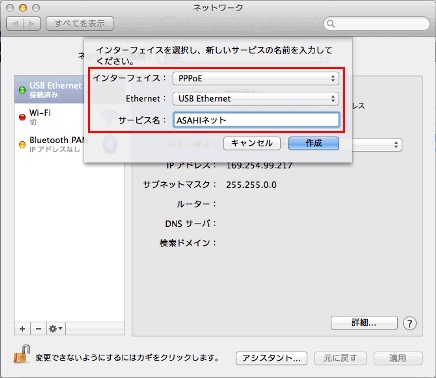
Interface Select PPPoE Ethernet Ethernet (USB Ethernet) Service name Any name
Example: ASAHI netSet up as shown above and click Create.
-
STEP5
Network

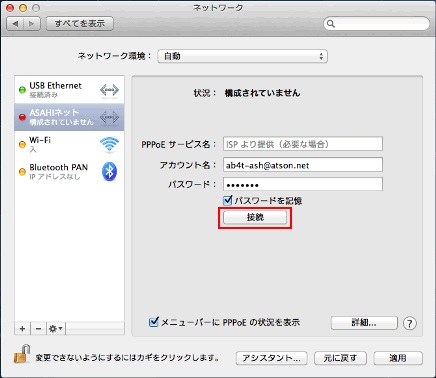
PPPoE service name Leave it blank Account name Asahi Net ID@atson.net
Example: ab4t-ash@atson.netf.Asahi Net ID@atson.net - *If you have a fixed IP address
Password Password which corresponds to the above Asahi Net ID. (lowercase letters, numbers and symbols) Remember this password Optional Show PPPoE status in menu bar Place a check mark (recommended) Set up as shown above and click Advanced.
-
STEP6
TCP/IP
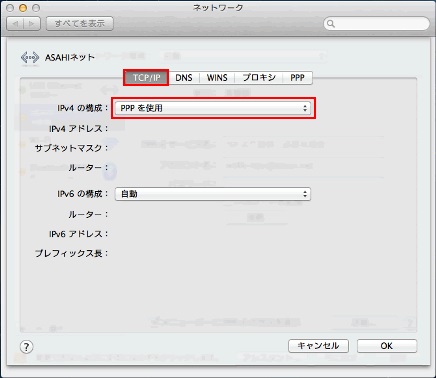
IPv4 configuration Use PPP Set up as shown above.
-
STEP7
DNS
Enter the information of internet service provider (ISP).
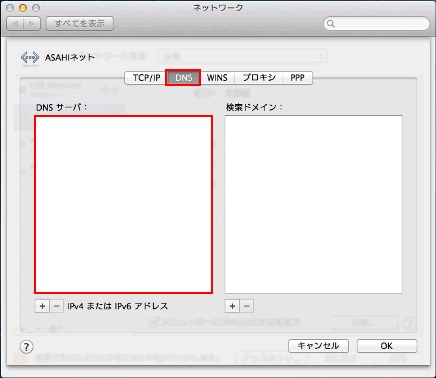
DNS server Leave it blank (auto setup) Set up as shown above and switch to PPP.
-
STEP8
PPP
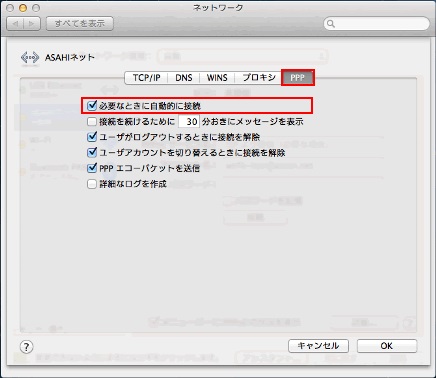
Connect automatically when needed Place a checkmark (recommended) Prompt every [ ] minutes to maintain connection Optional Disconnect when user logs out Place a checkmark (recommended) Disconnect when switching user accounts Place a checkmark (recommended) Set up as shown above and click OK.
-
STEP9
Connect
Setup is completed. You will get connected by clicking the Connect button.
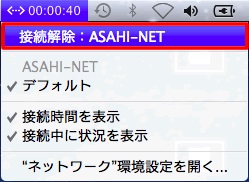
How to disconnect
Click Disconnect.
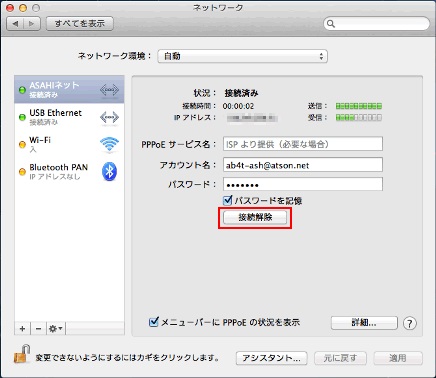
You can also disconnect by first clicking the <…> icon in the menu bar in the upper right-hand corner of the display, and then by selecting Disconnect Asahi Net.