Connection Settings for Windows11
This page gives you information on how to set up the internet connection on Windows 11 with all FLET’S Hikari and Hikari Collaboration connection services.
Before setting up
You can connect to the internet by using the PPPoE function of your OS.
To connect to the internet, you need to subscribe to a supported service and an already-opened internet line.
- *This setup is not necessary if you are using a router.
Set up a broadband connection (PPPoE)
-
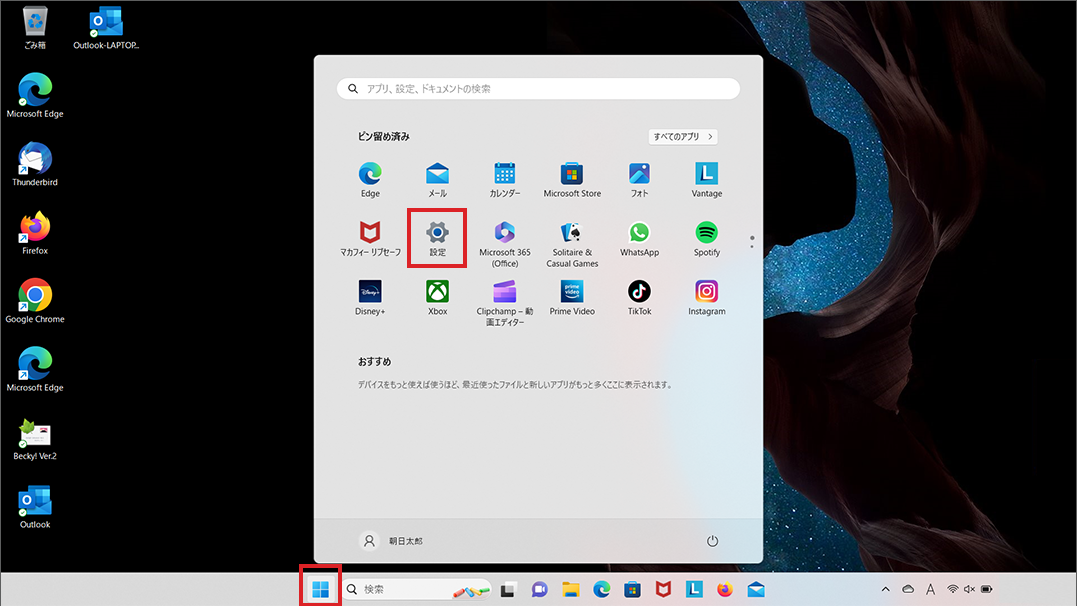
STEP1
Start Menu
Click the Start menu icon, and then click 設定 (= Settings).
-
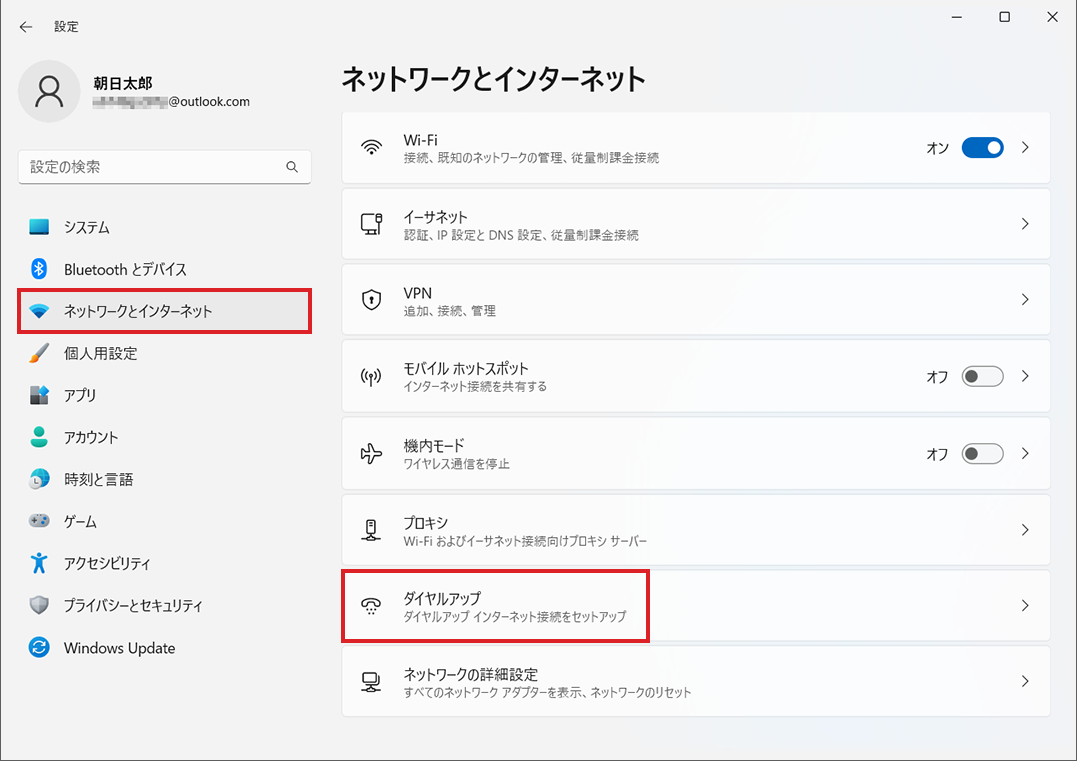
STEP2
Network Settings
Click ネットワークとインターネット (= Network & internet) in the left menu, and then click ダイアルアップ (= Dial-up) in the right menu.
-
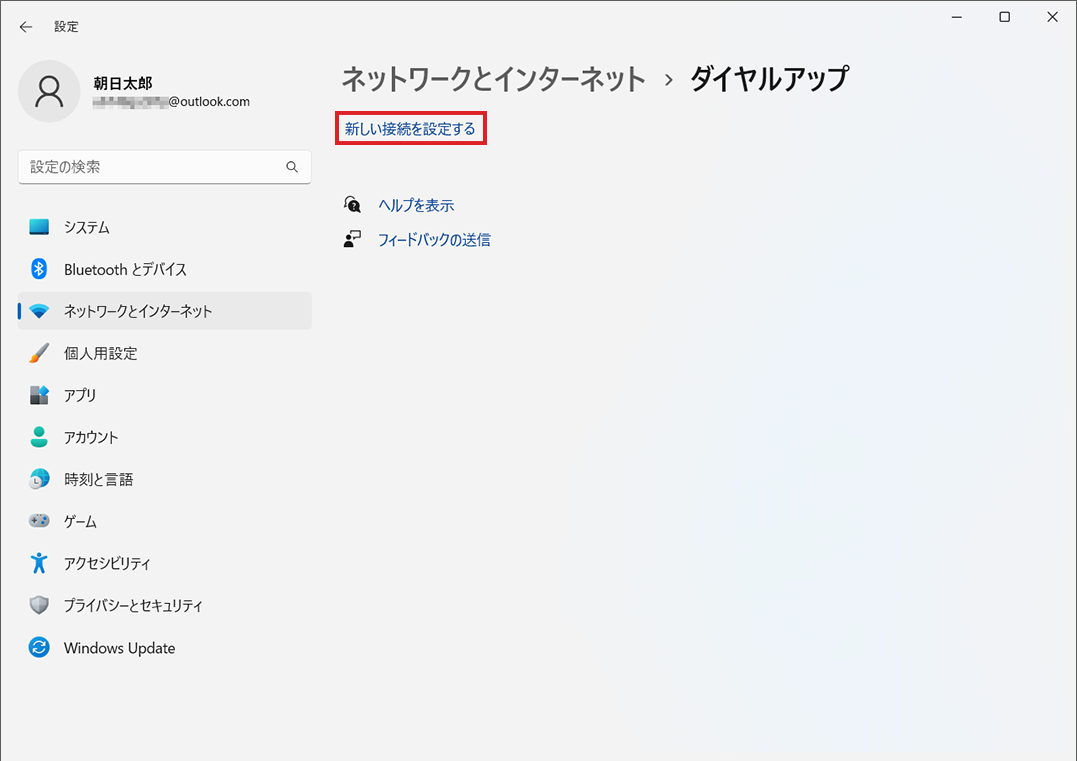
STEP3
Dial-up
When the Dial-up window is shown, click 新しい接続を設定する (= Set up a new connection).
-
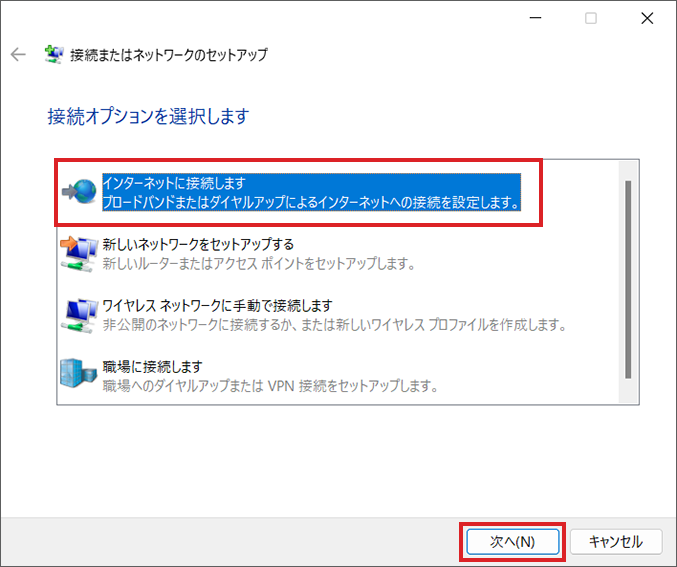
STEP4
Set up a new connection or network
Select インターネットに接続します (= Connect to the internet) and then click 次へ (= Next).
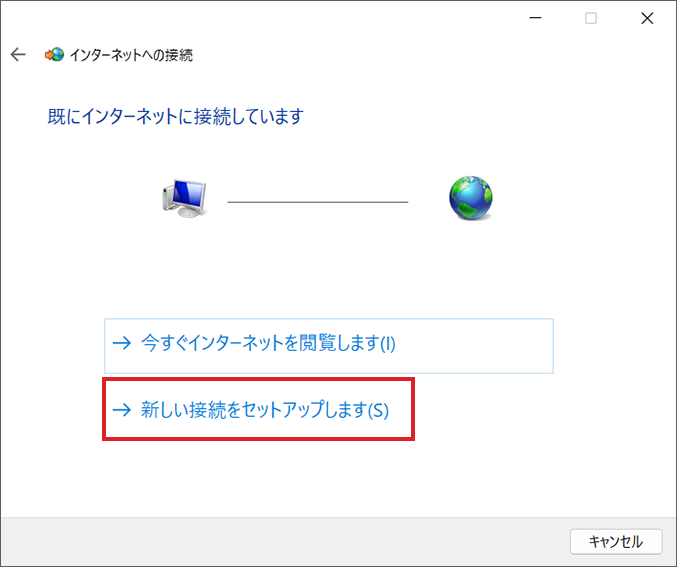
If 既にインターネットに接続しています (= You are already connected to the Internet) is shown
Select 新しい接続をセットアップします (S) (= Set up a new connection anyway).
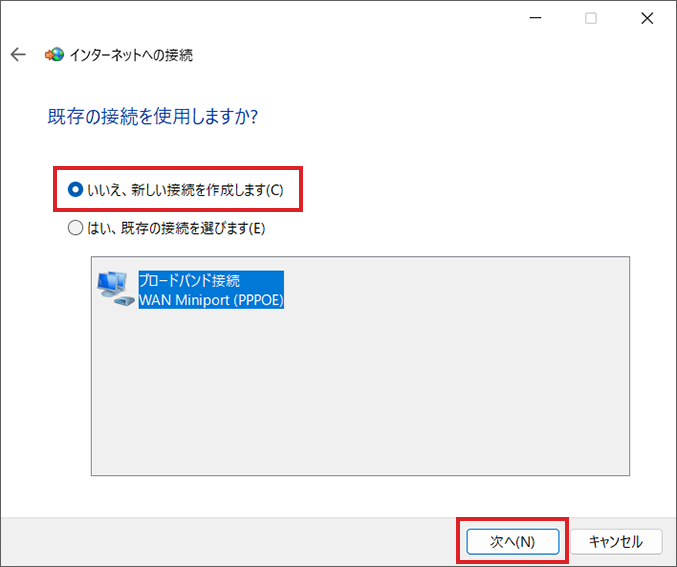
If 既存の接続を使用しますか? (= Do you want to use a connection that you already have?) is shown
Select いいえ、新しい接続を作成します(C) (= No, create a new connection) and click 次へ (= Next).
-
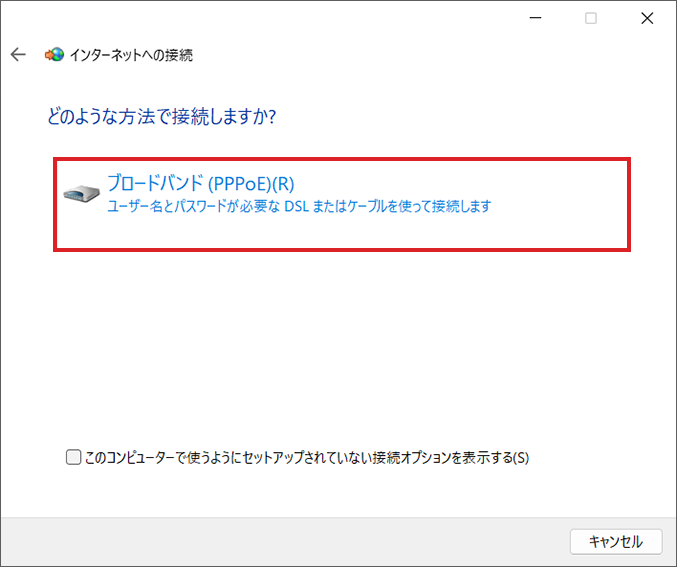
STEP5
Connect to the internet
Click ブロードバンド(PPPoE)(R) (= Broadband (PPPoE)).
-
STEP6
Enter the information of internet service provider (ISP)
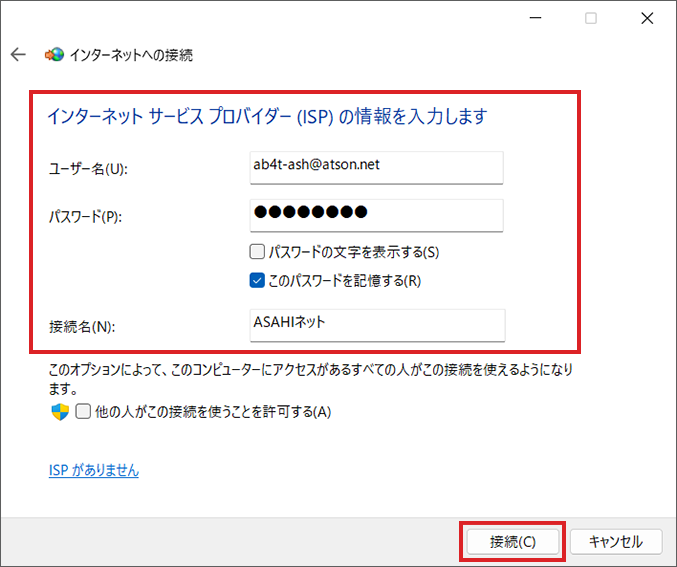
ユーザー名
User nameAsahi Net ID@atson.net
E.g., ab4t-ash@atson.net,
u1234ab567c@atson.net,
c1234ab567c@atson.netf.Asahi Net ID@atson.net - *If you are connecting with fixed IP address
パスワード
PasswordThe password for the User ID このパスワードを記憶する
Remember this passwordPlace a check mark 接続名
Connection nameAny name
(E.g., Asahi Net)- * User name and password should all be entered in lowercase.
When you enter the above information, click 接続 (= Connect).
-
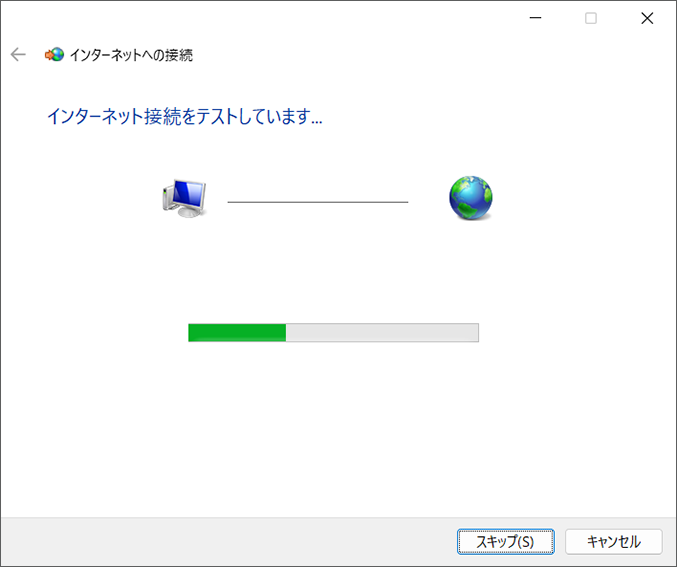
STEP7
Connect to the Internet
Connection test will start. Wait for a while.
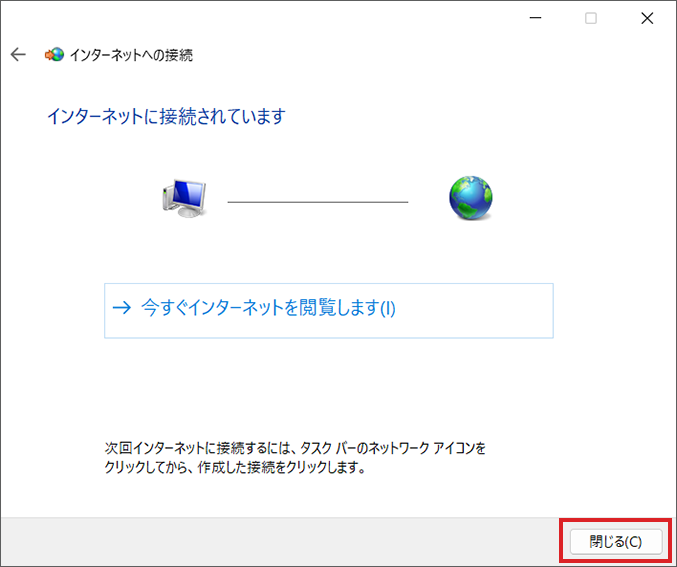
The setup work is done when you are connected to the internet. Click 閉じる (= Close).
Connect
Perform the following steps when you are connecting to the internet for the second time and beyond.
Click the 接続 (= Connect) button of the settings you made (e.g., Asahi Net) on the Dial-up page explained in STEP 3.

Disconnect
Click the 切断 (= Disconnect) button of the settings you made on the Disconnect page explained in STEP 3.
